You may be wondering how to install shiplap. Before we get there, let’s talk about what shiplap is. Shiplap has quickly become one of the most popular wall treatments in the world, and it’s easy to see why it’s so well loved. Shiplap lends a warm, rustic look to your home, it’s also an easy DIY project you should be able to tackle in your sleep!
Today, we’ll cover the ins and outs of the job so you can learn how to install shiplap to instantly add warmth and beauty to your home.
What You’ll Need
While creating a shiplap wall is an easy project to tackle, it does involve a laundry list of different tools and supplies you’ll need to get the job done.
Before we move onto our supplies list, a quick note about shiplap: If you can find genuine reclaimed shiplap, more power to you. But, it can be difficult to find, and expensive, so most people turn to use finish grade plywood for the project.
Here’s everything you’ll need:
- Reclaimed shiplap, or ¾” AC plywood
- Table saw
- Chop saw, miter saw, or circular saw
- Nail gun or a hammer
- 2” finish nails
- ⅛” spacers
- Stud finder
- Chalk line
- Carpenter’s pencil
- 80 grit sanding sponge
- Finish sandpaper (300+ grit)
- Interior paint or stain of your choice
- Paintbrush
- Safety gear (gloves, hearing protection, eye protection)
Step I: Doing the Math
The first order of business when you want to figure out how to install shiplap will be to calculate how much wood you need for the project. Calculate the square footage for your wall. Keeping in mind that a sheet of plywood contains 32 square feet, divide the square footage of your wall by 32, which will indicate how much plywood you need to buy for your project.
Step II: Ripping the Sheets
Once you’ve selected your plywood, it’s time to rip it into strips to make the shiplap. If you’re working with standard size plywood, you can rip eight identical strips from a single board at 5 ⅞” wide. If you have your heart set on a specific width, you can make the strips wider or narrower, but you’ll be dealing with some waste at that point.
Step III: Sanding the Chamfer
Once you have all of your sheets ripped, you’ll need to sand the edges of each strip. Not only does sanding remove the rough edge from the saw, but it will also accentuate the space between two sheets once it’s installed, which gives shiplap its signature look.
Once you’ve removed the rough edge, hold the sanding block at a 45-degree angle to the strip, and sand until the strip has a slightly beveled edge. This beveled edge will accentuate the edge of each strip to give you a beautiful look for your finished project.
Step IV: Paint the Boards
It’s much easier to paint before installation, so that’s exactly what we’ll do next. How you choose to finish the boards is entirely up to you. The boards can be painted, whitewashed, or stained to your liking.
However, you finish the boards, be sure to get the sides of each board as well. After your first coat or two, allow the boards to dry completely, and sand them gently with 300 grit or higher sandpaper to remove any dust or debris that may be clouding your finish. Then, apply a final coat and allow to dry fully.
Step V: Remove Your Moulding
Next, use a putty knife to gently remove the molding from the wall that you’re covering. Some people have a wizard-like ability to remove fragile molding without issue. But, if you’re like me, you’re probably going to break that sucker in half as you’re working it off the wall.
If it happens to you, just shake it off and pick up some new molding next time you’re at the hardware store.
Step VI: Find the Studs
We’re almost ready to begin the installation. First, we’ll need to locate the studs, so we know where to drive our nails into each board. The easiest way to do this is to use a stud finder to locate each stud, and then snap a chalk line from the top of the wall to the bottom.
If you don’t have a chalk line handy, use a level and your carpenter’s pencil to draw a straight line to indicate where the studs are from the top of the wall on down.
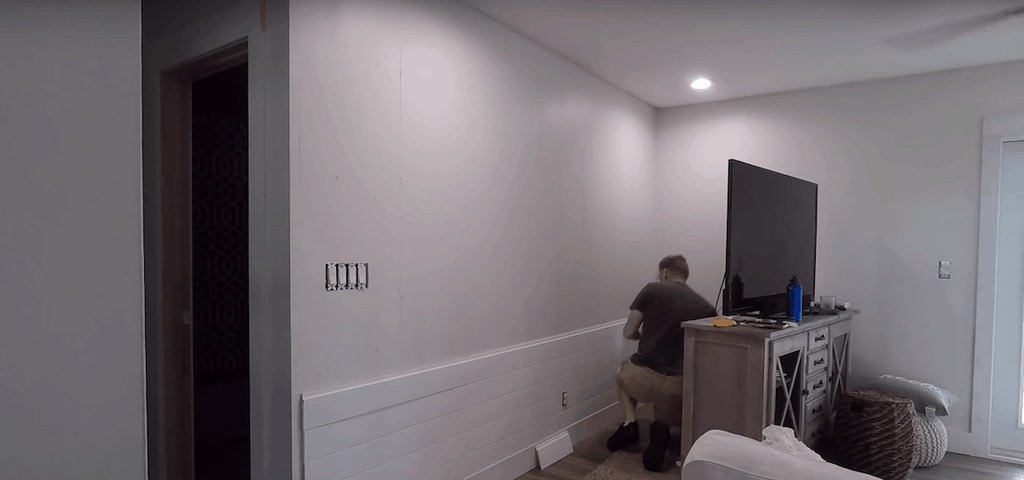
Step VII: How to Install Shiplap
For the installation, we’re going to work from the bottom up, and from either left to right, or right to left (whichever is more comfortable for you.) At this point, you should be working with boards that are 8’ wide. Chances are, you’ll need to cut down full strips to fit your wall.
Start by installing the first board. Drive nails into the board according to where the chalk line is. Next, measure the distance from the end of your first strip to the end of your wall, and cut the next strip down to fit that space. You’ll use the other end of the strip you just cut to start your next row, just like you would if you were installing flooring.
Step VIII: Minding the Gap
Through time, wood will expand and contract, and you need to give it some room to do its thing.
After you’ve installed the first row of shiplap, it’s important that you install all subsequent rows using a spacer, so that you have a uniform expansion gap from top to bottom. Around ⅛” is all you’ll need, and you can use practically anything you like as a spacer, provided it’s ⅛.”
Step IX: The Final Board
Once you’ve reached the top of the wall, there’s a good chance you’ll need to rip the final shiplap strip you have to fit the space for the last row. Measure the distance from the last row of shiplap to the top of the wall, accounting for ⅛” expansion gap, and then rip that final strip to fit so you can install it.
Step X: Replace the Moulding
With your beautiful shiplap wall complete, all that’s left to do is reinstall the top and bottom molding to the wall. Hopefully, you were able to get it off in one piece, but if not, just pick up some new molding at the store to finish the job.
Final Thoughts: How to Install Shiplap
Building a shiplap wall is a trendy and fun home project that adds a unique look and the beautiful warmth of wood to your home. Take your time, measure and cut precisely, and you should be well on your way to a beautiful finished product.
If you’re ready to tackle your next project, check out these 25 DIY wall decor ideas!