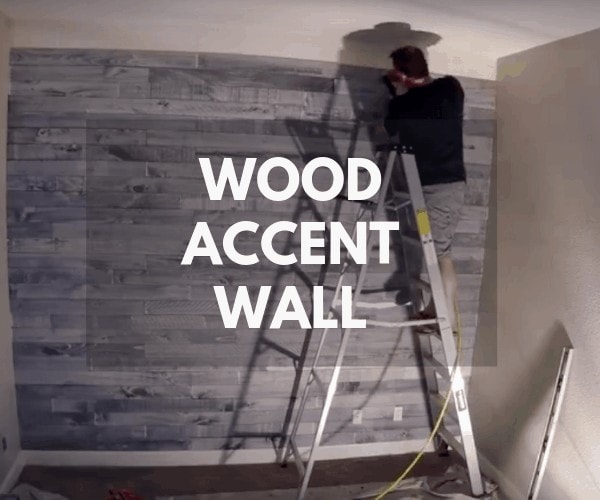

One of the easiest ways to add a warm and cozy touch to any room in your home is with a wood accent wall. Accent walls are easy to build, there’s a myriad of different finish options, and they look at home virtually anywhere.
Read on, and we’ll show you how to tackle this easy home project so you can get to work on your own wood accent wall.
What You’ll Need
- 1” x 6” tongue and groove boards
- Stain(s) of your choice
- Sealant
- Jigsaw
- Finish nailer
- Finish nails
- Table Saw
- Tape measure
- Stud finder
- Level
- Hammer
- Carpenter’s pencil
Measuring Your Space
The first thing you’ll want to do is accurately map out the space you’re working with so that you can purchase the proper amount of supplies. Few things are more frustrating than having to stop what you’re doing mid-job to head back to the store, and no one likes having to go back to the store to return extra supplies either, so accurate measurements are key.
Once you’ve measured the wall you’ll be working on; you can figure out exactly how much wood you’ll need for the project. The easiest and perhaps most effective way of tackling this project is with 1” x 6” tongue and groove boards. These boards are easy to work with, stainable, and they make for a great finished look.
That said, if you’d prefer to use reclaimed wood or any other wood for that matter, you’ll still be able to build a beautiful wood accent wall, and nearly all of the steps in our guide will still apply to you.
Once you know how much wood you’ll need, it’s time to buy supplies.
Picking Up Supplies
Chances are, you already own the few tools you’ll need for this job, but if you don’t, now is a great opportunity to buy or rent them, since you’ll already be at the store.
This is also a perfect opportunity to decide on how you’re going to finish your new wall. There are a few different options: You can pick a stain and stain the entire wall in a single color, you could pick several stains, and create a unique and rustic pattern for your wall, or, you can even purchase prefinished tongue and groove planks to make the project even easier.
Once you’ve decided on how you’ll finish the wall and you’ve picked up all the different supplies you’ll need, it’s time to get cookin’ on your new accent wall.
Mark the Studs
Before you get started, it’s helpful to find and mark the studs in the wall.
Use a stud finder (or just knock and listen, if you’re old-school) and identify where the studs are. Use a carpenter’s pencil to mark where the studs are at the bottom and top of your wall. Then, use a level or a straight edge and draw a line from your mark at the bottom of the wall to the mark at the top.
This will make it easy for you to find the studs when it’s time to nail your planks.
Decide on a Pattern
We’re almost ready to start building the wall, but before we do, it’s a good idea to decide on a pattern for your wood accent wall. Depending on the width of the wall, you may be able to use full planks to complete the project. Or, you may wish to use multiple cut planks to add an extra dimension to your project.
If you choose to use multiple cut planks, you’ll need to decide on at least two different lengths for the planks. To make things easy, I work with 10’ planks and cut them, so I have 6’ pieces and 4’ pieces. The length of the planks is entirely up to you.
Cut the Planks
Once you’ve decided on whether or not you’ll create a pattern on your wood accent wall, it’s time to cut your planks to size. If you’re one of the lucky ones, and the length of your room matches the length of the planks you bought, you may be able to avoid this step altogether.
But for most of us, you’ll need to do some cutting. Measure where you’ll need to cut each plank and mark it with your pencil and level or straight edge. Then, use your table saw (or whichever saw you have handy) and cut your planks.
Preparing the Wood
This step will depend on how you plan on finishing your wood accent wall. If you went with prefinished planks, you could skip straight to installing your wall. If you’re finishing your wall in one color, you can also skip this step. But, if you’re using multiple colors to add dimension and interest to your wall, you’ll want to get the staining out of the way before installing.
Stain each of your cut planks to your liking using the stains you’ve chosen and a paintbrush. Allow each plank to soak up as much stain as possible, and then wipe the plank down with a clean rag to remove any excess stain. Repeat this process until all your planks are stained, and then allow them time to dry.
Installing the Wall
With your planks ready to go, it’s time to begin attaching them to your wall.
We’re going to work from the bottom up, so begin by taking your first plank and attaching it to the wall with the tongue side facing up. Drive nails into the stud locations you’ve previously marked. If you’re creating a patterned wood accent wall, repeat this process with however many sections of plank you need to run the entire width of the wall.
Take the next plank, also with the tongue side facing up, and align the groove on the bottom of the plank with the tongue on the plank you just finished attaching. Sometimes the planks will snap right together, other times you’ll need to give the top plank a few shots with the hammer to lock it into place.
Once that plank is securely in the groove, nail it in place. Repeat this process until you’ve reached the top of the wall.
If you have any outlets to work around, you can measure and cut around them as you’re installing the wall. When you reach an outlet, lay out your plank as if you’re installing it, mark where the outlet is, and use a jigsaw or Sawzall to cut around the outlet.
Rip the Final Plank
Unless you’re exceptionally lucky and you have room for one more full plank at the top of your wall, you’ll need to rip the last plank to fit. Measure the height between the last plank you’ve installed and the ceiling and mark it on your plank with your pencil and level. Be sure you’ve marked from the bottom of the plank you’re ripping, as you’ll need to keep the groove intact.
Next, rip the last plank using a table saw, and discard the section with the tongue. Now, install the final plank the same way you’ve installed each of the planks before it to finish the wall.
Finishing the Wood Accent Wall
If you bought prefinished planks, or if you’ve used multiple different stains to create a patterned wall, you can skip the staining portion of this step, since you’ve already completed this portion of the job.
But, if you’re going with a single color stain, you’ll need to now stain your wall. Using the stain of your choice and a paintbrush, evenly stain the wood. Allow several minutes to pass, then wipe the wood with a rag to remove any excess stain. Repeat this process with as many coats as necessary to achieve the finish you want.
Next, you’ll want to seal the wall to ensure it looks beautiful for years to come. Apply one or two coats of sealant using a paint brush, and admire your beautiful new wood accent wall while it dries.
Final Word
Building your own wood accent wall is a fun and easy project that can add a beautiful new touch to any room in your home. This guide should be all you need to make your own wall but feel free to add your own unique touch to the outline above to create the perfect wood accent wall for your home.
If you’re already itching to start your next woodworking project, check out our tutorials on building a pallet headboard and farmhouse table!