In most cases, you don’t give a lot of thought into a table, specially a console table.
But when you think about it, a console table can turn into a focal point when positioned in the right place. It can give a great first impression at the entryway, make an amazing display with a classy wine rack and can also hold tiny knick-knacks that get lost easily, like your keys.
So go ahead and make this this budget-friendly rustic console table – the tutorial comes from The Rehab Life on YouTube, which is one of our favorite DIY channels.
What You’ll Need:
- 2 pcs. 1”x8” x10ft
- 1 pc. 1”x6” x10ft
- 3 pcs. 2”x2” x8ft
- finish nails (2”)
- trim head screws (2”)
- wood filler
- sanding block
- paint brush/ rag
- wood stain
- polyurethane
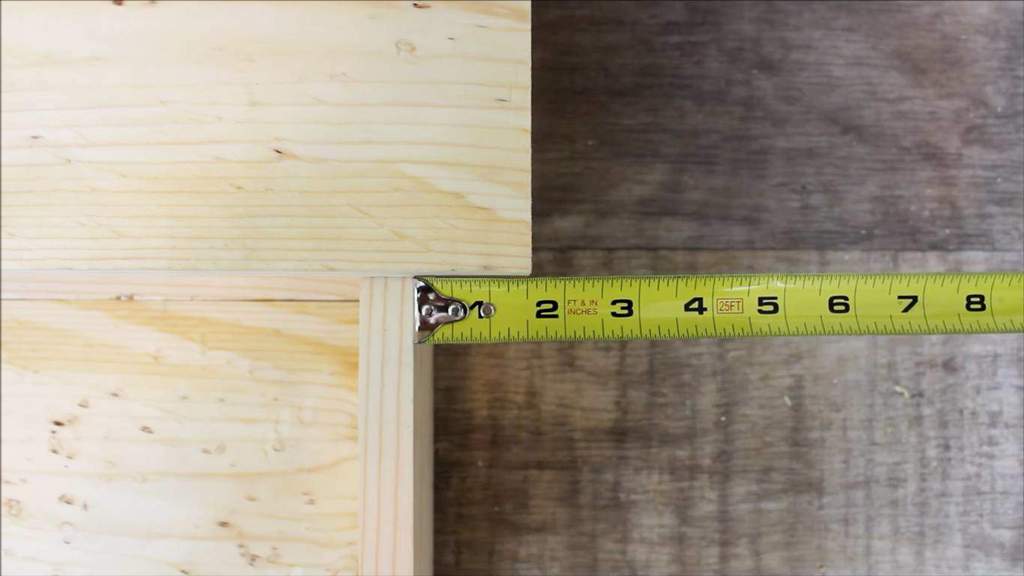
Step 1: Measure and cut the wood
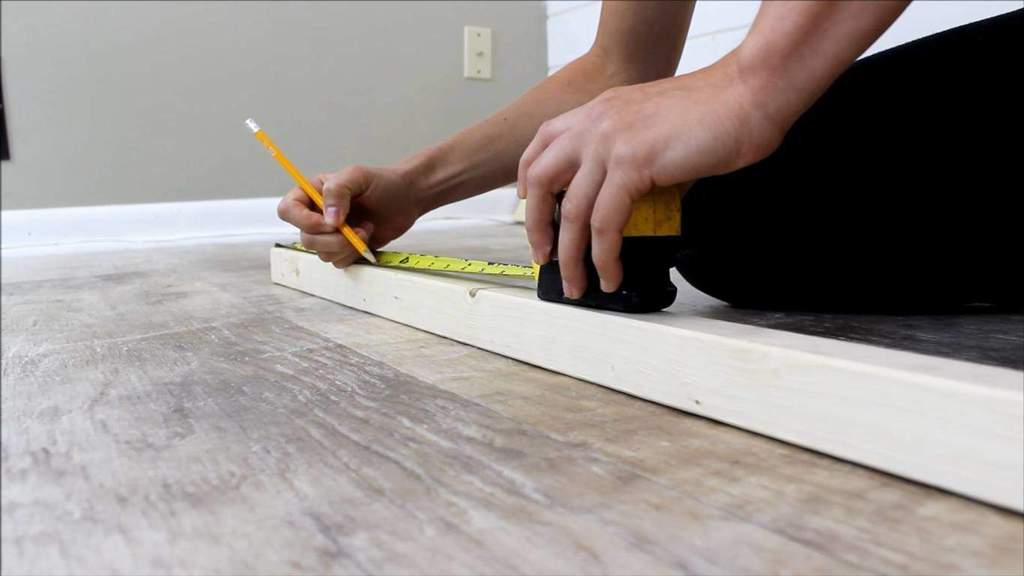
Follow these measurements to make the boards you need:
- Two 60” long pieces from the first 1”x8”
- Two 57” long pieces from the other 1”x8”
- One 57” long piece from the 1”x6”
- Four 13 3/4″ long pieces from the same 1”x6”
- Four 30” long pieces from the first 2”x2”
- One 57” long piece from the second 2”x2”
- Six 11 1/2″ long pieces from the remaining 2”x2”
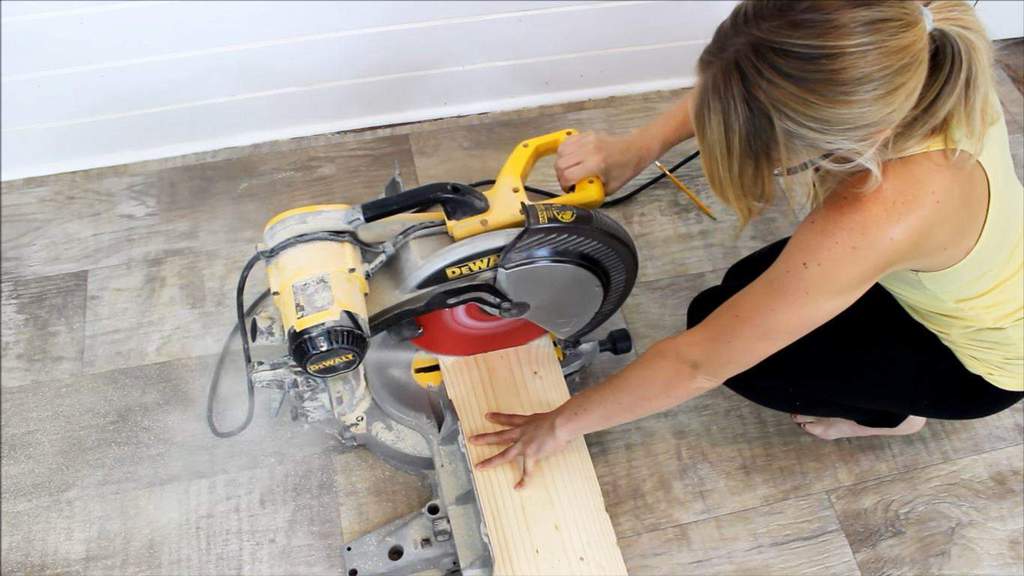
Use your miter saw to safely cut the wood.
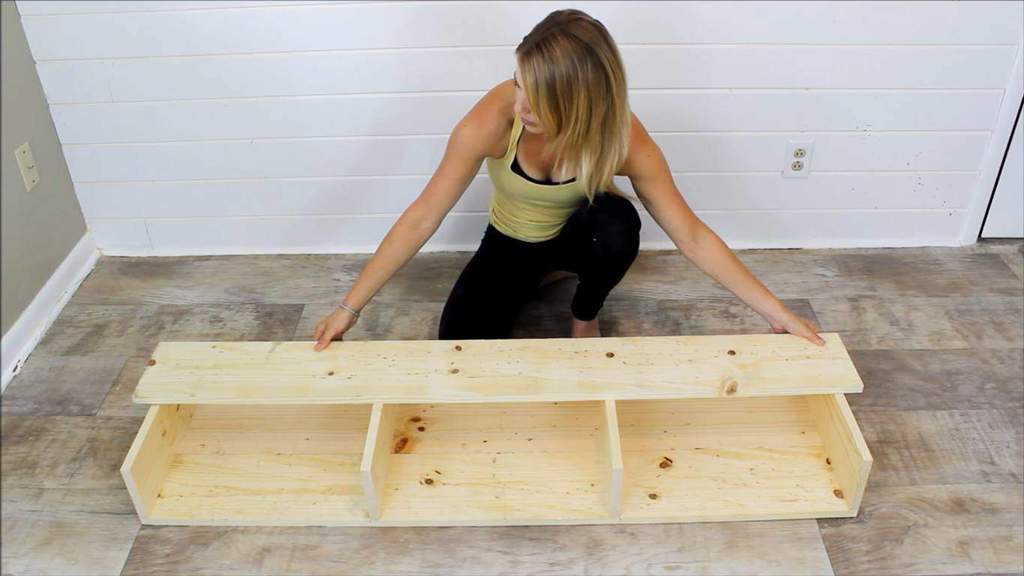
Step 2: Combine the 1”x6” boards
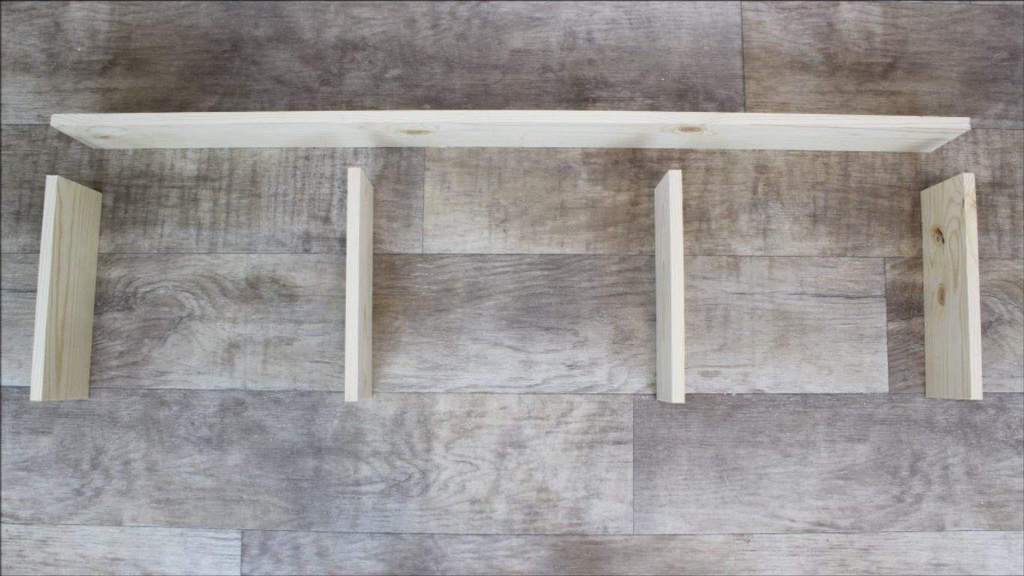
Grab all the 1”x6” boards, and arrange them into something like this. The 13 3/4″ boards should be perpendicular to the 57” long piece. This 57” board will be the back of your console table.
Attach the boards using the finish nails. Start by nailing the two ends first.
Then flip the boards sideways, and nail the remaining two 1”x6” x13 3/4″s into place. Don’t forget to evenly space these two boards apart. They should be 18” away from each other.
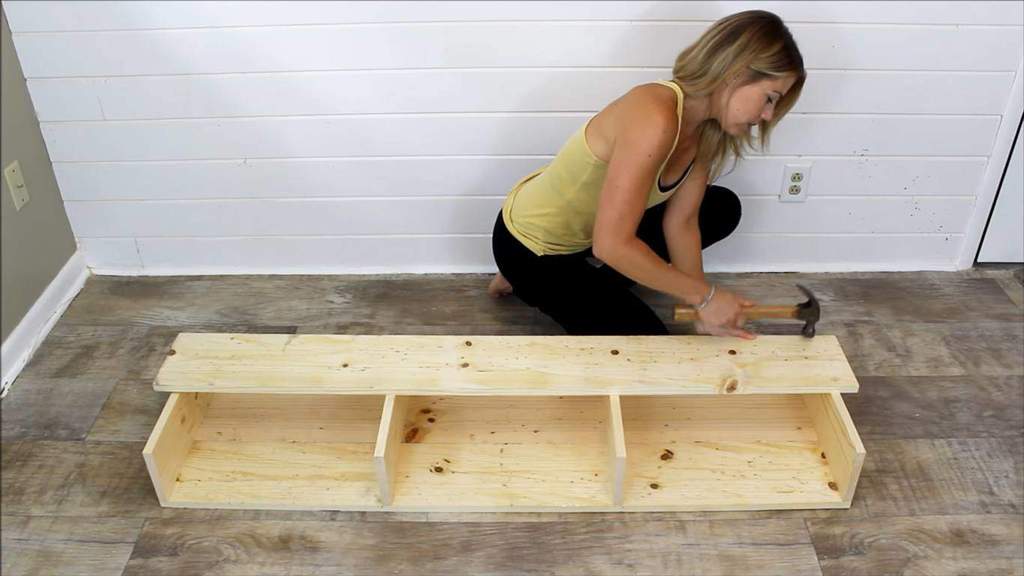
Step 3: Place the 1”x8” 57” boards on one side
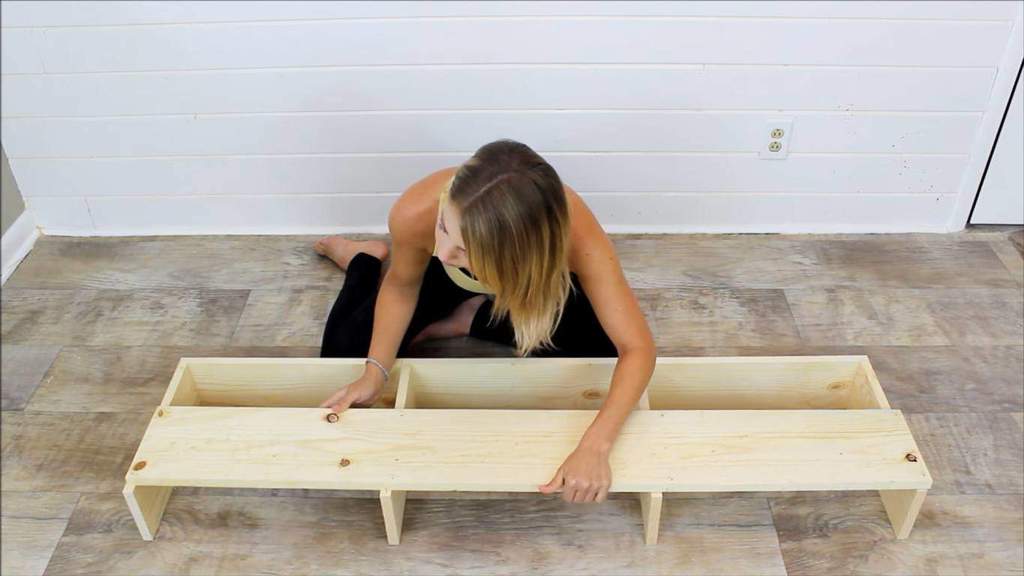
Get one 1”x8” x57” board. Place it flush along the front like this.
Secure it with finish nails on the sides.
Before nailing the middle boards into place, recheck if they’re still straight and aligned with the 18” gap. You don’t want them slanting to the sides.
Now it’s just a matter of securing the second 1”x8” x57” board at the end.
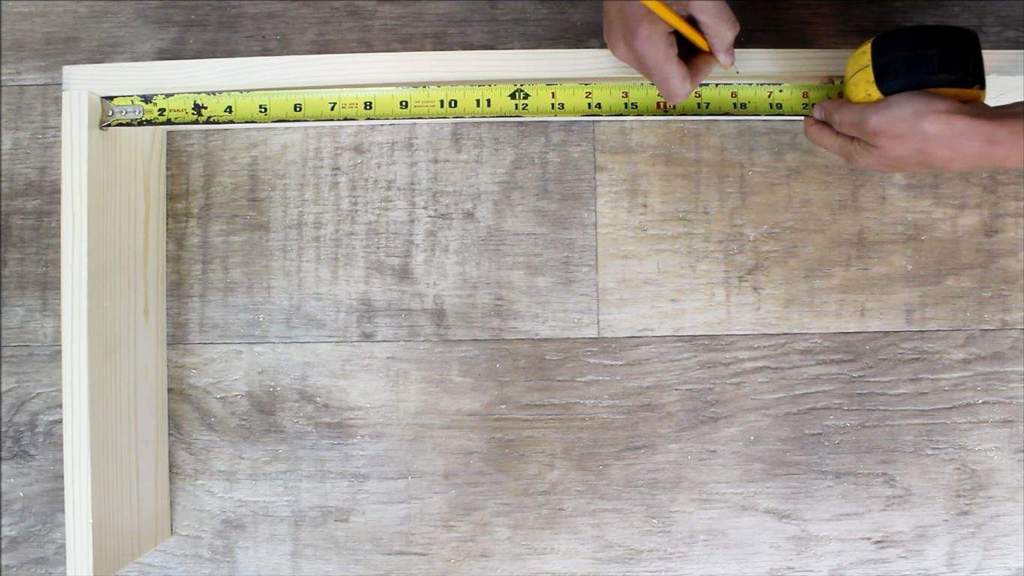
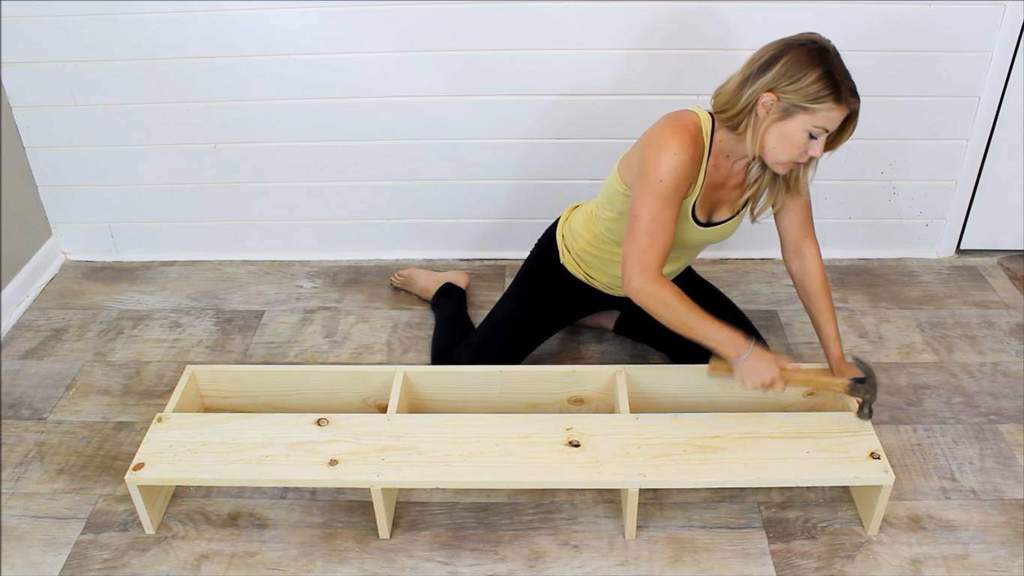
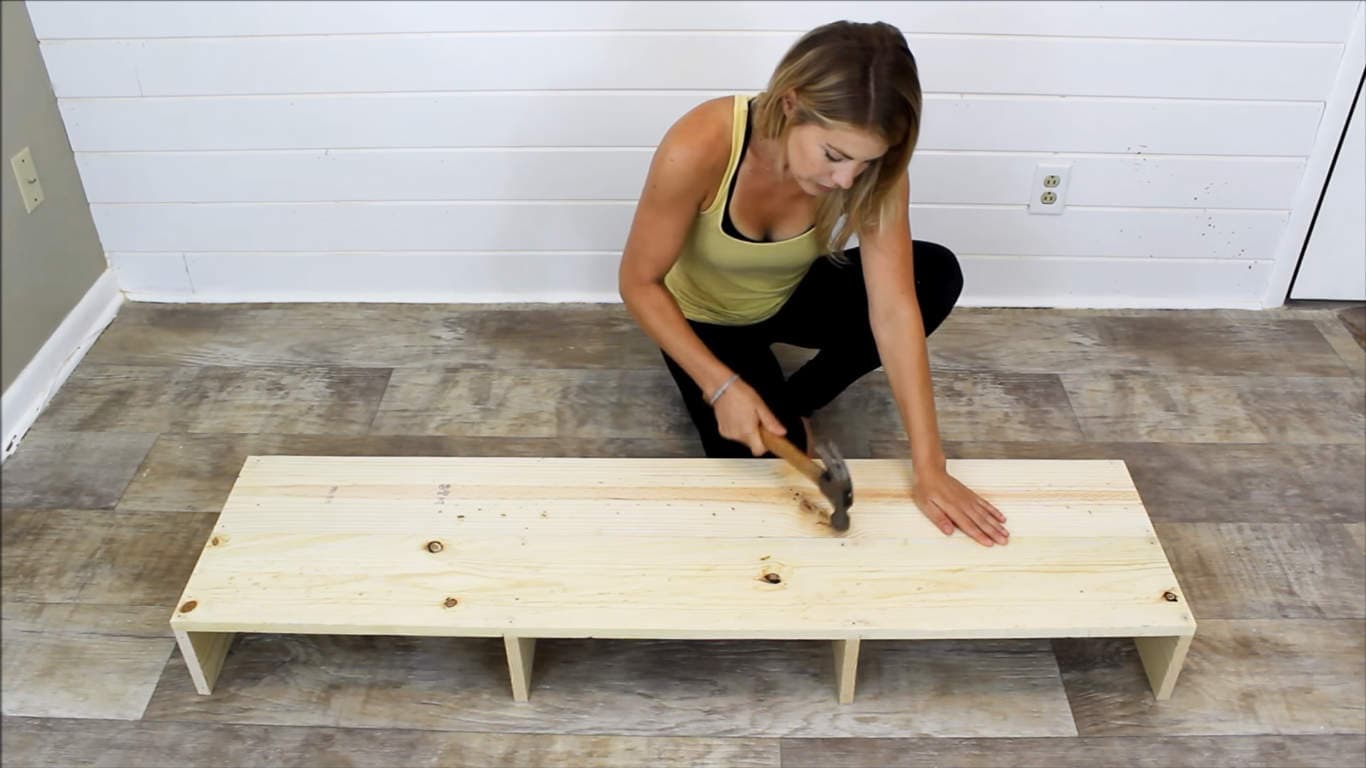
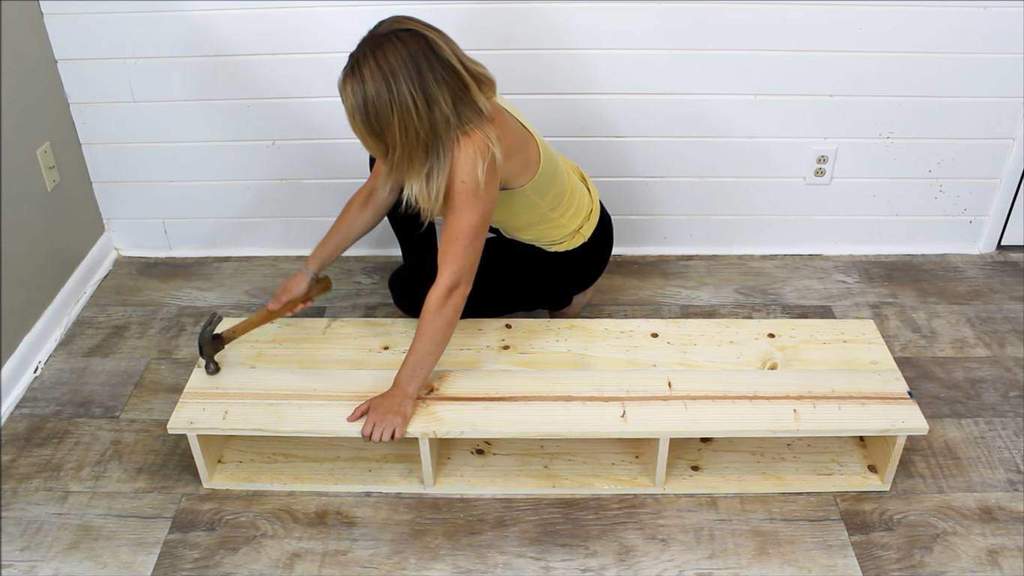
Step 4: Lay the 1”x8” x60” across the top
Flip the boards again. Then lay the first 60” long piece on top. Remember to keep it flush with the backside of the frame.
There’s also a 1 1/2” overhang for both sides.
Secure the board with more nails.
Do the same for the other 60” board. With this, the tabletop is now done! Set it aside to work on the legs.
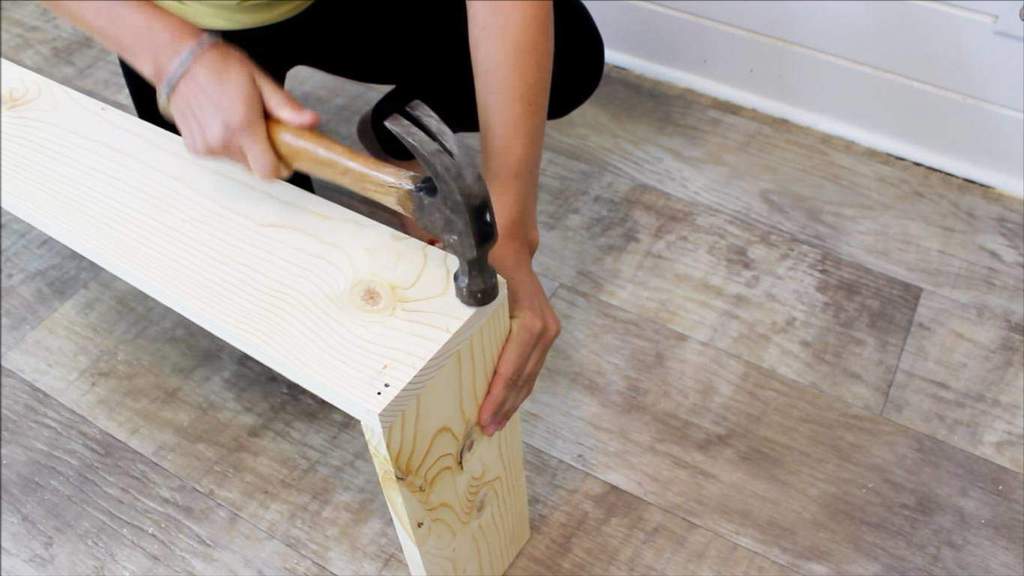
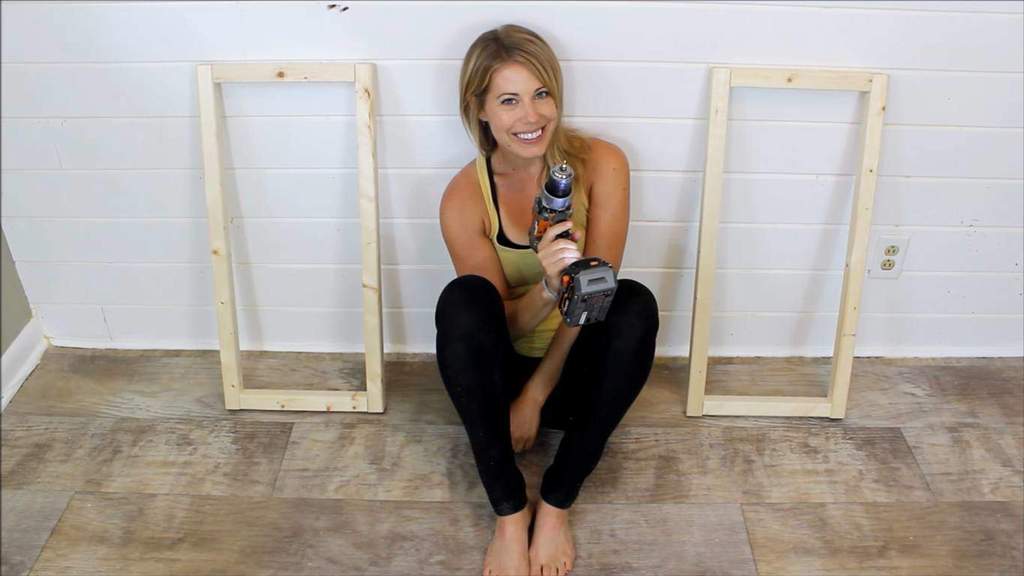
Step 5: Build the table’s legs
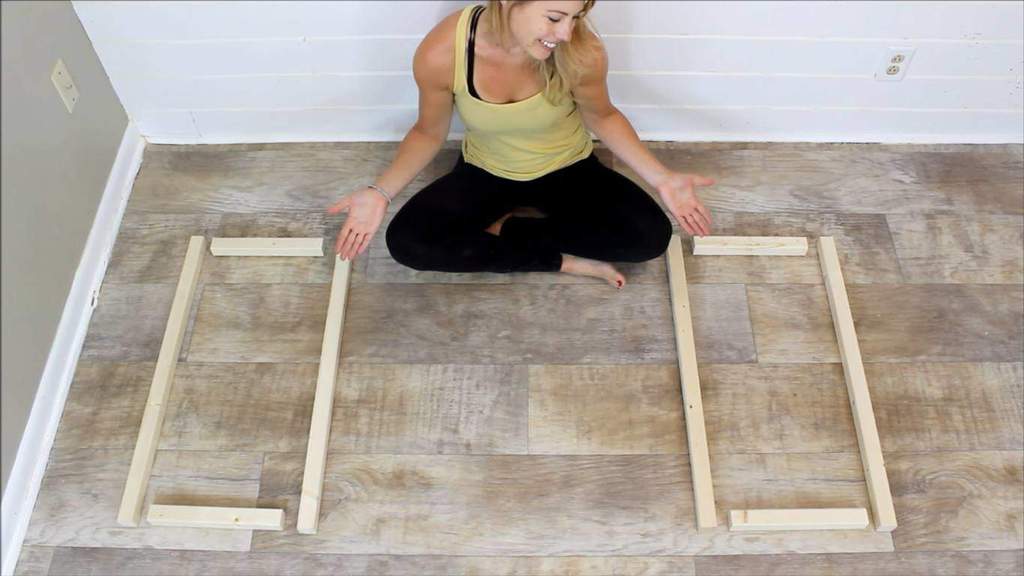
Now it’s time to give the table some legs. Arrange the four 2”x2” x30” pieces and four 2”x2” x11 1/2″ pieces like this.
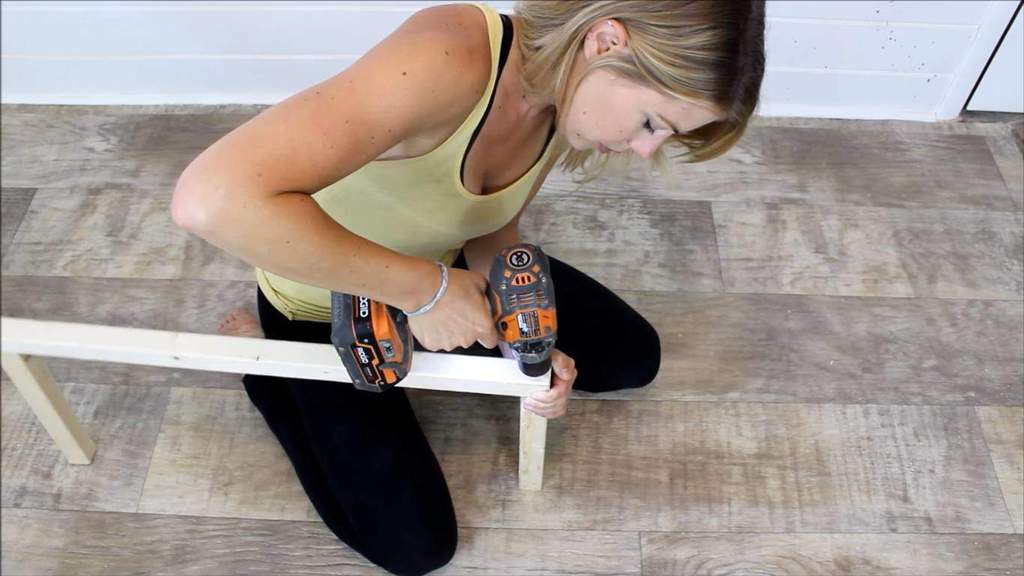
Attach the boards together using the trim head screws. So you’ll have two big rectangles after.
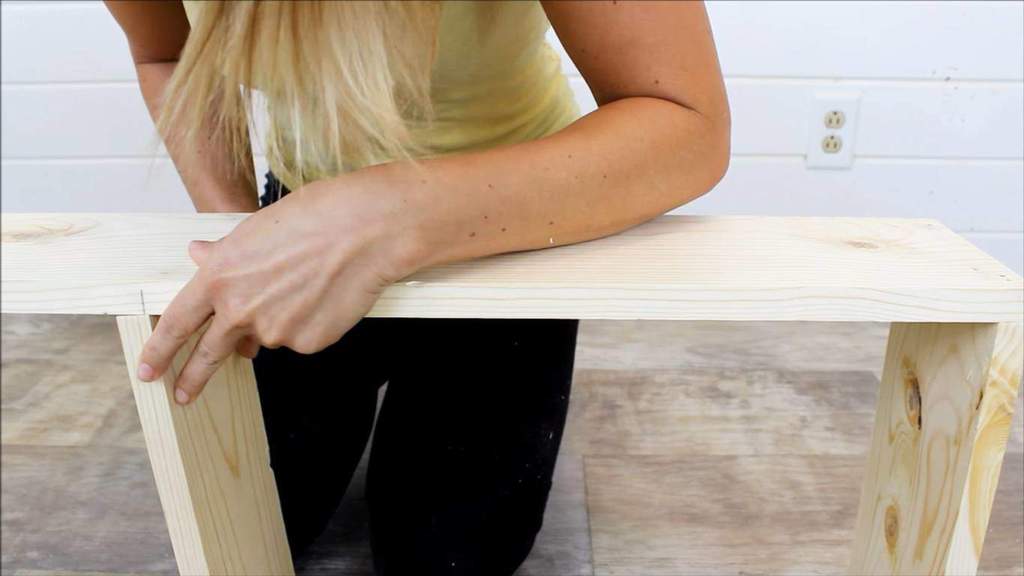
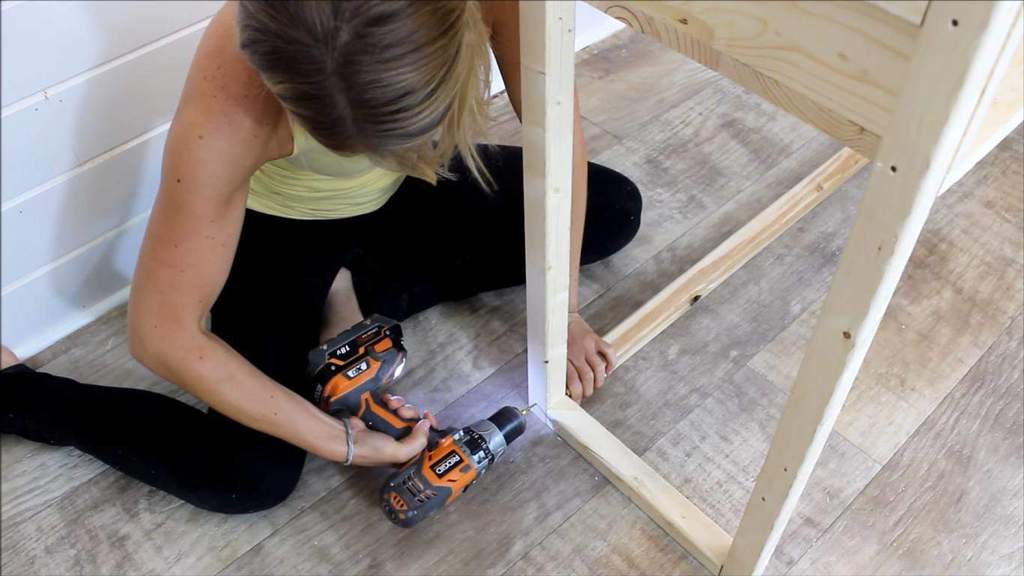
Step 6: Attach the legs
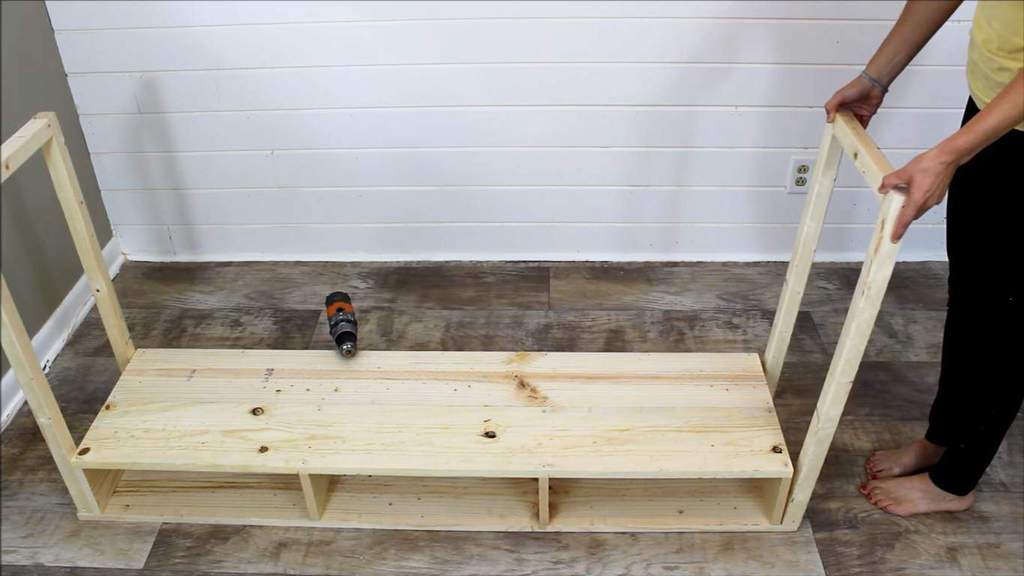
Flip the tabletop upside-down. If you’re not so sure which side is down, the side with the overhang should be at the bottom. Place the legs flush against the left and right sides. Stand them snuggly on the overhang.
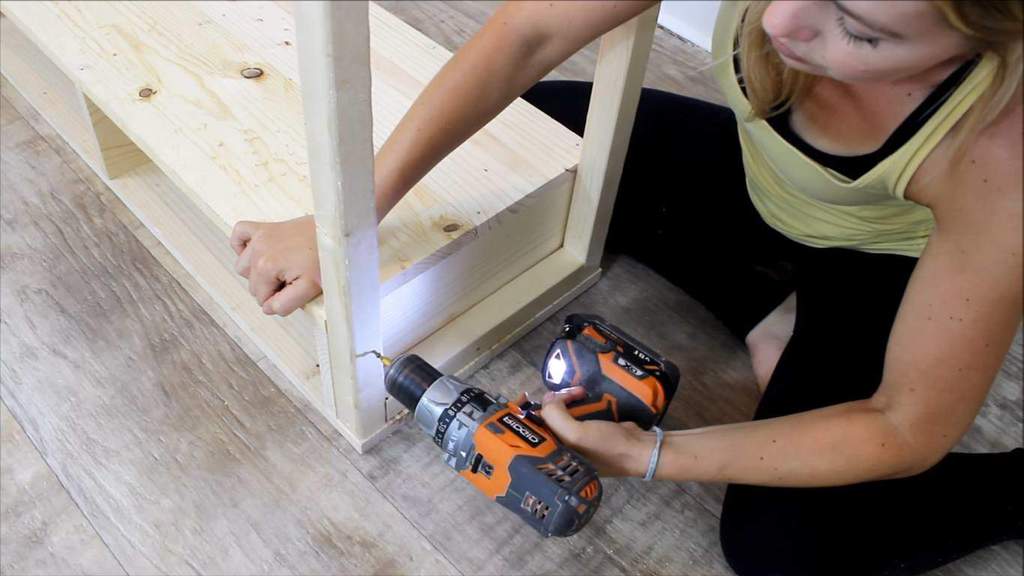
Screw them to the tabletop’s side.
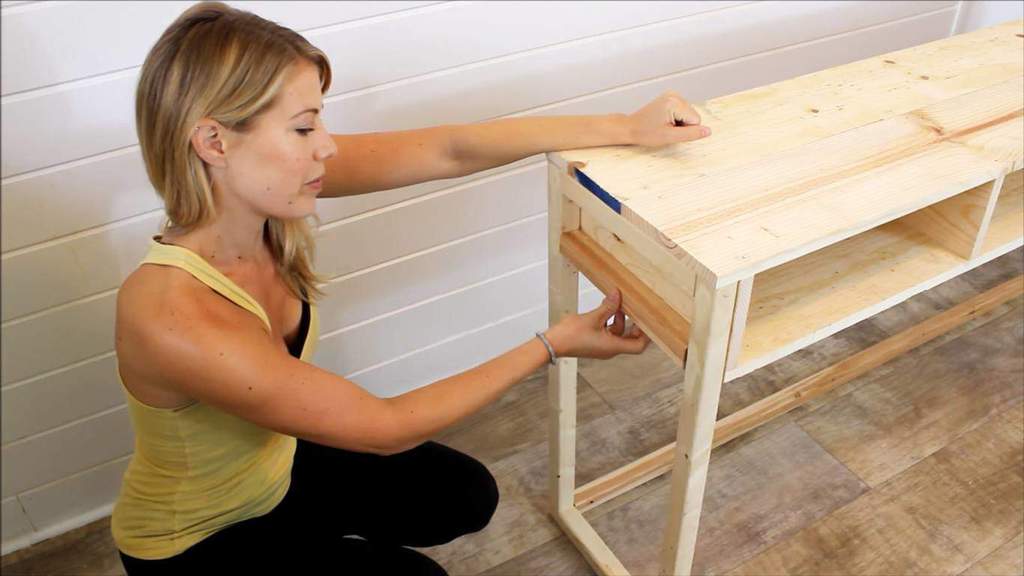
Step 7: Lay the 2”x2” x57” piece at the bottom
Flip the table right-side up. To give it more support, take the 2”x2” x57” board, and place it across the bottom. It should just reach the legs.
Screw it in place.
Step 8: Put the 2”x2” x11 1/2” at the bottom edge of the tabletop
Position the 2”x2” x11 1/2″ boards flush against the bottom edge of your tabletop.
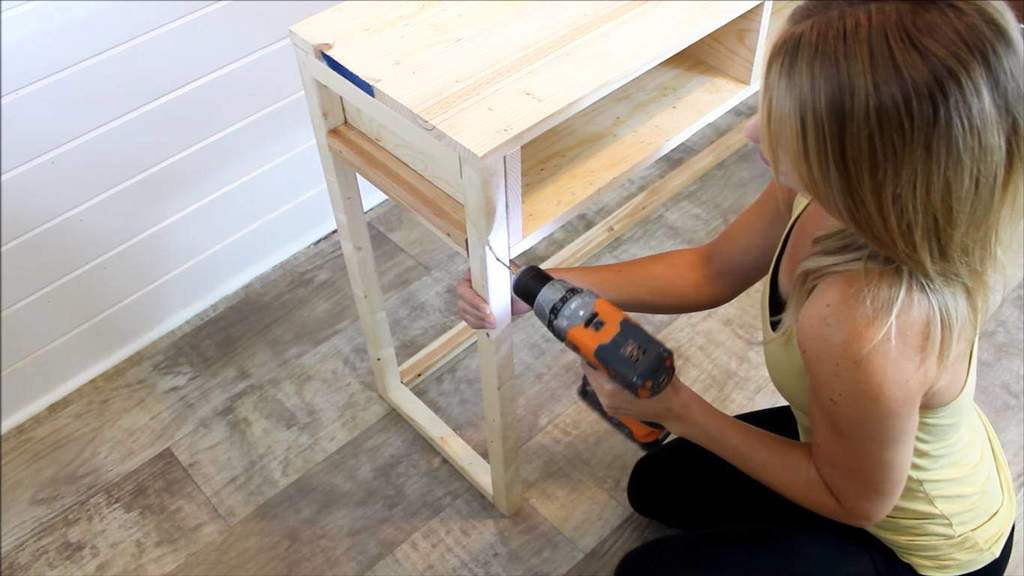
Screw them to the tabletop’s sides and to the legs as well.
Step 9: Fill the holes with wood filler
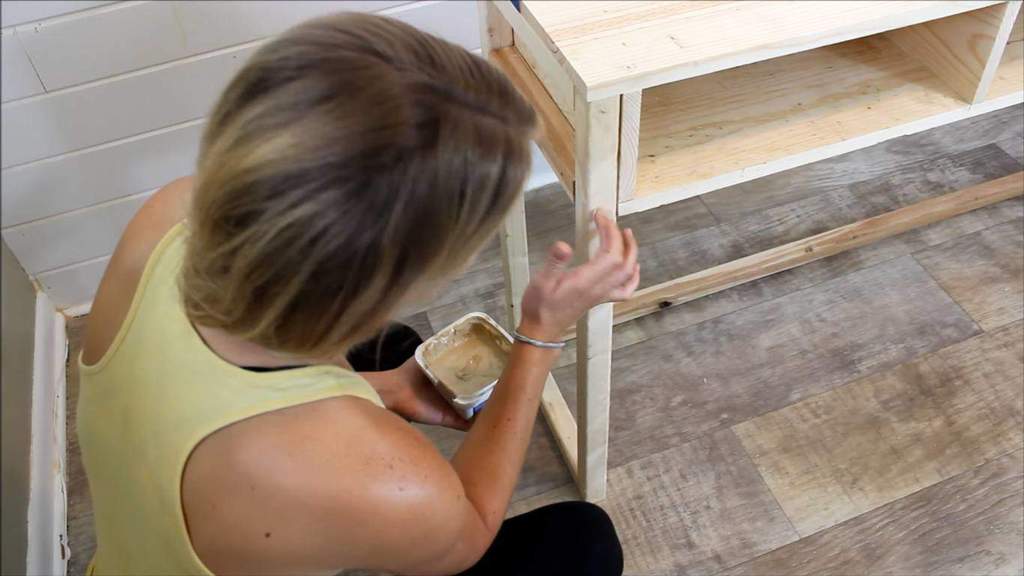
Give your table a cleaner look by filling the nail and screw holes with wood filler.
Step 10: Sand the table
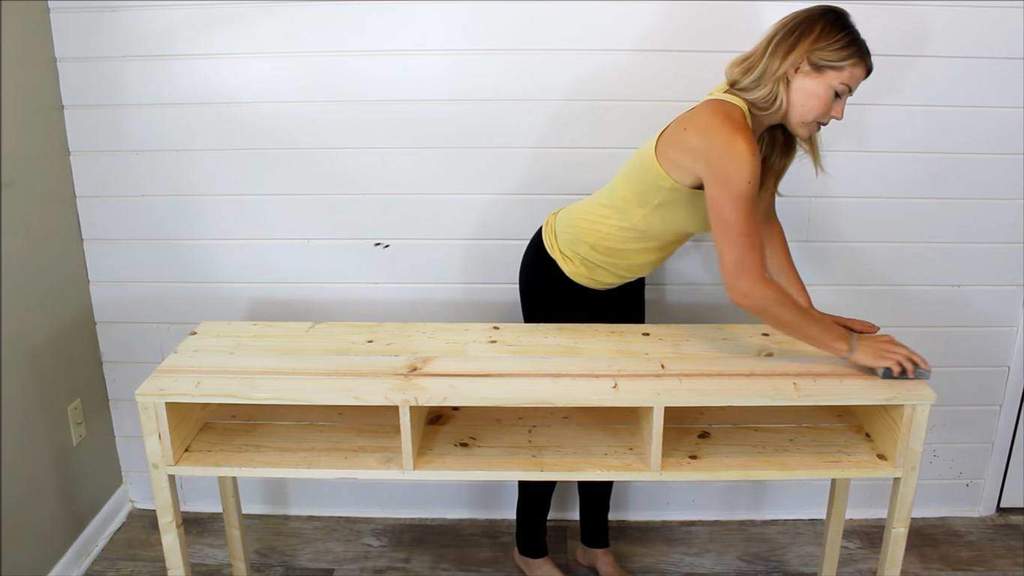
Even up the table’s surface and edges with your sanding block.
Step 11: Apply wood stain
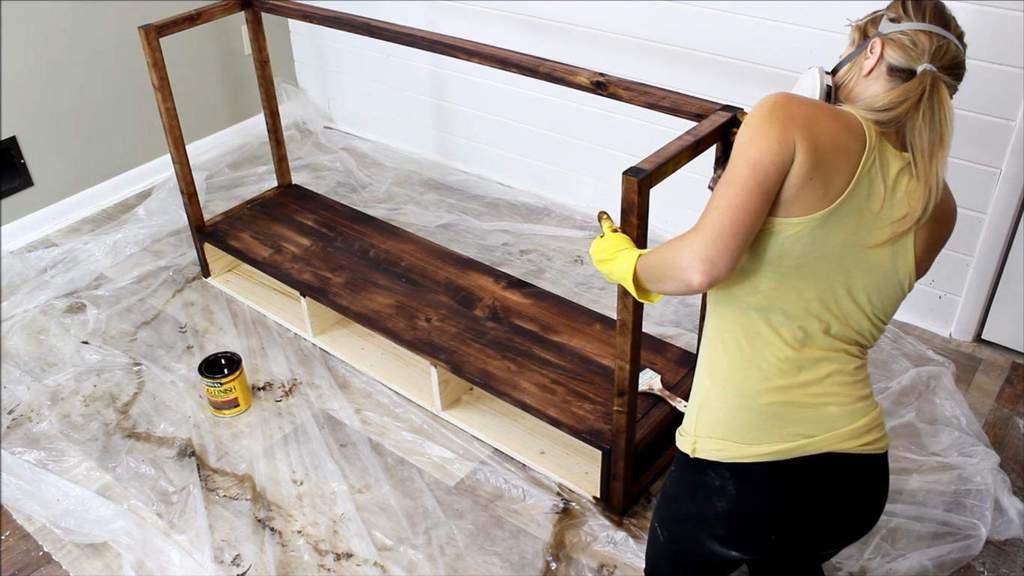
Use a paint brush or a rag to cover the entire table with wood stain. Then let it dry for a few hours.
Step 12: Cover the table with poly
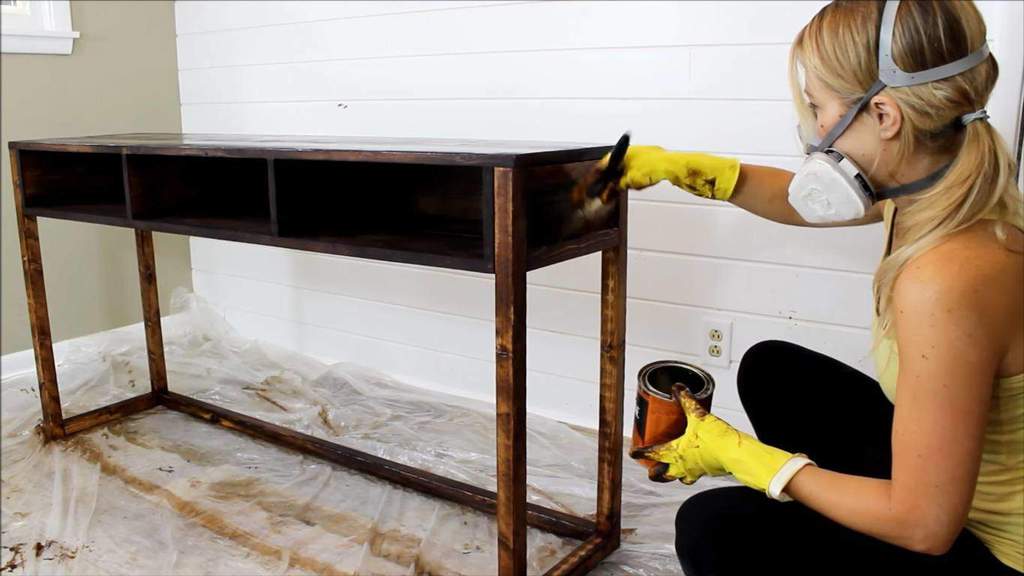
Once the stain dries, apply the polyurethane to protect the table from moisture. Let this coat dry as well.
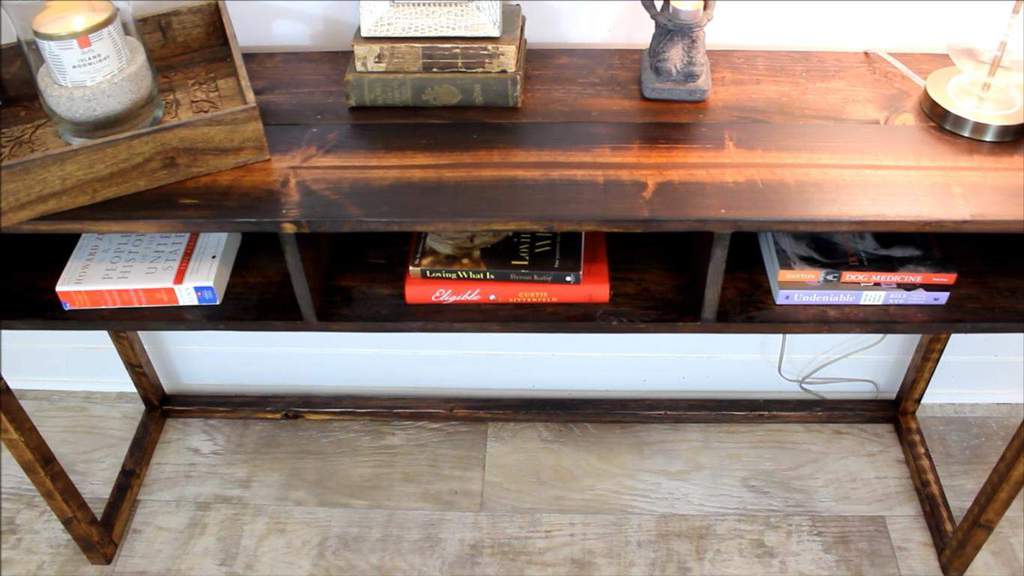
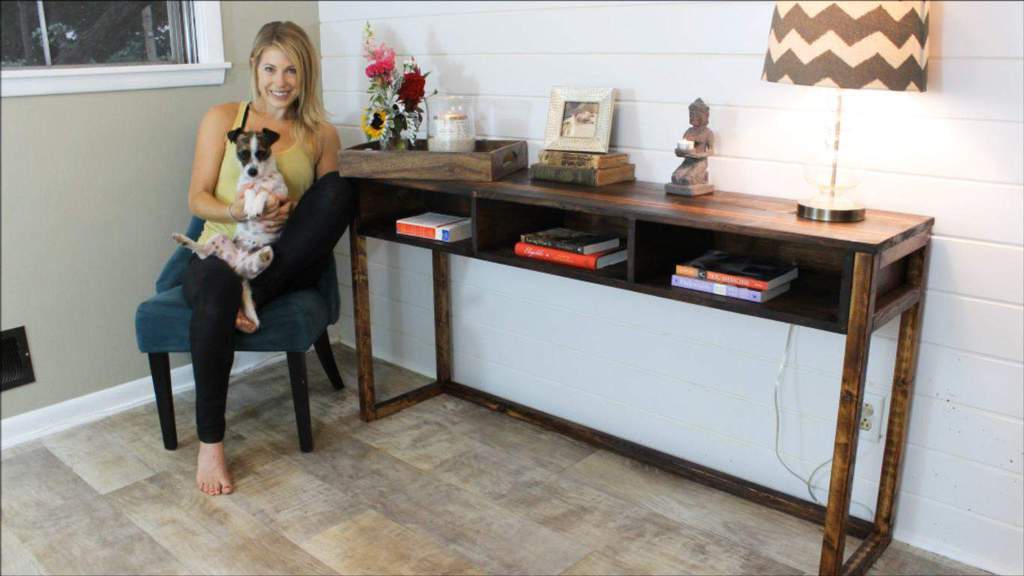
And it’s done! You can decorate this console table however you like. Take it to your living room, a hallway or at the entranceway for your key bowl. You’ll never have to deal with disappearing keys ever again because now you’ll have that one place to drop them in.
This How-To is from The Rehab Life. If you want to check them out, visit their YouTube video here.
Are you looking to purchase instead?
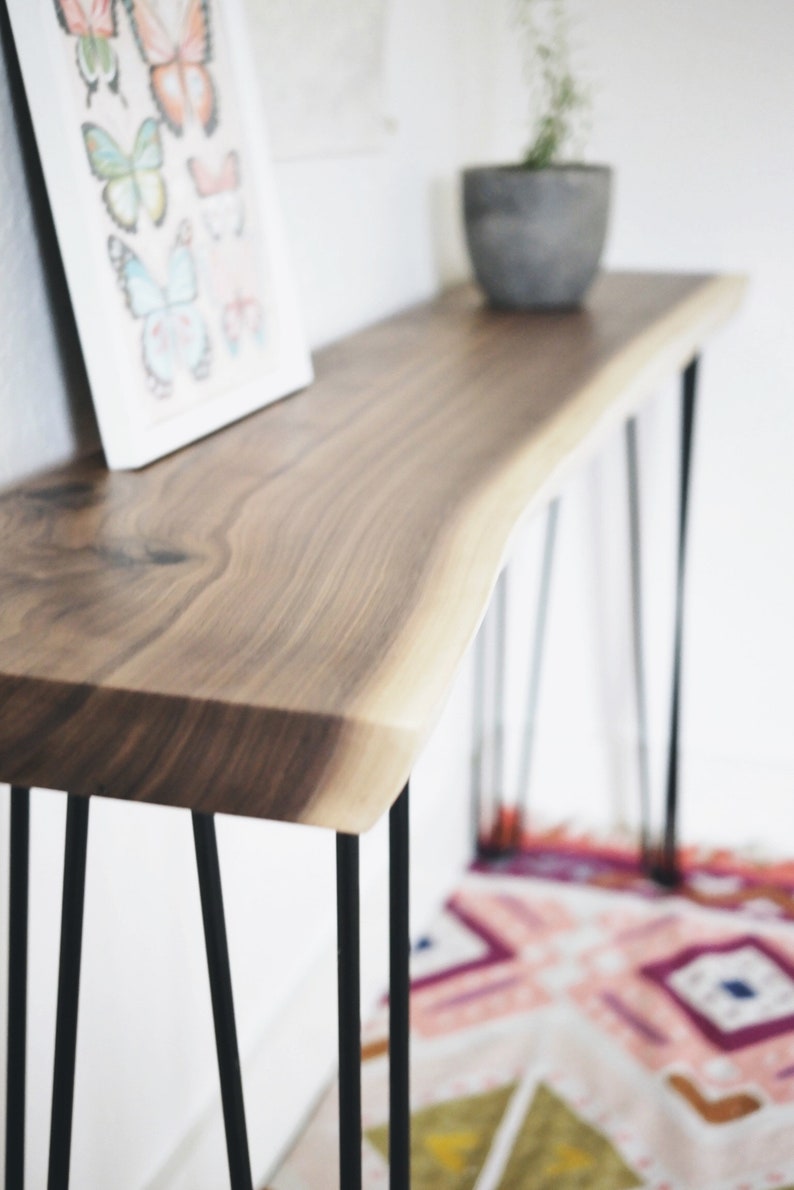
If you would rather pick up a high-quality but reasonably priced table check out Artisan Born’s amazing line of console tables available on their Etsy shop: Live Edge Walnut Console Table, Solid Black Walnut Narrow Console Table, and Handmade Live Edge Walnut Narrow Console Table.
Shouldn’t the overhang be 2″ on each side if your legs are 2″ x 2″? Thanks!