
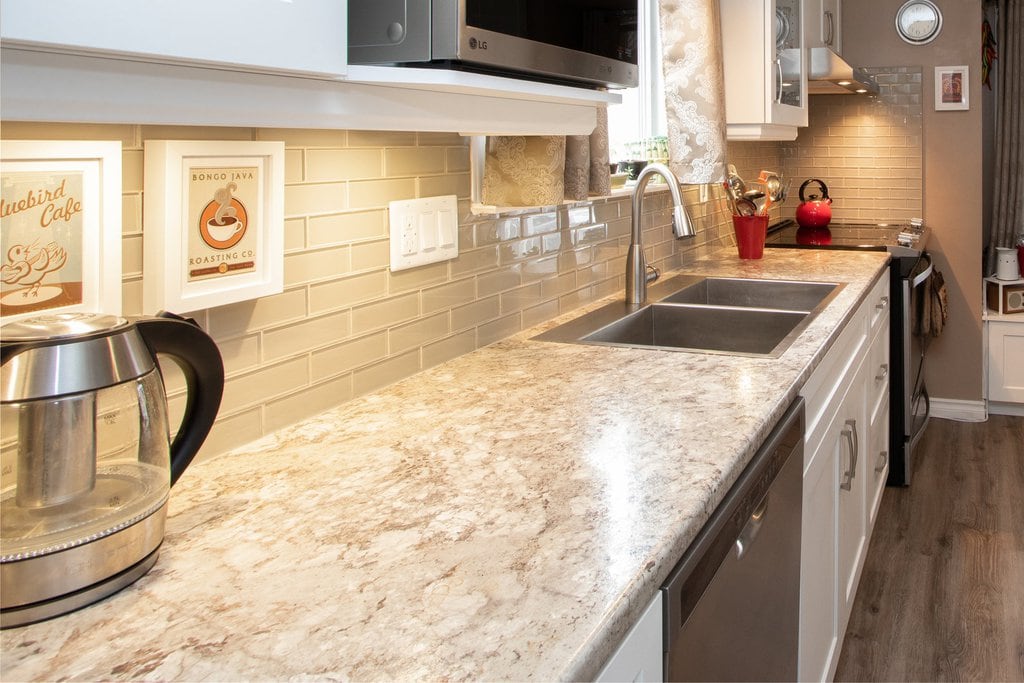
If you’re remodeling your kitchen or installing a new countertop somewhere like a bathroom or utility room, then you will probably have to cut it down to size. In this guide, I’ll walk you through the steps you need to follow if you want to know how to cut a laminate countertop with a beautiful straight edge.
Here’s what you’ll learn:
- The tools and prep you’ll need
- Steps to follow to get the best results
- The best tool for the job
- Tips for getting a perfect result
Rady to get started?
Table of contents
Tools for Cutting Laminate Countertop
There are a handful of different ways to cut laminate countertops. You could use a table saw, router, or even a hand saw. But those are either not practical or not accessible for a lot of DIYers.
Today, I’m going to focus on the most simple and straightforward method that utilizes power tools most homeowners and casual DIYers can easily access.
Here’s what you’ll need:
- Measuring tape to find your cut lines
- Carpenter’s Pencil for marking your cutting line
- Carpenter’s Square for a straight line and clean angles
- Circular Saw with fine teeth circular saw blades
- Work Table to hold support your laminate counter top
- Masking tape to prevent chipping
- Jigsaw with fine jigsaw blade to cut sink hole or other holes
That’s pretty much it. You will also want some safety glasses, fine grit sandpaper, C clamps, and maybe some saw horses if the piece you’re cutting needs extra support.
Before You Start, Select the Right Blade
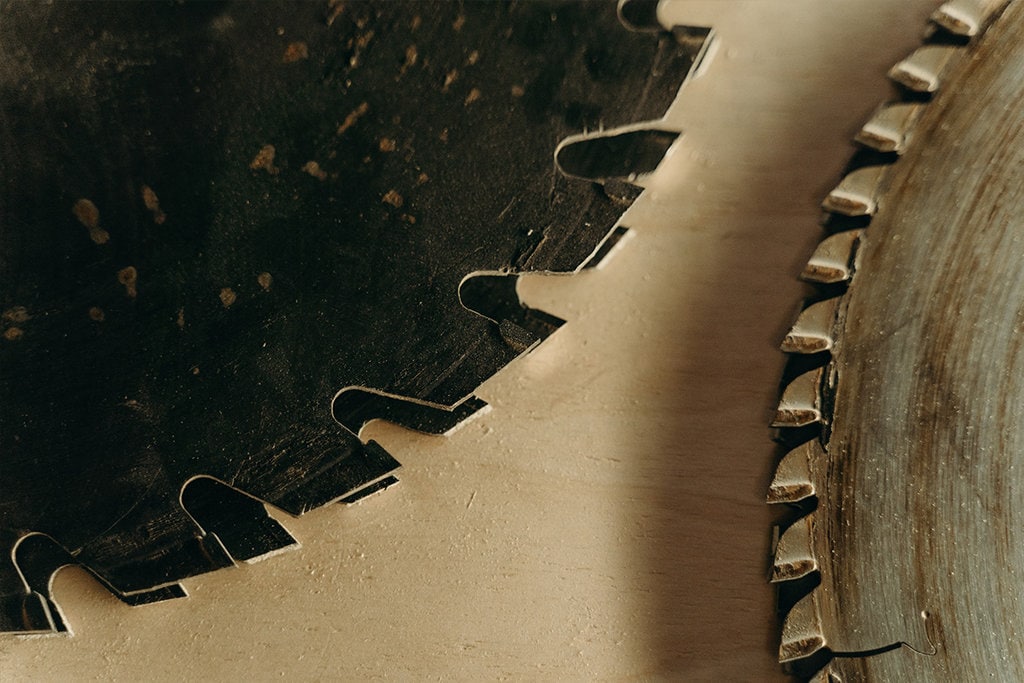
Before you start in on cutting your laminate countertop, it’s of utmost importance to equip your circular saw with the right blade.
We’re focusing on laminate countertops and they need a certain kind of saw blade. If you have a different material, then you want a circular saw blade designed to cut it cleanly. For example, a granite countertop wants a fine-toothed blade with diamond or super sharp carbide tips. Stone countertops and formica countertops are similar.
But for cutting a wood laminate countertop, a fine blade designed for cutting plywood will work just fine.
Step I: Measure the space
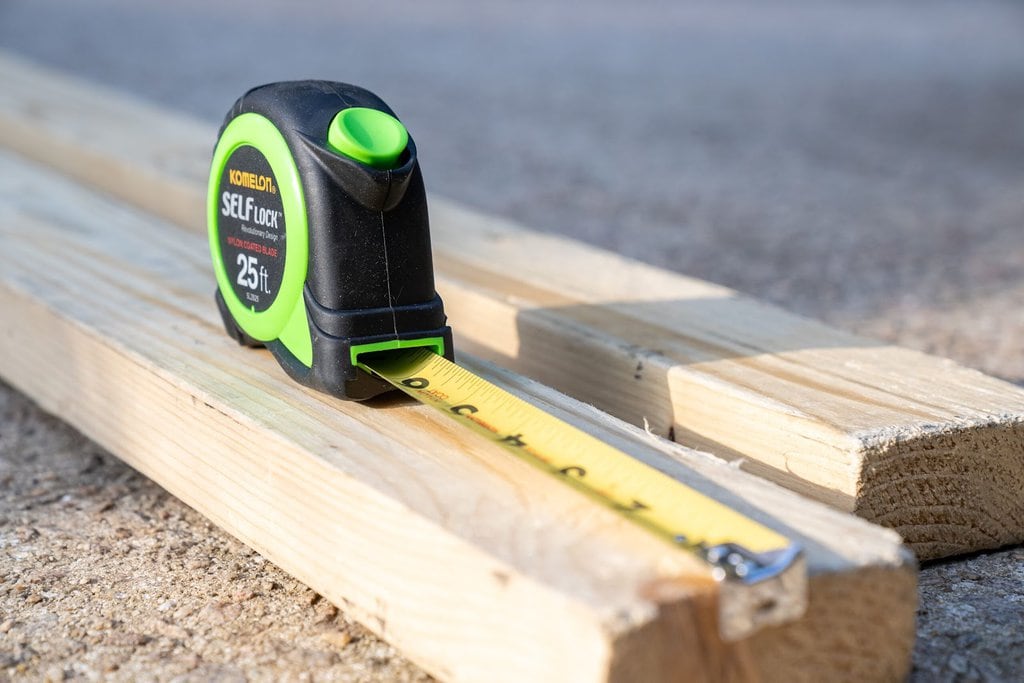
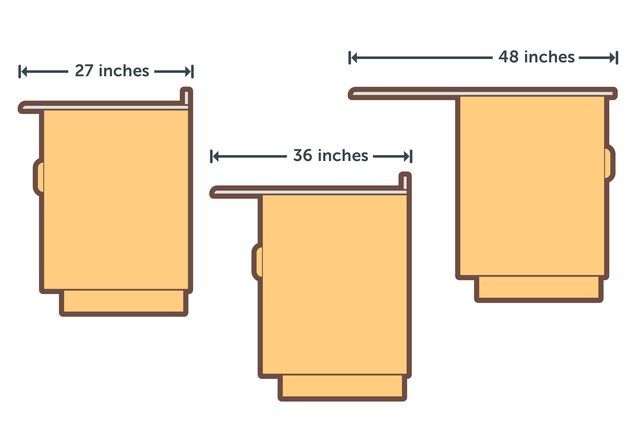
The first thing to do is measure the length, which is left to right as you’re looking at the countertop. I’m sure I don’t need to tell you how to use a measuring tape. But there are a few things you can do to help yourself:
- Measure the length at the front, back, and middle of the counter space. If your space isn’t perfectly square, this will save you from cutting in the wrong place.
- Be sure your measurement includes any overhang if you need to leave some countertop hanging over on one end.
- Double check your measurements. Measure twice, cut once. Countertops are expensive, so don’t make a silly mistake by not checking your tape measure again.
As with every project, use the same measuring tape for marking your work surface as you do for making measurements.
Step II: Cut to Length
Now it’s time to make the biggest cut, which is the straight cut to bring the piece down to close to its final length.
If you’ve never cut laminate countertop before, or used your saw and blade before on laminate, then it’s a good idea to make a few practice cuts. For example, if your slab is 72″ long, but your finished countertop is only 60″, make a cut just 2″ in from the edge. You can mark your cut line, use some masking or painter’s tape, and then cut the laminate. This will give you a chance to perfect your straight cuts, check out the cut edge on your scrap piece, and make some adjustments to avoid chipping when the cut really matters.
After you’ve made a practice cut or two, it’s time to measure the wood and mark your final cut line. Mark it carefully and then cut as accurately as possible. If you leave a 1/32″ or 1/16″ extra, you can sand it to clean up the rough edges without being too short.
Step III: Cut to Width
Now that your laminate countertop is cut to length, it’s time to set it on the actual countertop area to find the correct width measurement. This is the depth from the front to the back of the countertop.
The easiest way to do this is to first make a width measurement with your tape measure. Again, you must remember to leave your overhang. Cut the width of the countertop slab slightly wider than this.
You can then lay the slab on top of the countertop area.
This will then enable you to use a scribing tool, or just your pencil, to scribe the width of the countertop. Make another cut along the scribe mark for an exact fit.
This is going to be a long cut, so you should probably use a fence. If you’re working with a table saw or jigsaw, clamp a fence or spare straight board to your work piece to get a straight edge to cut against. You should also use masking tape to cover the laminate. Mark your cut line on top of the tape to reduce tearout.
Once you’ve made the first cut, put the countertop in place and scribe a line where the final measurement shows. Then, cut again to the final line. Leave a little extra for sanding.
Step IV: Make Any Cutouts
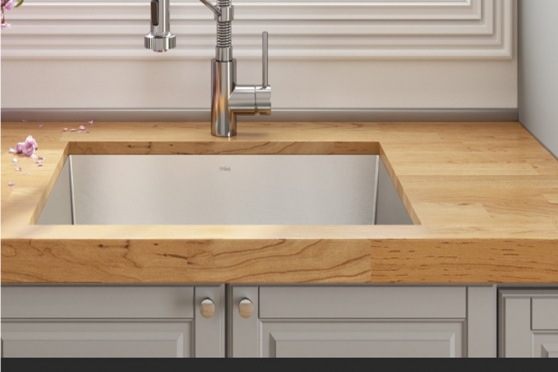
Your laminate countertop should now fit on top of the countertop area almost exactly. The final cutting step is to mark and cut any cutouts for sinks or other openings.
Note that this step is a little more complex than making the length and the width cuts. As long as you don’t rush it, the process is pretty simple.
- Trace around the opening using the sink or object as a guide.
- Drill a starting hole for your jigsaw blade.
- Cut carefully around your shape.
I recommend cutting the sink outline slightly smaller than needed. Make additional cuts until it fits as exactly as possible.
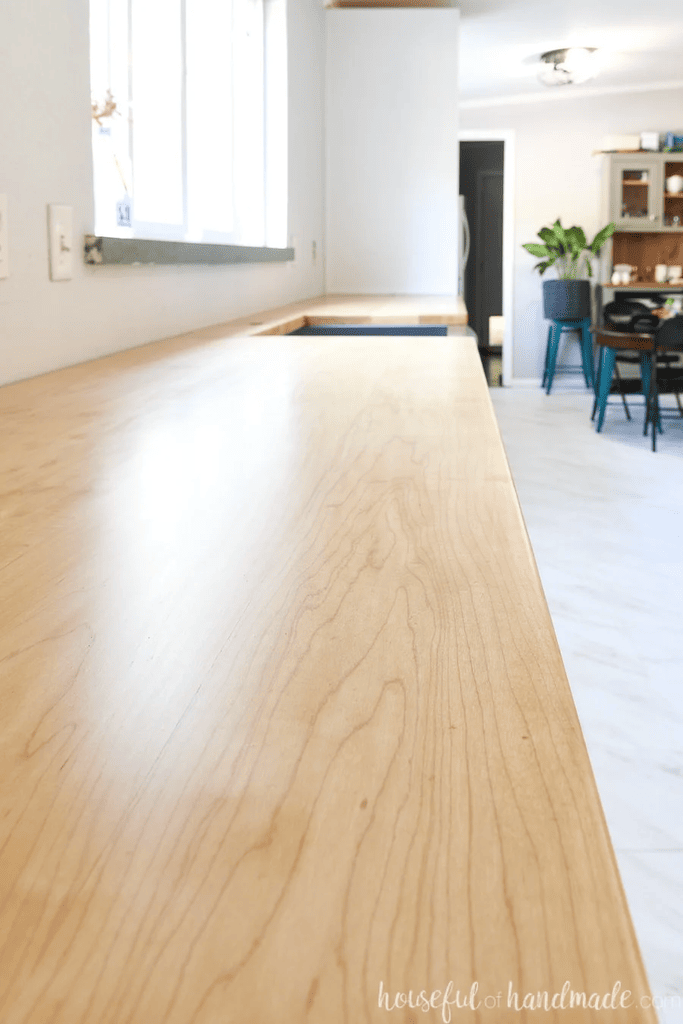
Step V: Finish the Edges
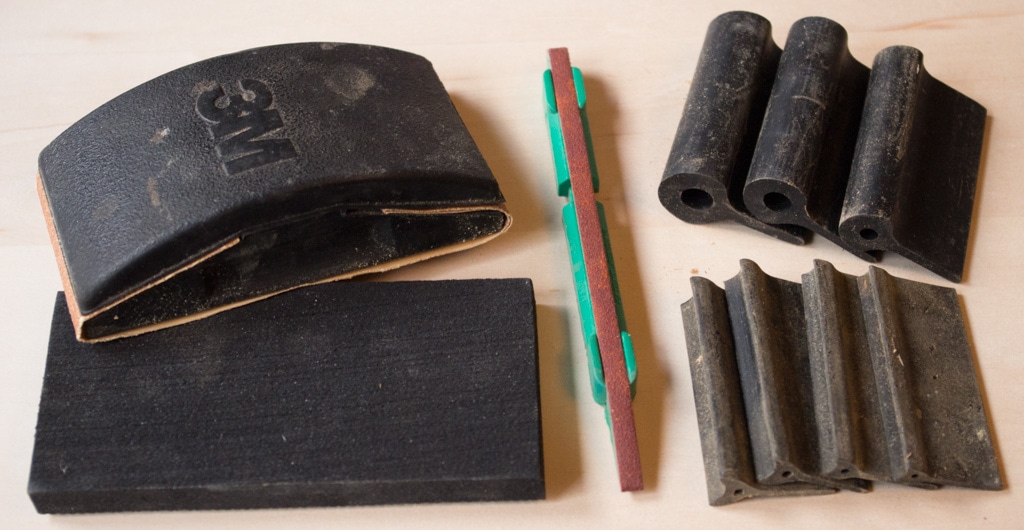
Chances are that the edges of the cuts will be slightly rough. Cleaning these up without messing up your work can be a challenge. Here’s what I do for full-sized countertops:
- Clamp a straight edge to my final measuring line.
- Use a belt sander with 220-grit sandpaper to sand out the edges until all of the rough bits are smooth. The straight line helps keep me from oversanding, which is easy to do with a belt sander.
- Finish off by hand sanding any rough spots that are left.
Alternatively, you can sand by hand, although it will take longer. A good sanding block will make this step much easier.
Tips and Tricks
Cutting laminate isn’t rocket science. With the right blade and a little bit of patience, everyone should get great results.
To help you out, here are a few more tips and tricks I’ve learned along the way.
- Pay attention to your saw’s blade. If you’re using a jigsaw, make sure the teeth are cutting down into the laminate side of the countertop. Jigsaw blades cut on the up stroke, so this means flipping your work so the jigsaw’s shoe is on the non-laminated side of the work.
- It’s a bit boring, but use safety goggles and hearing protection. Countertops are replaceable but eyes and ears are not. Make a habit of using eye and ear protection whenever you touch a power tool. The same thing goes for your dust mask. Save your lungs.
- Masking and/or blue tape and clamps are your friends. Use clamps to secure your work piece, even if you think it’s really heavy and not likely to move. Eliminating the extra vibration will help you get a clean cut. Likewise, tape along your cut lines will help prevent chipping.
Final Thoughts
Learning how to cut laminate countertops isn’t very difficult. Instead of hiring a professional to cut and install the material, there’s little reason not to do it yourself. If you need some tools to do the job, here are some guides for the right tools:
- [Insert link to Best Circular Saw article]
- [Insert link to Best Jigsaw article]
And once you’re done installing your bathroom or kitchen countertop, check out some of our other best DIY projects to keep yourself busy!
FAQ
What is the best tool to cut laminate countertops?
The best tool is going to be a circular saw or jigsaw with fine-toothed blade. If you pair one of these up with good quality masking tape, you should be able to cut a clean edge every time.
How do you cut a countertop that is already installed?
If you need to add a hole or cutout, here’s what to do:
- Measure and mark the hole as accurately as possible.
- Drill a starter hole for your jigsaw blade and then cut around the shape you marked.
- Sand any rough edges for a smooth finish.
If you’re trimming the width, mark the cut line carefully on top of some masking tape and then cut. Leave an extra millimeter or two for sanding any rough edge left behind.