
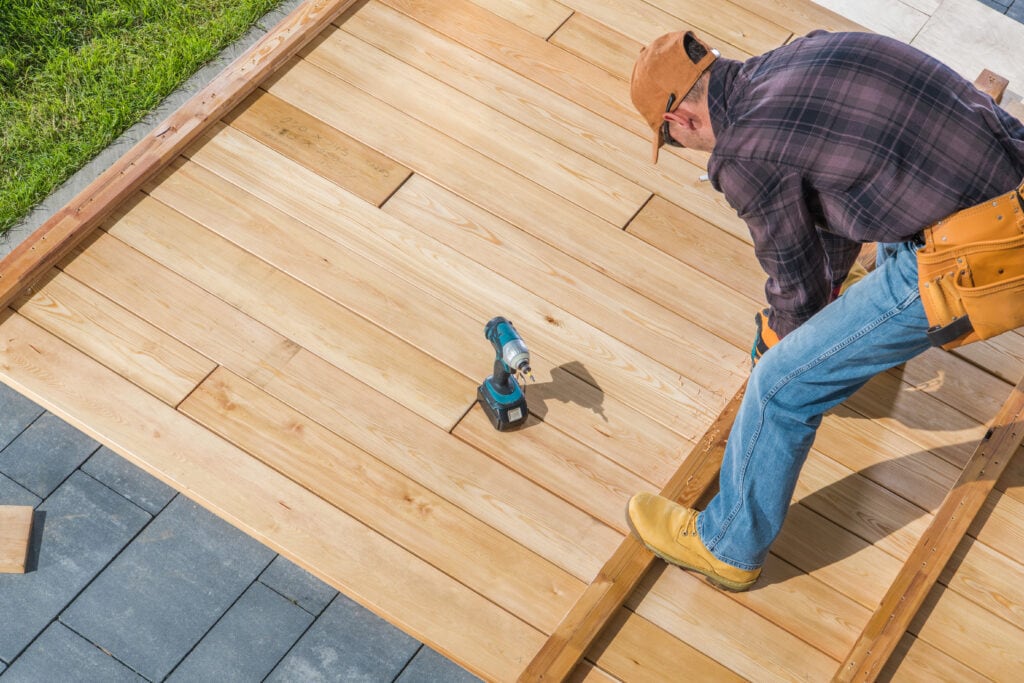
Adding a deck to your house boosts beauty, comfort, and value. Hiring a contractor instead of DIY building an outdoor deck can be pricey, but you can reduce the burden by handling the project yourself.
Here’s everything you need to know about how to build a deck:
Parts of a Deck
A well-designed and finished deck must have these components:
- Bridging: Braces that keep floor joists in place and distribute weight.
- Joists: Horizontal lengths of wood for framing and supporting the deck.
- Decking: The deck’s upper surface.
- Hardware: Materials used for holding the structure together, such as screws and joist hangers.
- Support posts: Pillars for raising the deck above ground.
- Beams: Stabilizers for the deck when a heavy load is on the platform, preventing bending.
- Railing: Barriers or safety features that surround the deck’s perimeter.
- Railing Posts: Posts that keep the rails in place.
- Flashing: Hardware that prevents water from flowing into your house from the decking.
- Ledger: Sturdy framing for the deck that supports the joists at one end.
- Footings: Buried concrete pillars to hold up the decking and prevent settling.
- Stairs: A means for getting on and off your deck.
Without these features, the deck lacks structural integrity and might fail to satisfy relevant building codes.
Tools You Need to Build Deck
Our experts know how to build a deck depends mostly on the supplies you employ for starting and finishing your deck, though. These tools can be expensive, so you may want to consider renting instead of buying to save money.
Lay Out and Measuring Tools
These supplies will ensure that all parts of your deck are plumb:
- Tape measures and chalk line
- Framing and speed squares
Cutting Tools
Precision woodcuts require:
- Circular saw for most cutting.
- Jigsaw or saber saw for curved incisions.
- Reciprocating saw for long cuts or 6-by-6 posts.
- Knives and shears for modifying cuts or shaving pieces.
- Table saw for reducing boards to your desired width.
- Chop saw, or power miter saw for accurate crosscuts.
Fastening Tools
Instead of a hammer, buy a power nailer (nail gun). It will make the nailing process far more manageable.
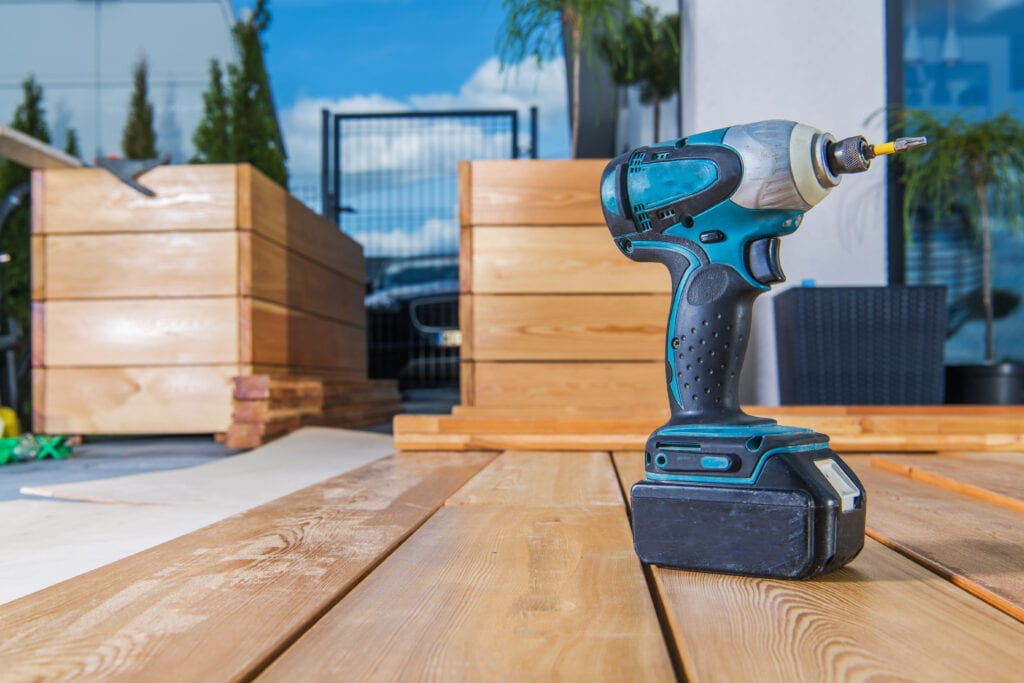
For tighter and faster screw driving, get an 18- or 20-volt cordless drill or impact driver.
Smoothing and Shaping Tools
Depending on the scale of your project, you can choose between a hand sander or random orbit sander.
Excavation and General Tools
For a small house deck, a shovel is enough for digging a foundation and doing other excavations. If your soil is hard, you may also need a pickaxe.
Other general tools include:
- Pipe and squeeze clamps
- Pry bars and wrenches
Tips for Building A DIY Outdoor Deck
1. Get A Quality Wood Deck
How to build a DIY project won’t matter if the materials you choose are substandard. Our first tip is to find the best wood for the project.
We recommend pressure-treated wood because it is affordable yet weather-resistant. If you want an even better option, go for composite wood. It costs more than pressure-treated wood but requires less maintenance and is more cost-efficient over time.
2. Check the End Grain on 4-by-4 Planks
When selecting the 4-by-4s for building your deck, aim for wood that is straight and not from the tree’s center. Central wood is prone to twisting, which will disfigure the deck and frame compromising its structural integrity.
A 4-by-4 that’s cut from a tree’s center will have concentric circle patterns in the end grain.
3. Lag Screws are Unnecessary
Lag screws are longer, which means it holds the construction securely. These screws also take longer to drive in, however. Save time by using regular construction screws for your deck building.
Construction screws might be shorter, but these pieces are just as secure. It is a sturdier choice that makes longer-lasting connections. It costs more than lag screws, but doesn’t require predrilling or split the wood.
4. Create a Layout Frame
A faulty frame leads to an unstable deck. Prevent such issues by choosing a deck design and creating a frame that matches it.
For instance, the frame for around deck won’t work for a regular deck layer, while an above deck’s structure will be different from a ground-level one.
Instead of using batter boards or string for the frame layout, try deck boards or joists. Compared to batter boards, deck boards are less likely to shift. It also serves as a more accurate marker for aligning post bases and marking footing holes.
While laying out the frame, you will connect joists to support posts and beams. You will also need to install a ledger board, frost footings, and framing to the deck’s perimeter.
The ledger board is for attaching a deck to your house. For more durable connections, connect the ledger directly to the house rim joist. We recommend using joist hangers to attach the rim joists to the ledger board since it will provide a more secure fit than nails or screws.
5. Reinforce the Deck Rim/Perimeter
Strengthen your railings by reinforcing your deck’s perimeter strength. You can do this by installing a double rim joist on long sections.
Attaching a rim joist perpendicular to your deck’s framing will provide lateral support for the joists’ ends. It will also cover the endings of other rim joists to cap off the open spaces between joists.
6. Build Secure Stairs
The distance from the ground will determine the length and height of your deck stairs. A ground-level deck should have at least one step. If it is more than three levels high, add railings or pickets at the sides to make climbing safer.
Also, make the stairs sturdier by adding solid 2-by-12 skirts to the outside stair risers and jacks.
7. Install Wood Deck Support Posts
Use 6-by-6 wood for your deck’s support posts (instead of 4-by-4 options). A 6-by-6 is sturdier and reduces the risk of the post bowing. For supports that are ten feet or taller, attach some bracing to the 6-by-6 supports.
You should also bury the concrete footing of your posts below the frost line (12 inches below the soil). Otherwise, the ground won’t provide enough insulation to protect it from deteriorating in winter.
8. Seam the Deck
Randomly large joints and decking boards cause wood ends to split. Instead, use the seaming method.
It involves placing seams on the deck and using similar length boards for each seam section. Equal length deck boards make the installation faster and reduce wastage. It also makes the finished work look more organized.
Seaming fits various building deck projects, including a solid composite deck or a deck of pressure-treated wood.
9. Leave a Small Step Below the Connecting Door
The door leading to your deck should have a small step under it. If the base is at the same level, water and debris from the deck floor may enter the house or block entry.
Flashing between ledgers is also more difficult when the threshold and deck are flush. You can make sure to prevent these issues by building a deck at least three inches below the threshold.
Conclusion
The cost of installing a deck will depend on the deck’s size and materials. For instance, composite wood will cost more than a pressure-treated wood deck.
A standard 12×16 deck, covering about 180 total square feet, may cost between $7,200 and $10,800. One way to minimize costs is by installing the deck yourself and applying our how-to-build-a-deck tips.
Check out our other DIY deck design project ideas for more ways to improve your home’s value and aesthetics.