For the amateur or the professional woodworker, a good pair of sawhorses is an essential element to any project. See our full review of the best sawhorse to buy. Steve Ramsey of Woodworking For Mere Mortals takes the simple task of making your own sawhorses one step further.
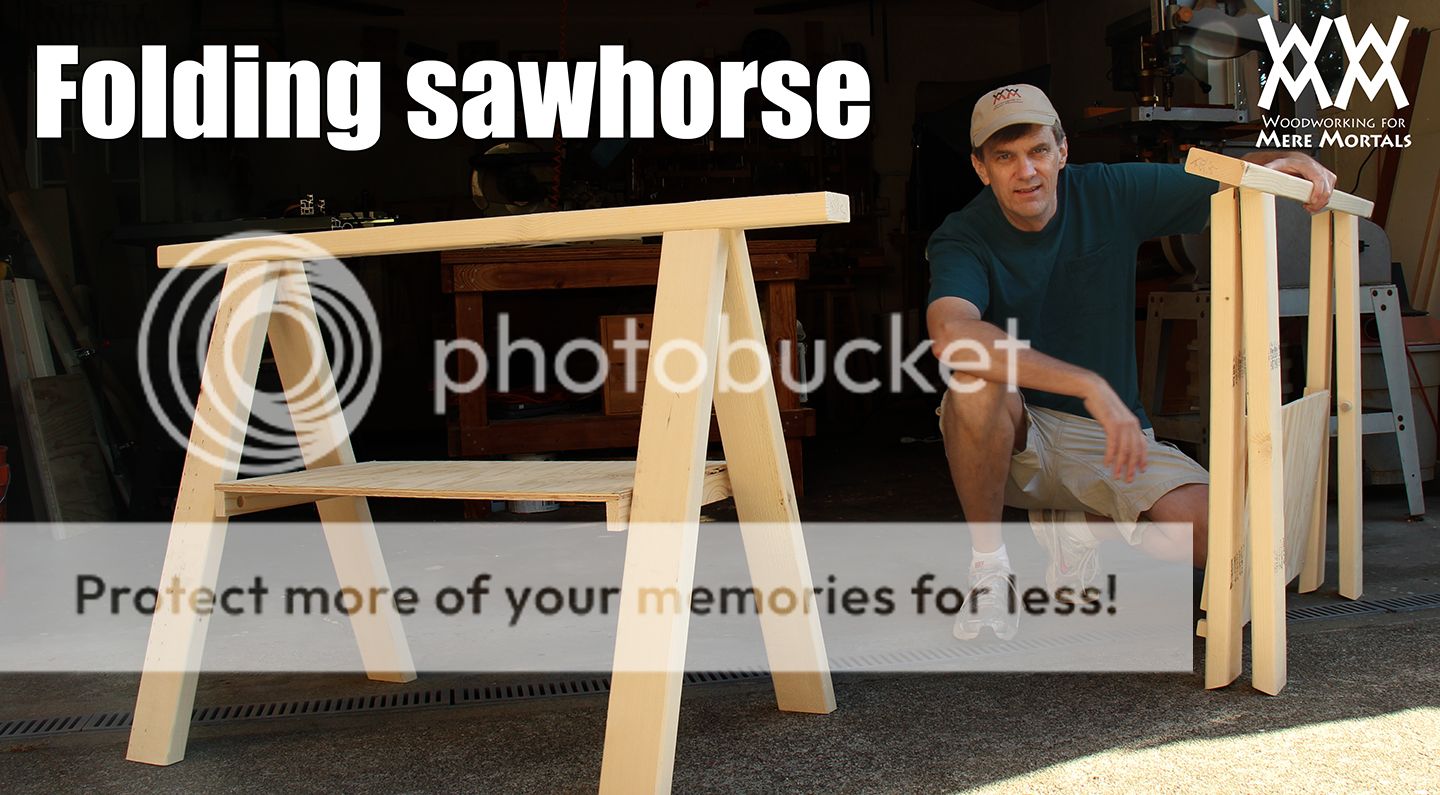
The only real problem with basic sawhorses is they take up a lot of room in your shop or garage. This simple folding sawhorse design from Steve is very easy, quick, and will solve the storage problem basic sawhorses cause.
The best part, you only need two 2x4x8's to build each sawhorse (not including the shelf).
Let's get started!
What You'll Need
- 2 - 2x4x8's
- 1 - 1/2 inch 4x4 Sheet of Plywood
- 2 1/2 inch Screws
- 2 - 3 inch Strap Hinges (with screws)
- 4 - 2 inch x 1/2 inch Dowels
- Cordless Drill
- Miter Saw or Table Saw
- Band Saw or Jigsaw
- Wood Glue
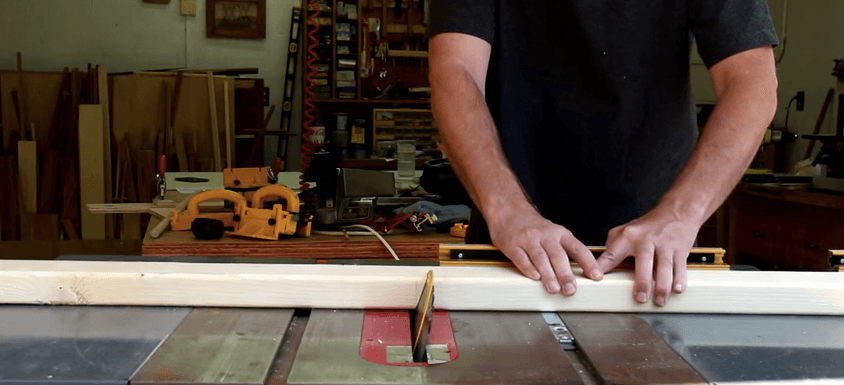
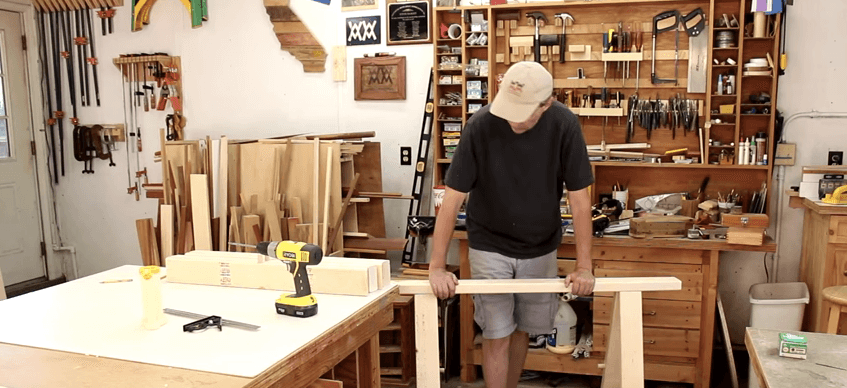
1. Cut The 2x4x8's
Like I said earlier, you only need two 2x4x8's for each sawhorse. The best way to start is to cut all of your base material in the beginning.
Sawhorse Base
2x4x8 number one...cut into 3 equal lengths at 31.5 inches.
2x4x8 number two...cut one piece at 31.5 inches, and one piece at 48 inches.
The Shelf
The remaining section of 2x4x8 number two will need to be cut into four strips at 3/4 inches wide x 15 inches long. Or, if you don't want to go through the trouble of cutting a 2x4 into strips, just purchase a 1x2 strip and cut to length.
The shelf should be a 1/2 inch plywood rectangle at 13.5 inches x 27.5 inches.

Click here to view the cut list and full plans for this sawhorse.
2. Cut 19 Degree Angles
Using a table saw or miter saw, cut the ends of each 31.5 inch board at a 19 degree angle. The angles should be parallel on each board.
Make sure you are not changing the overall length of each board.
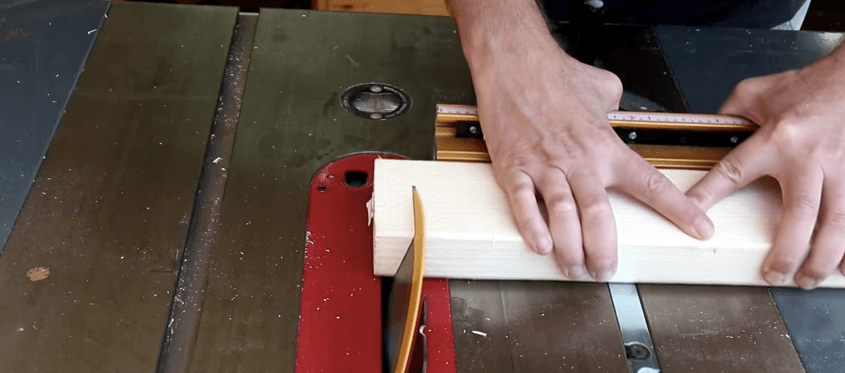
As shown in the picture below, you can save a bit of time by setting your saw at 19 degrees when cutting the boards in described in step one.
3. Drill Pocket Holes
Drill pocket holes on one end of each 31.5 inch leg to connect the leg to the top of the sawhorse. Simply ensure you are using the correct bit for the size screw you will use.
On that same note, be sure to use a screw long enough to penetrate both boards, but not long enough to drill all the way through the top board.
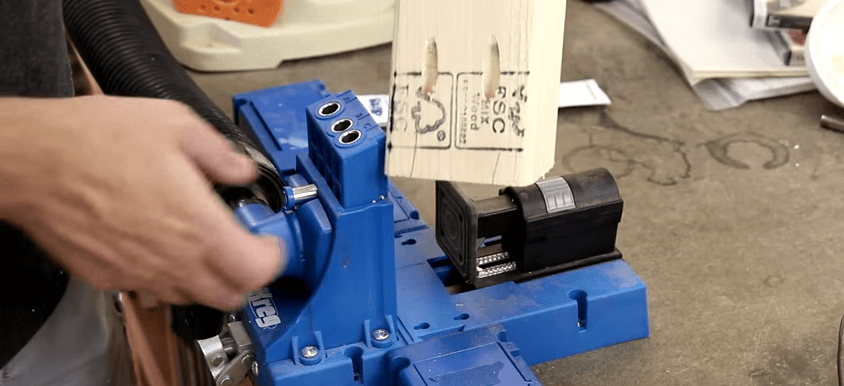
For one, I don't work for Kreg, nor do they pay me to endorse their products. However, if you don't have one of their Kreg Jigs, you are missing out. If you need to make a pocket hole, this is the tool for you.
Watch this quick video below to learn more.
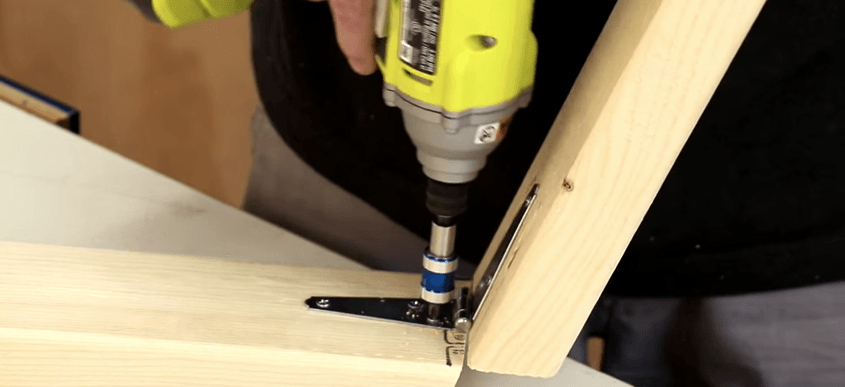
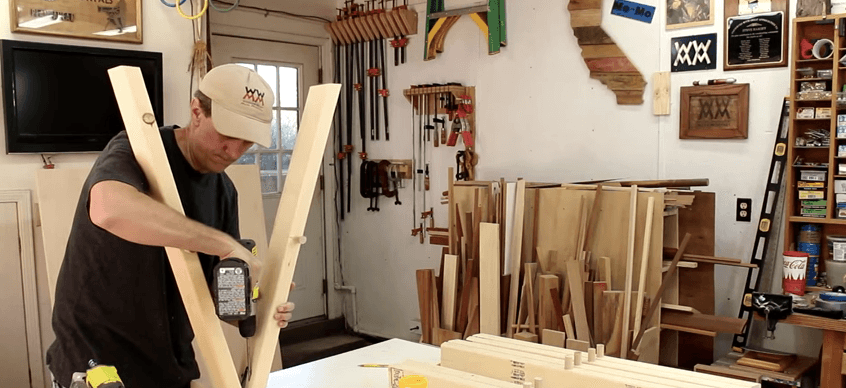
4. Pre Drill and Secure 3 Inch Strap Hinges
Using a straight edge, draw a straight line 4 inches from each edge of the 48 inch brace board to mark where the sawhorse legs will be attached.
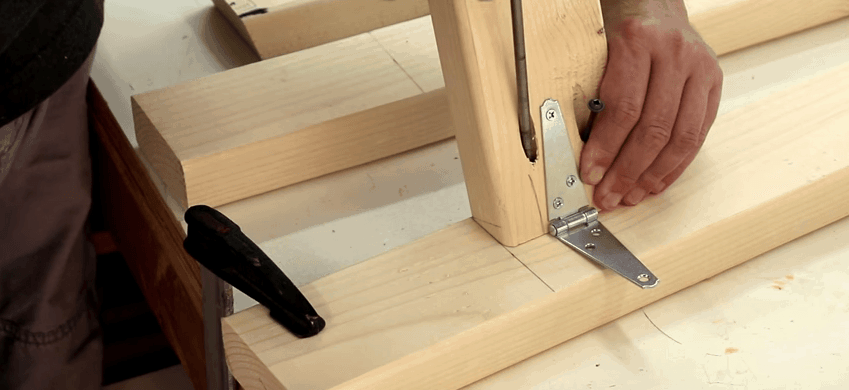
Center your leg on the top board and, using your strap hinge, pre drill the holes where the hinge will be attached to the leg and brace board.
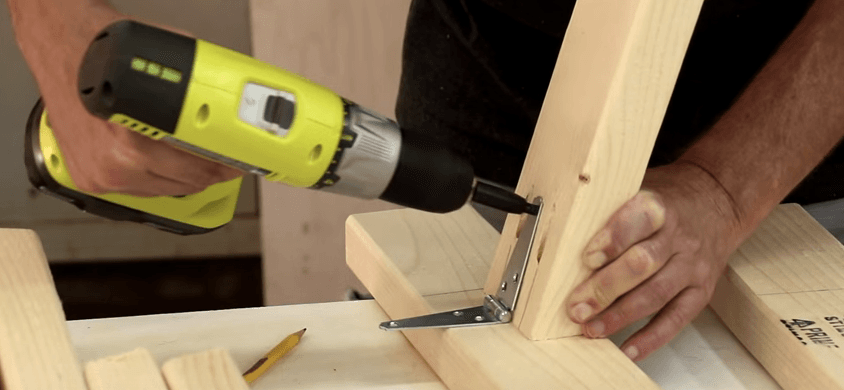
Attach the hinge to the leg, and attach the leg using the appropriately sized screws (2 1/2 inch) to the top board.
Note: You are only attaching the leg so you can accurately mark the hinge holes on the other leg.
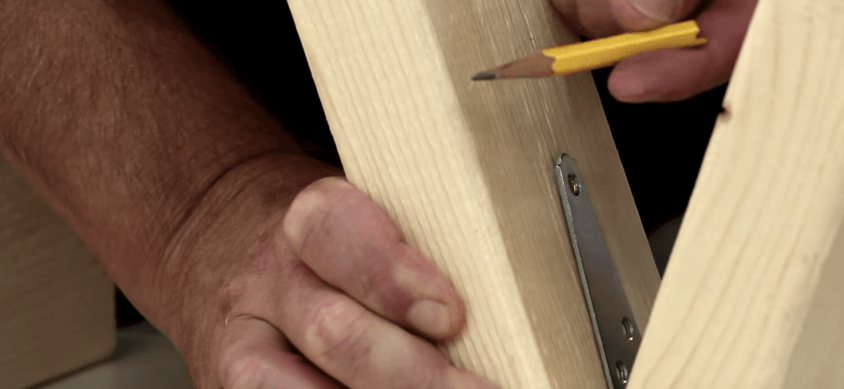
You are probably thinking, "how am I supposed to fit a pencil in between the boards to mark the holes?" Well, all you need to do is cut a pencil down to about 2 inches and there you go. It's also a good idea to have a few stubby pencils laying around for this purpose.
Unscrew the legs from the top brace board. Next, pre drill the holes you marked, and attach the hinge.
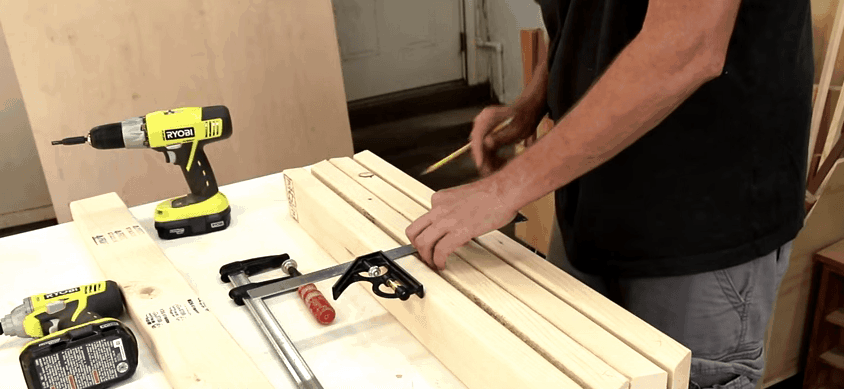
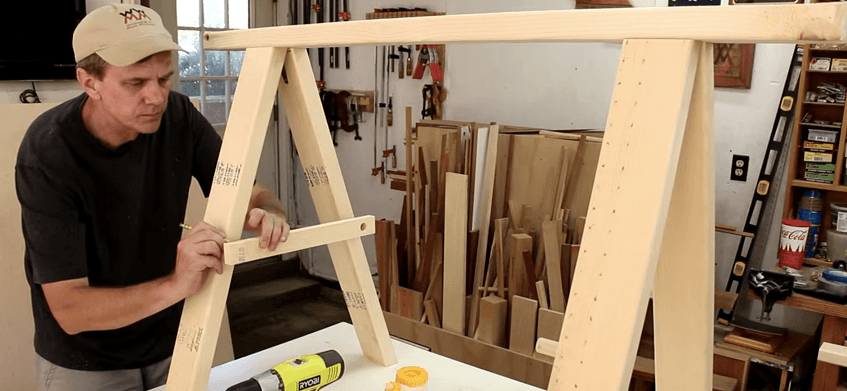
5. Mark A Line Halfway Down Each Leg
Now you should have your legs ready to modify for the shelf. Using a straight edge, mark a line halfway down the sawhorse legs. This is where you will drill the holes for the dowels that will hold up the shelf brackets.
Note: If you don't need a shelf, skip to step 8.
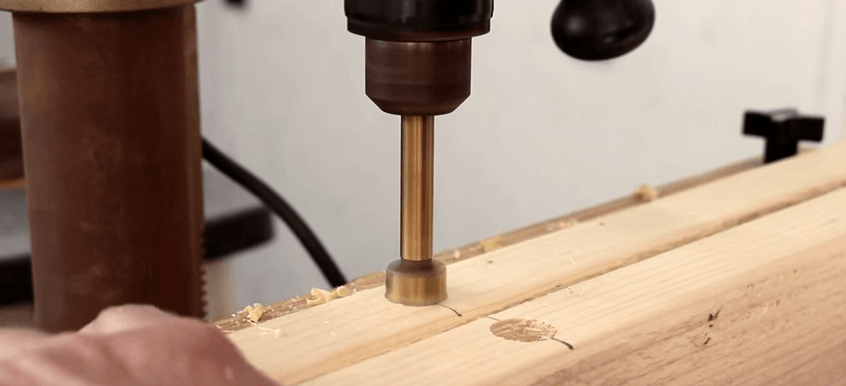
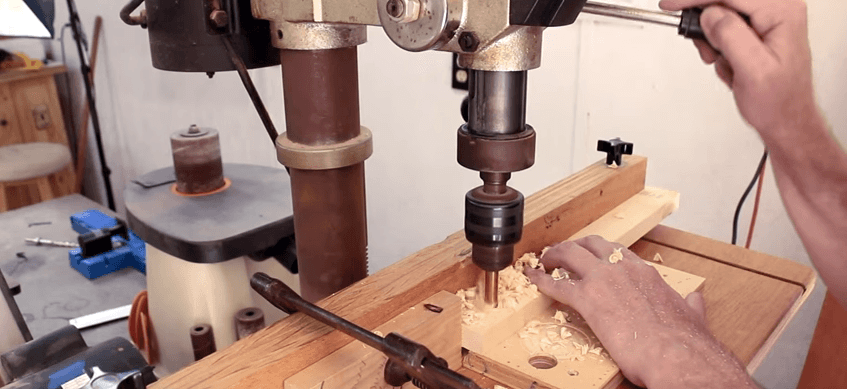
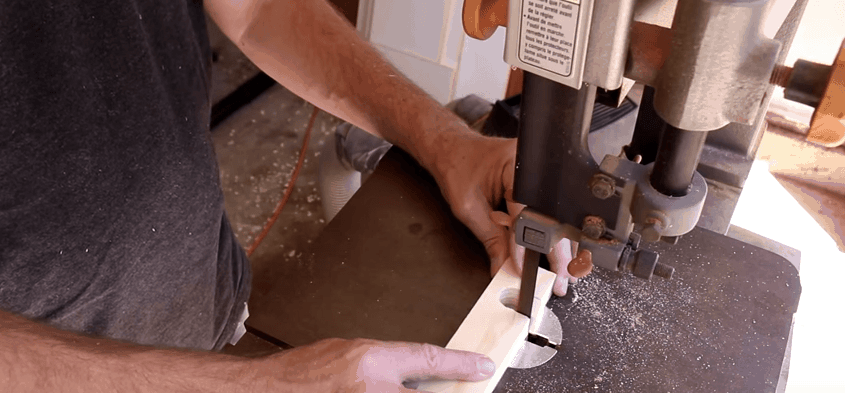
6. Drill Holes For Dowel Rods
Drill a 1/2 inch hole in the center of each line on your legs. Just remember, if you are using a different sized dowel rod, you have to adjust the size of the hole. For instance, if I am using 3/4 inch dowels, I need to drill a 3/4 inch hole.
Note: Steve Ramsey has a nice drill press to help with this step, but you can drill the holes with a cordless drill as well.
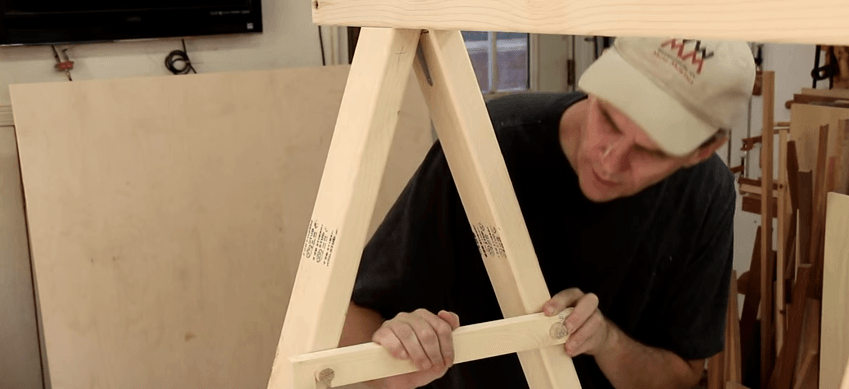
7. Attach Dowel Rods
As always, add a generous amount of wood glue to each hole before hammering in the dowel rods.
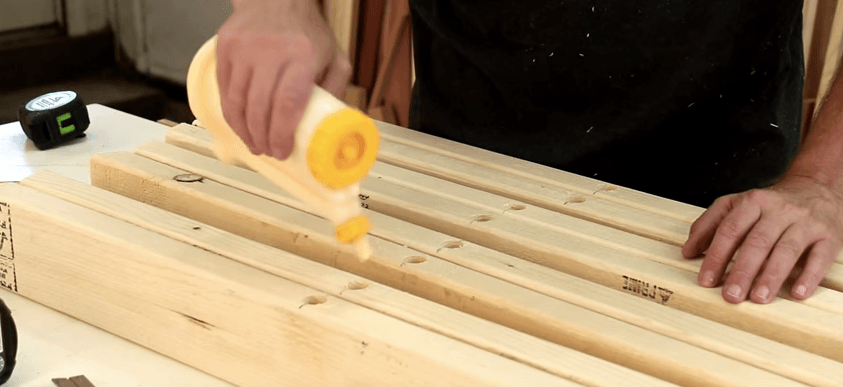
Place the dowel rods in each hole and lightly tap until all dowels are approximately the same length. Wipe off any excess glue.

8. Secure Legs Onto Top Sawhorse Brace
You probably already feel like you've done this, and you are right. Now, just repeat the steps and attach the legs to the top brace.
This sawhorse is sturdy enough at this point, but adding the shelf only increases the strength and sturdiness.
9. Drill Holes, Notch, And Attach Shelf Brackets
Using the sawhorse legs as a guide, hold your 15 inch strips against the center line on the legs, and mark where you will drill each hole to attach onto the dowel rods.
Drill holes for the dowel rods.
On one of the holes on each board, notch out a hole so it can be lifted off the dowel rod.
Note: Steve uses a band saw to make his notch, but a jigsaw, or most other saws will work if you are careful.
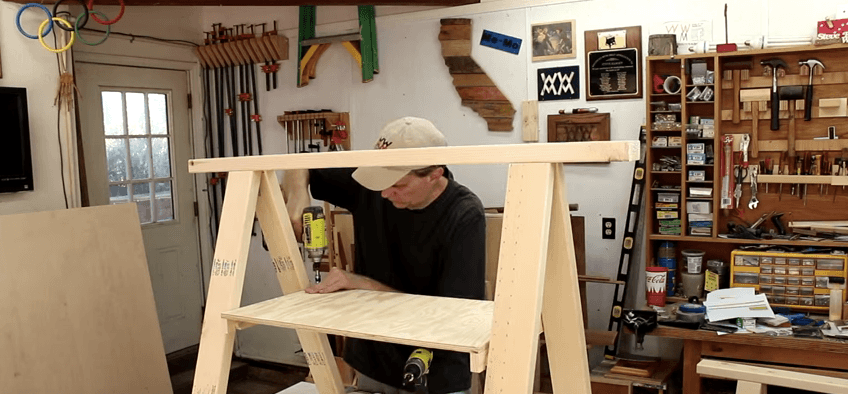
11. Secure Plywood Shelf
Secure your 13.5 inch x 27.5 inch plywood shelf onto the brackets. Ensure you do not screw into the dowel rods, or your shelf will not be able to fold as intended.
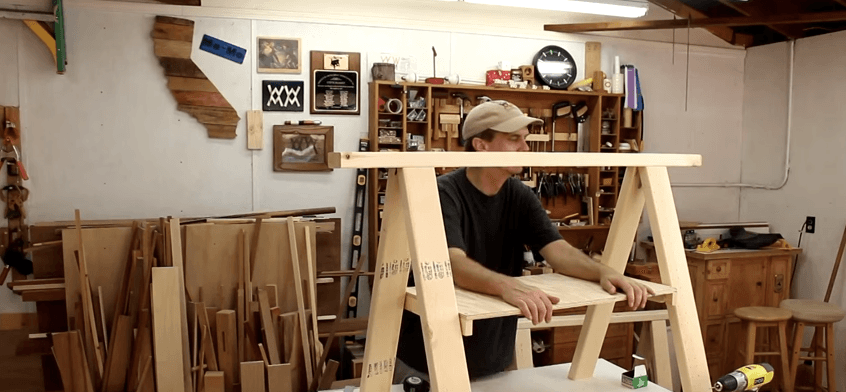
All Finished!
Time to sit back, relax, and enjoy all the extra room you just created with your new foldable sawhorses...
Watch the full tutorial on Woodworking For Mere Mortals below.