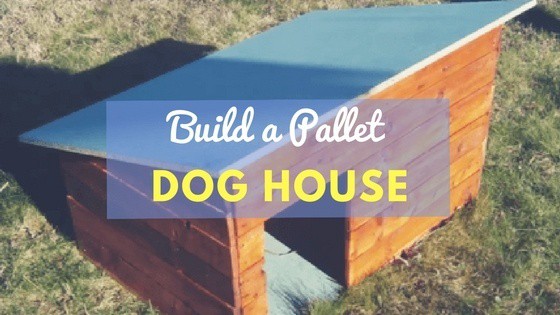

If you are looking for a cheap dog house you can build by yourself, then I'd suggest having a look at the video tutorial by Jose Farre that we're going to break down in this post.
He shows step by step how to build a dog house out of pallets, and really it's a pretty brilliant idea.
Pallet wood is usually available for free, and there are tons of things you can build out of it including dog houses. Here are the steps Jose goes through, plus the video tutorial can be found at the bottom of this article or on YouTube.
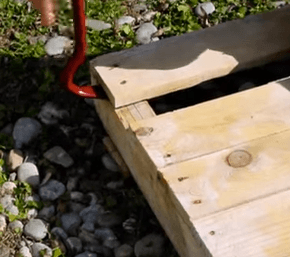
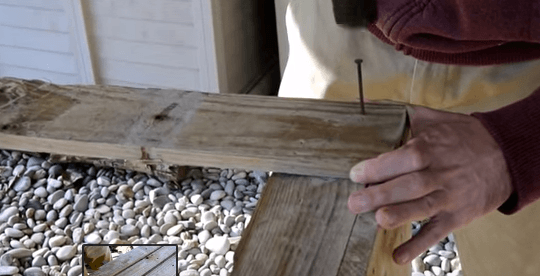
Step 1 - Create the Walls
Modify the pallets to create the walls of the dog house. You will need to make the pallets flush and squared up. Use a saw to cut off excess length and pry up any boards you're not going to need/want for the wall.
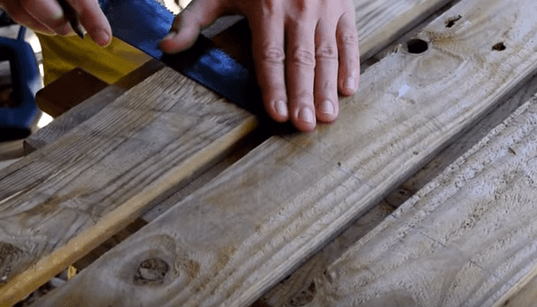
Step 2- Join the Walls
Use leftover planks that are cut to the correct size to join the two walls that you just modified.
You will need to measure the leftover planks, draw a pencil line on them so you will know where to cut, and then size them properly so that they will fit well.
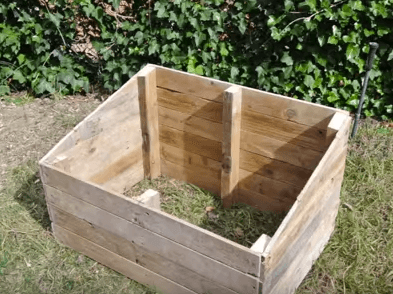
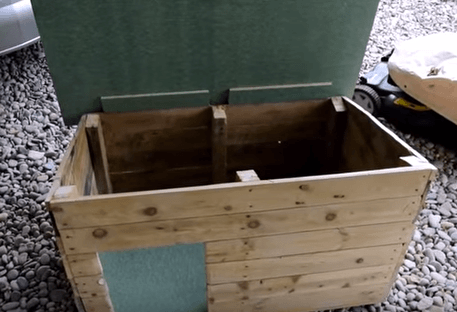
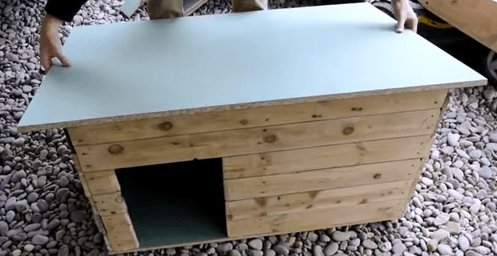
So far, your dog house looks like this:

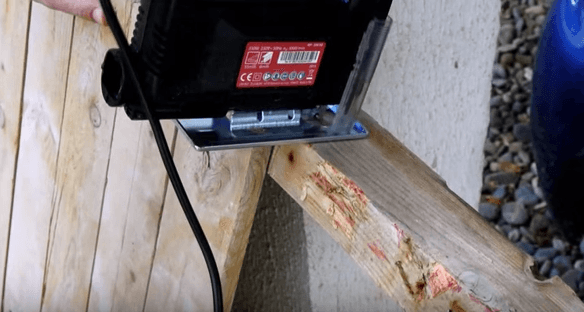
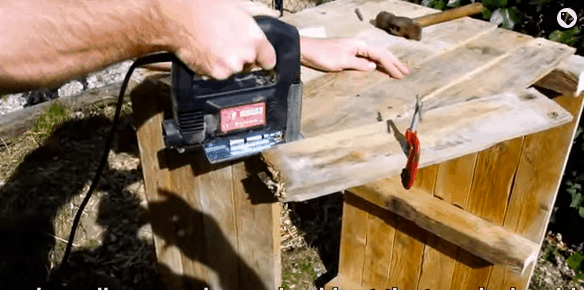
Step 3- Cut the top planks
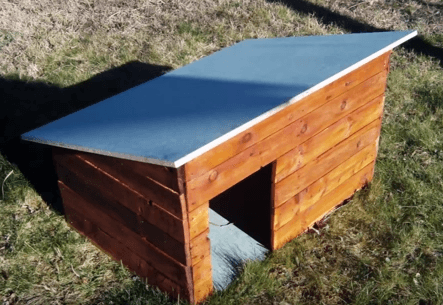
You need to be sure to use a jigsaw cut these top planks with some tilt so that you can later place the roof properly.
You can see how slanted the house is in this image:
Step 4- Draw the Door. Cut the Door.
You will want to draw the door on the front boards and then use your saw to cut out the door in the boards.
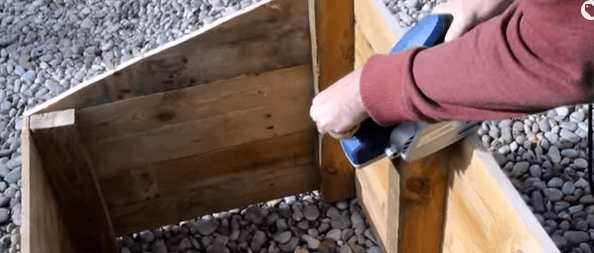
Step 5- Sanding
You will need to sand the edges of all the supports and the walls in order to be able to put the roof on properly.
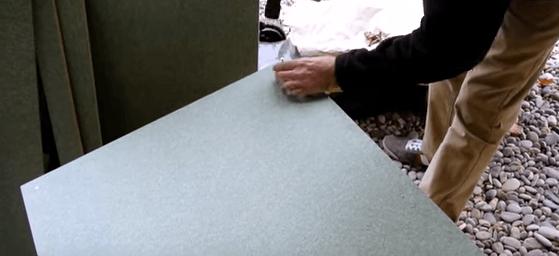
Step 6 - Floor
Use a cut-to-size floor that is made out of waterproof chipboard. This will prevent the house from leaking and getting puppy all wet inside.
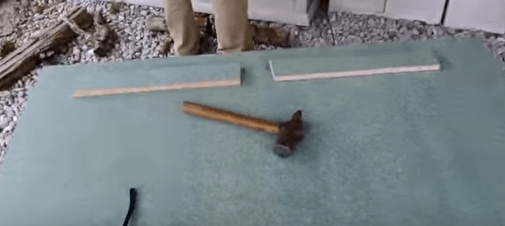
Step 7 -Roof
Use the same type of waterproof chipboard on the roof as you did on the floor. In order to be sure that the roof remains secure, you will need to add a couple of supports to it by nailing on extra slabs of chipboard.
Place the roof into the properly-measured slots, and set it down.
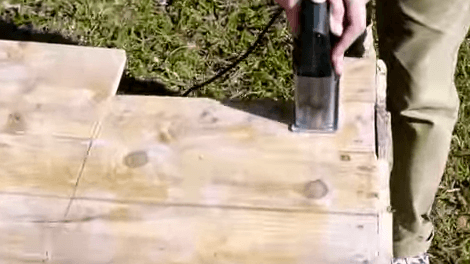
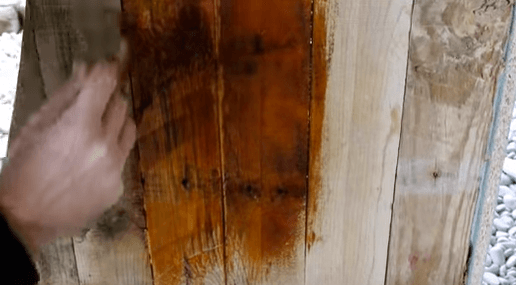
Step 8 - Paint with outdoor varnish
It's best to use 2-3 layers of varnish to protect the house from the outdoor elements. This will also give the house a nice-looking finish.
All done!
Check out the full video from Jose below: