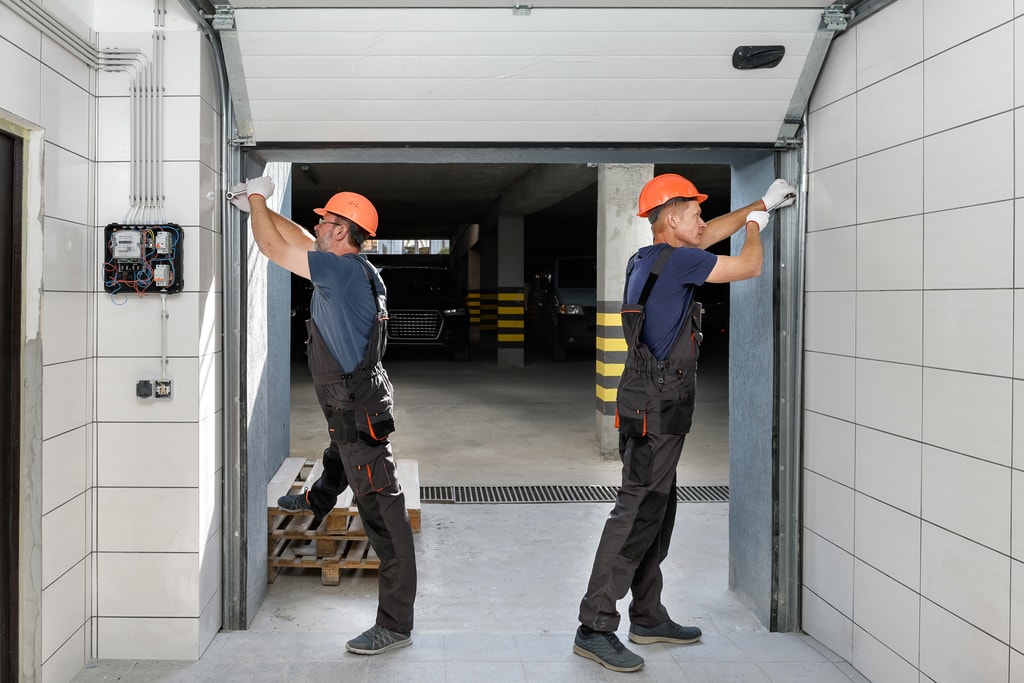
Repairing Torsion Spring in Garage Doors
Calling a professional repairer to fix your broken garage door spring can cost between $200 and $300. Save money by placing an order for the necessary parts and doing the repairs yourself.
First, ensure you are dealing with torsion springs, not extension springs. Then, follow our handy steps below.
How to DIY Repair Torsion Springs in a Garage Door
Gather the following garage door tools and equipment before attempting fixing garage door springs:
- Leather gloves and safety glasses
- Cordless drill
- Hammer
- Adjustable wrench
- Clamps
- Socket/ratchet set
- Locking pliers
- Rags
- Winding bars
- Bottom brackets
- Double-life torsion springs
- Lift cables
Once you have the necessary supplies, follow these garage door torsion spring repair steps:
1. Secure the Door
Use a C-clamp or locking pliers to secure the door to the track. Otherwise, while winding the new door springs, the door could fly up and hit you. Make sure to also disconnect the garage door opener before starting any repairs.
2. Use Winding Bars to Loosen the Good Spring
Only use a winding bar to undo a broken spring. Anything else could easily lead to an accident. You will also need to wear eye protection and gloves, and place your ladder to the side of the spring to stay out of harm’s way.
To use the winding bar, insert it into the hole at the bottom of the undamaged spring’s winding cone. Loosen the two setscrews while firmly holding the bar in place. If your grip falters, the unwinding spring can snap the bar out of your hands and cause injury.
Place another winding bar into the slot facing outwards. After fully inserting the second bar, remove the first, and begin unwinding the spring. One bar must be in the cone until you finish relaxing the spring.
3. Disconnect the Springs from the Center Bracket
After unraveling the torsion springs, disconnect the mechanism by removing the bolts and nuts holding the stationary spring cones onto the center bracket.
4. Secure the Torsion Tube
Use locking pliers or a C-clamp, keep the torsion tube in the center bracket. After securing it, begin loosening the setscrews on both ends of the lift cable drums so that you can disconnect the lift cables.
5. Remove the Broken Spring
Begin sliding the torsion tube to the right until you can remove the cable drum. When the drum is out, slide off the damaged spring.
6. Order Replacement Parts for the Garage Door
Replace both garage door torsion springs, even if only one is faulty. Essential measurements for finding fitting spring replacement parts include:
- Wire diameter
- Wind (or hand) direction of the spring
- Inner diameter and length of the broken spring
It would be best if you also used the opportunity to replace any rusted or frayed brackets and cables before these fails. You can order most of these parts online, including the garage door torsion spring.
One standard spring goes for about $40, while higher quality options cost a bit more.
7. Install the Left Spring
Place the new spring on the torsion tube while the stationary cone faces the center bracket. Fit the garage door wire back into the cable drum and slowly place the torsion bar into the left-side bearing bracket.
8. Put a New Center Bearing
Move the torsion bar to the left before installing the center bearing. After sliding on the right spring, move the bearing into the stationary cone. Install the drum, then connect the two stationary cones to the center bracket.
9. Replace the Rollers, Bottom Brackets, and Lift Cables
This step is only necessary if you have worn rollers, brackets, and lift cables.
Start by fixing the lift cable loop on the new bottom bracket’s pin. Next, add the new roller before putting in the new cables and bottom brackets.
10. Run the Cables
Thread the lift cables between the rollers and doorjamb, and complete the process fitting the lift cable stop through the drum’s notched slot.
11. Tighten the Drums
Lock the torsion tube in place with pliers and tighten the drums by rotating the cable. When the rope is as tight as possible, stretch the setscrews. The drums on both sides need equal cable tension for the door to open evenly.
12. Wind the Garage Door Tension Springs
Use winding bars for the tension springs, turning it upwards. Apply the same precautions as when unwinding the springs.
Also, follow the spring supplier’s recommendations regarding the number of turns for proper tension.
13. Stretch and Lubricate the Springs
After winding, tap the bar before tightening the setscrews. Tapping stretches the spring from the center outwards. Then, lubricate the springs with a garage gate lube spray.
14. Please test it
After removing your tools and clamps, test the DIY garage door spring repairs by lifting the door manually. If it stays open at three feet, the spring adjustments are accurate. If not, adjust the springs by adding a quarter turn to each spring until the entryway stays open during the test.
After successful testing, reconnect the door opener.
Conclusion
Before repairing your garage door, you will need to verify that it uses torsion springs, not extension springs (which are slimmer and installed horizontally along each door track).
While most garage systems use one spring type, some use both torsion springs and extension springs. Verifying the spring system is crucial to repairing a faulty garage accurately and safely.