Ready to use some of that scrap wood you have taking up room in your garage? Even if you don't have scrap wood, for around $50 you can purchase all the materials you need to create these unique 5 DIY Christmas Decorations! Check out the video below and then see our step by step written tutorial afterward.

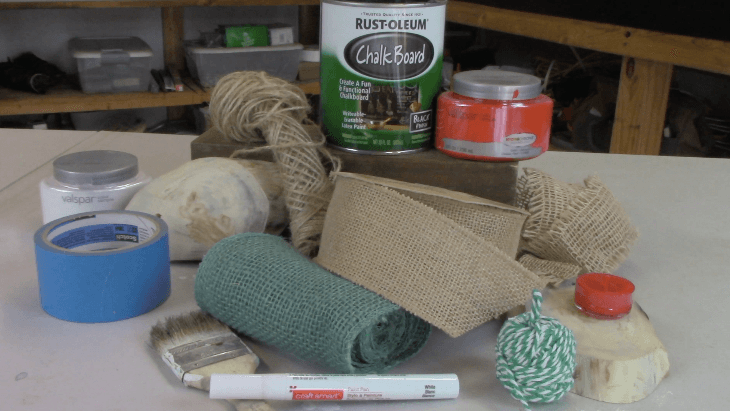
Tools & Materials
- 1 - 8ft Treated 4x4
- 2x2 Piece of Plywood
- 1 - 4ft Untreated 2x6
- 1 - Tree Branch (approximately 3" Diameter)
- Paint (Red, White, Yellow, Black, Blue...or whatever colors you have handy)
- Chalkboard Paint
- White Paint Marker
- Painters Tape
- Wood Stain
- Wood Glue
- Paintbrush
- Pencil
- Dremel Rotary Tool (or Jigsaw)
- Dremel Saw (or circular saw)
- Dremel Multi-Max (or Sander)
- Miter Saw (or circular saw)
- 1-1/2" Paddle Bit or Forstner Bit
- Sand Paper
- Burlap Ribbon & String
- Tealight Candle
Building Material
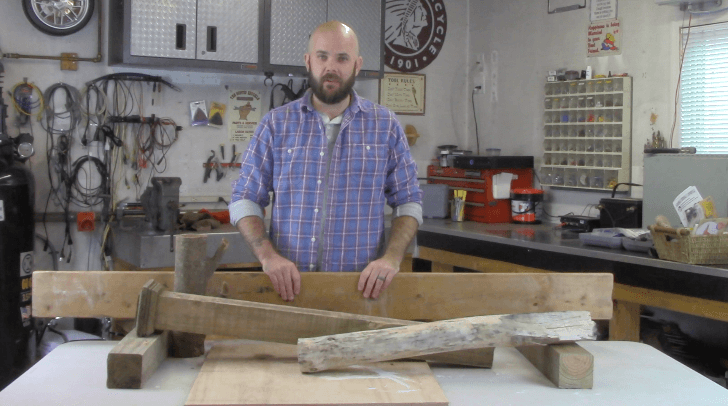
Decoration Material
Why Dremel Tools?
I think Dremel tools are a great asset for any DIY'er because they have such a wide range of capabilities. No matter what your project, trust me when I say, there will come a time that you will wish you had a Dremel.
Dremel 4000 Rotary

Dremel Multi-Max

Dremel Ultra Saw

Let's get started on these unique 5 DIY Christmas Decorations!


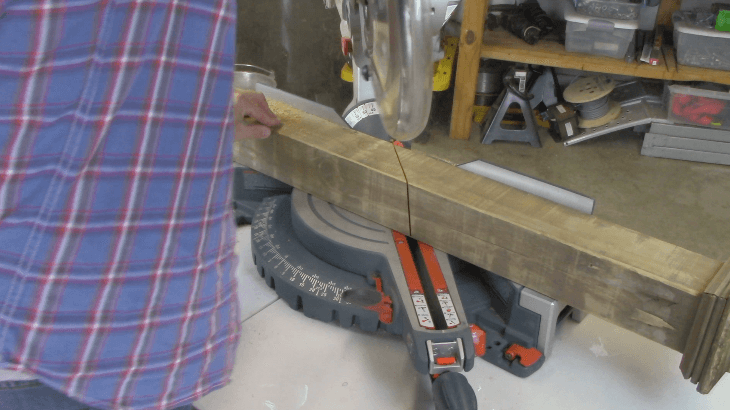
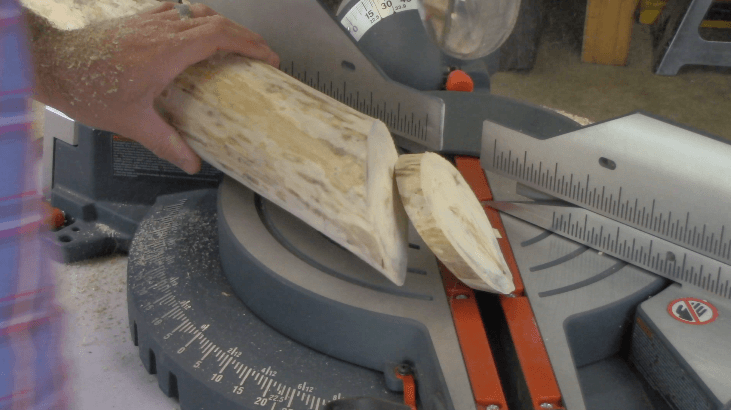
Cut 45 degree angle.
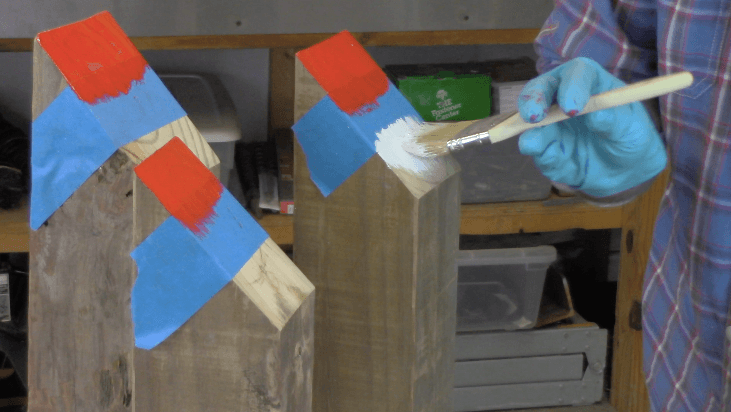
Use painters tape to separate and paint the top half red and bottom half white.
Add eyes with black paint or marker and attach a small tree branch with wood glue for the nose.


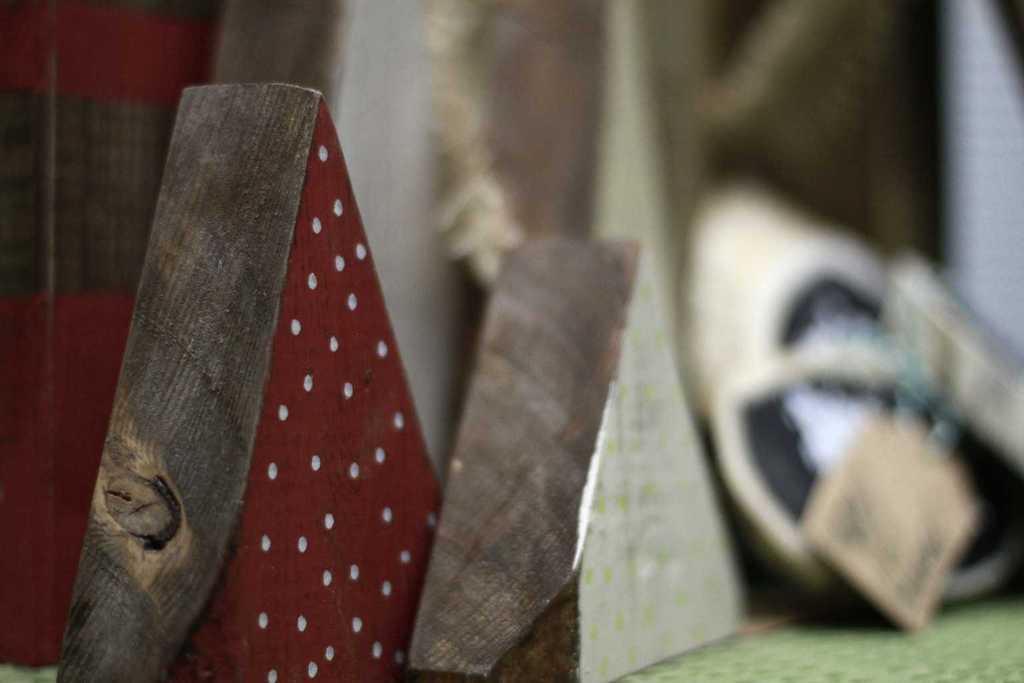
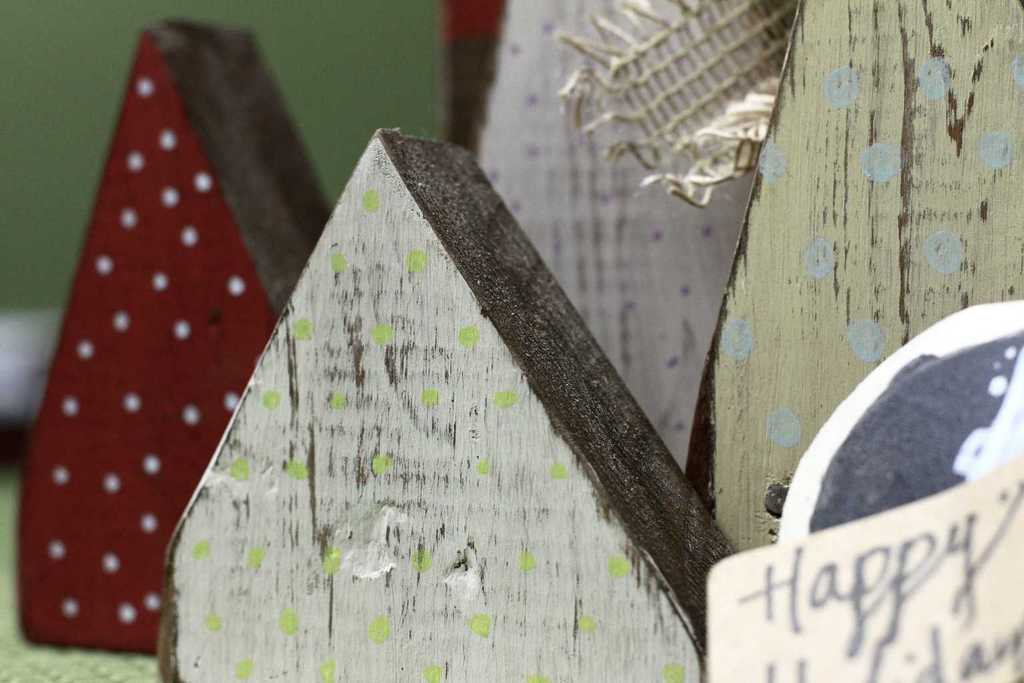
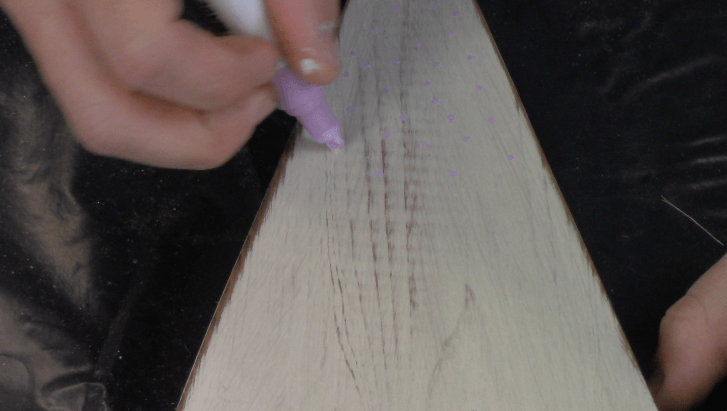
Mark out triangles (trees) in varying sizes and angles on 2x6 lumber.
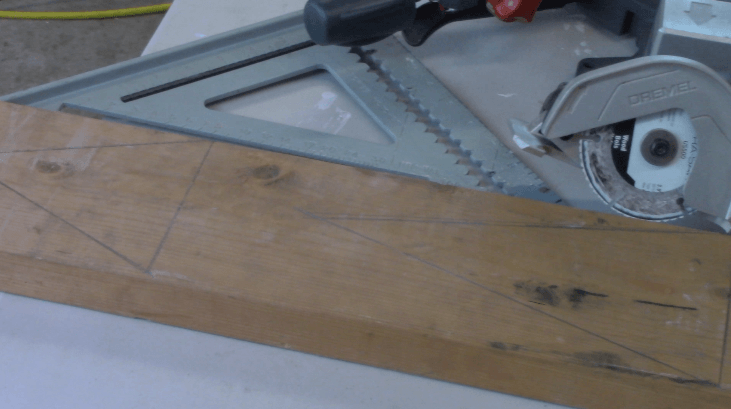
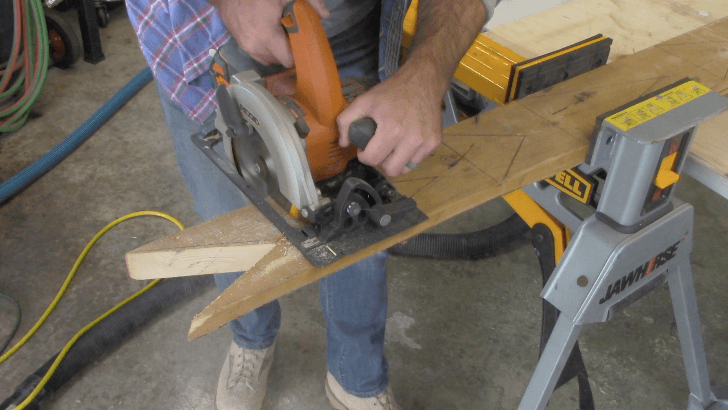
Use a circular saw or jigsaw to cut out triangles from 2x6 lumber.
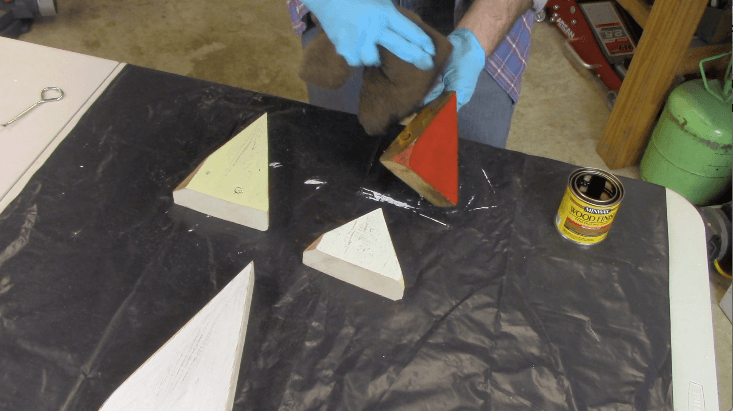
After drying, sand over paint just enough to allow wood to show through.
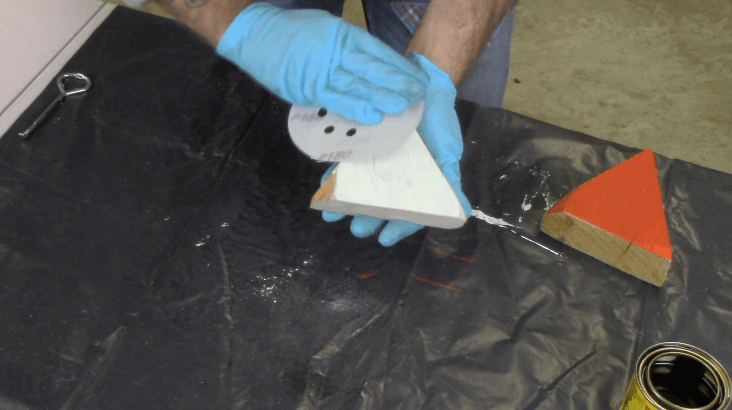
Stain over paint and all sides.
Add "lights" with paint markers or just dab on with paint.

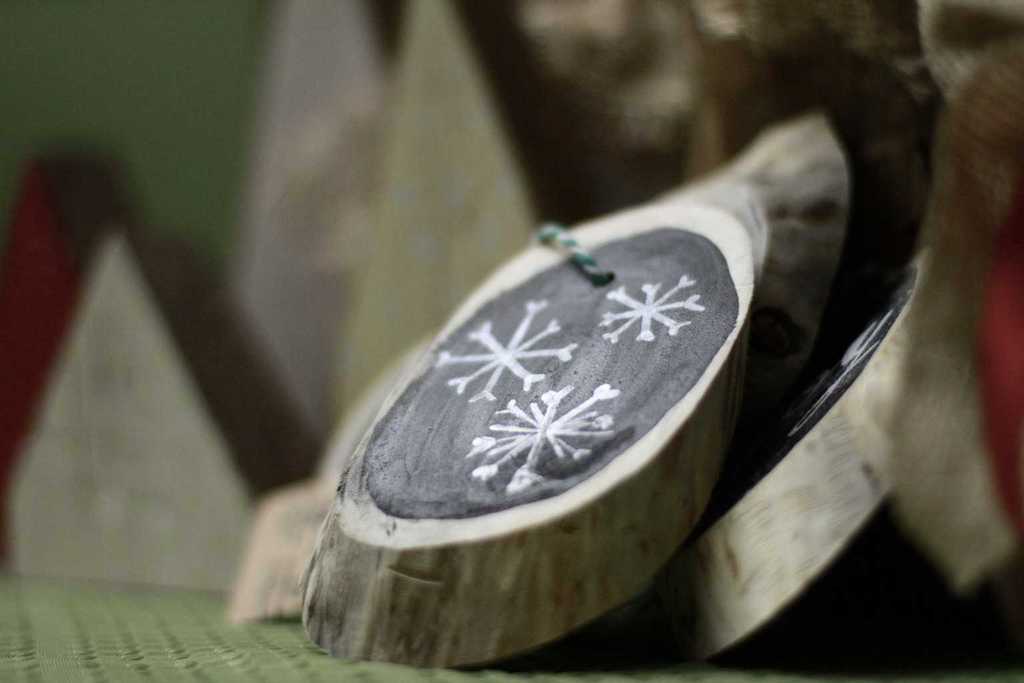
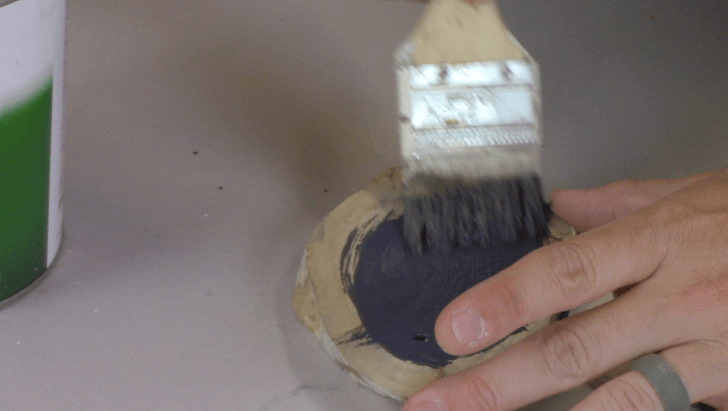
Cut tree branch in about 1 inch sections. Cut at 45 Degree angle for added style.
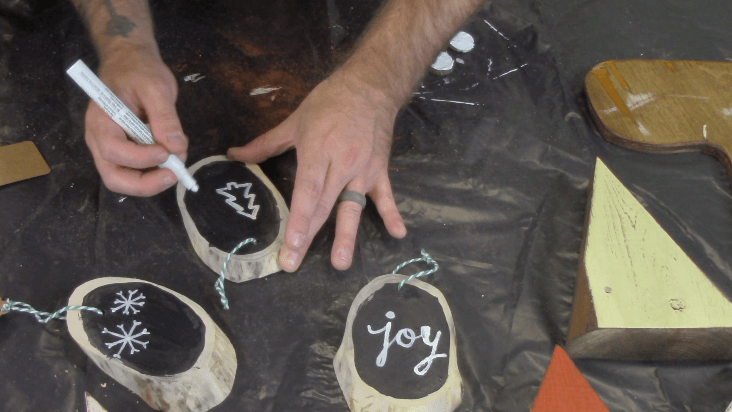
Drill small hole for string or yarn. Brush on chalkboard paint.
Use a white paint marker to draw designs or write names for gift giving!

Sketch out your Santa Boot or Stocking design.
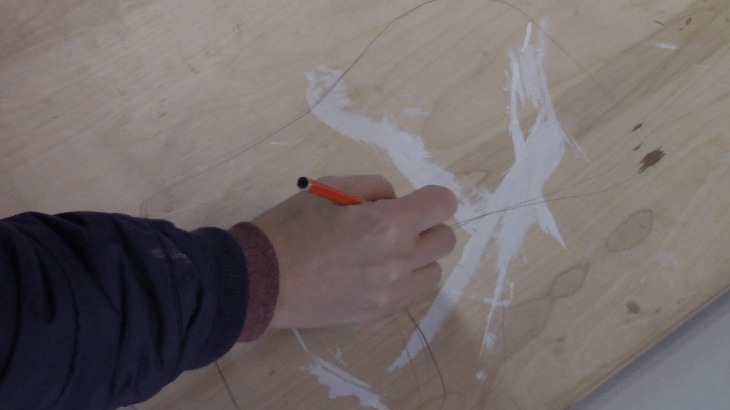
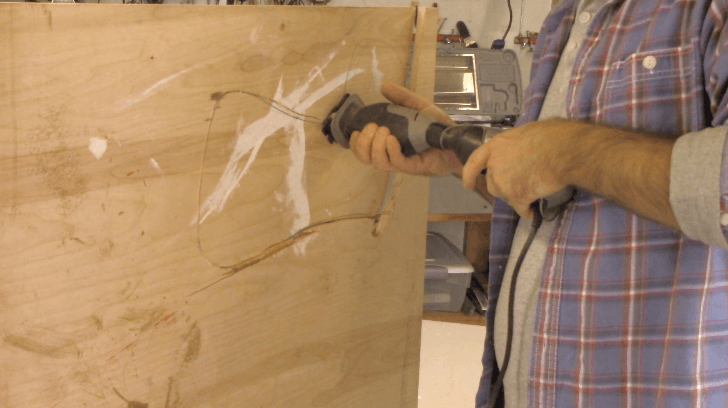
Use a Dremel Rotary Tool or Jigsaw to cut out design. Be sure to sand edges after cutting.
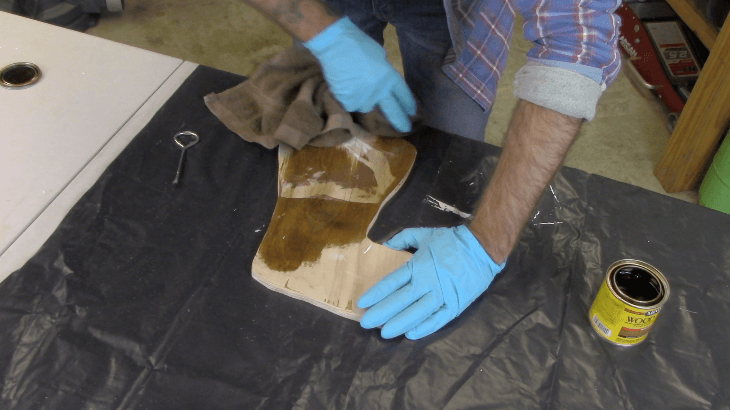
Simply add stain to all sides.

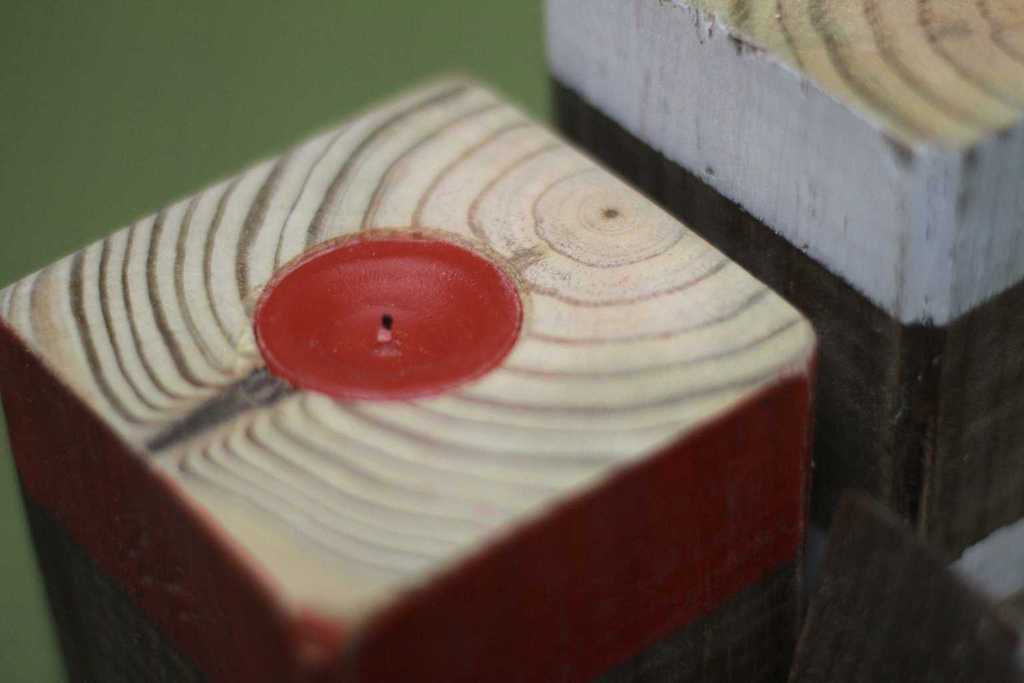
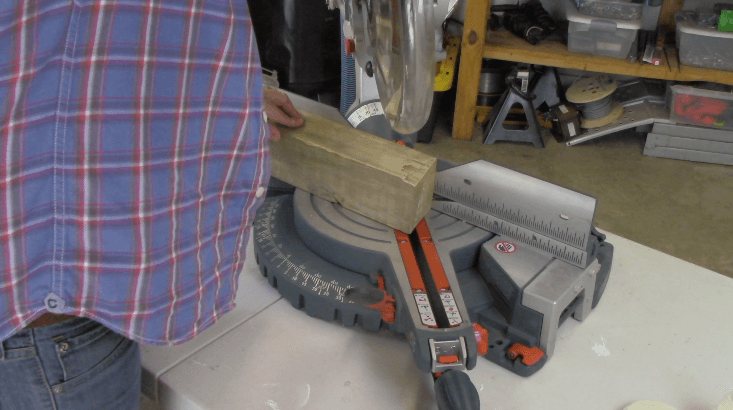
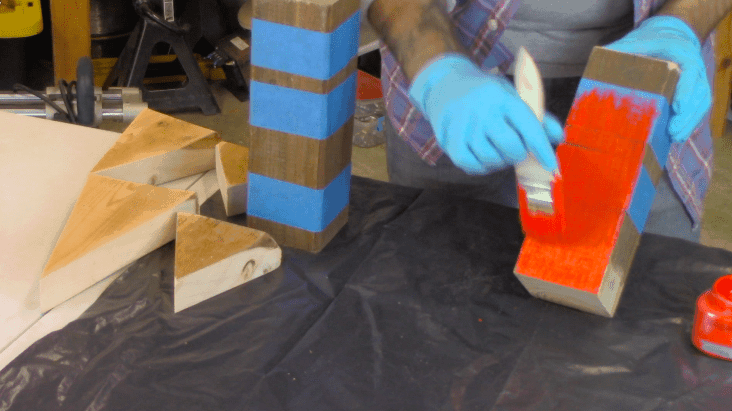
Cut 4x4 lumber at varying lengths. Generally less that 2ft if it will be sitting on a table or mantle.
Use painters tape to tape off sections and paint.
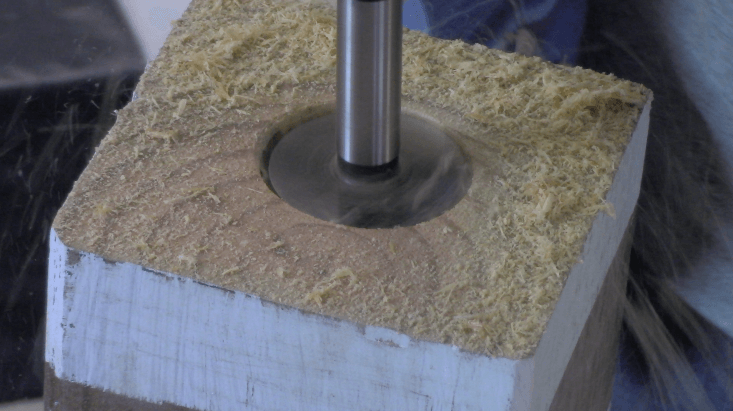
Use a paddle bit or forstner bit to cut out hole the size of your tealight candle (typically 1-1.2").
All Done!
Check out the finished 5 DIY Christmas Decorations after you add the finishing touches. These are certain to impress. A word of caution, you might end up getting requests to make these for friends and family...