

Lacquering wood is not for the faint of heart, but if you read through these tips, you'll be incredible in no time.
First, let's make sure that you understand - you can either brush it on or spray it on.
Spraying is easier and requires less skill. But, who am I to tell you not to take the challenge of brushing it on.
We'll look at both ways in this post.
General Lacquering Rules
- Find a nice spray gun- you can get these fairly cheap, and don't underestimate the power of a good spray gun.
- Compression should be rated 4CFM and 100 PSI to be sure you get a nice finish on the wood you're looking to work with.
- Consider the weather- you MUST know how humid it is and how much water vapor is in the air. There are plenty of days that you have no business lacquering wood- check the weather report before doing this.
- Temp should be around 65 degrees .
- Avoid days when there are lots of bugs around- they LOVE lacquer.
- Avoid dust at all costs- this will create a bumpy feel in the lacquer.
- Avoid direct sunlight- this causes the lacquer to blister, which creates an ugly piece of wood.
- Avoid oils and silicones touching the wood- wash your hands well and often; make sure your sandpaper or steel wool has no added stuff on it.
- Ventilation- make sure your shop is well-ventilated if you're not going to do this outside.
Let's take a look at the brush on method...
How To Brush Lacquer
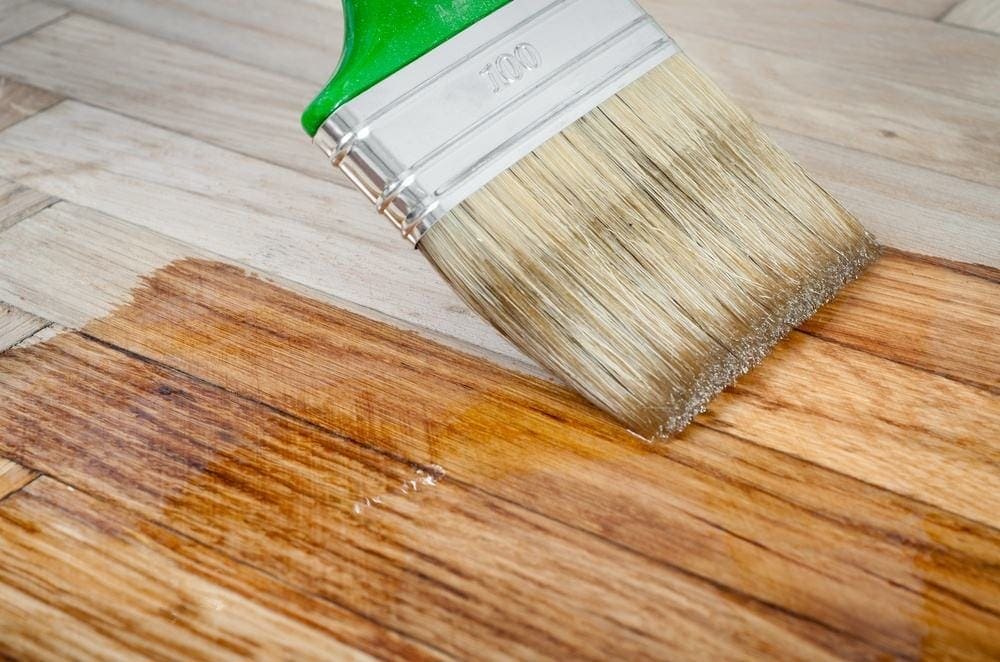
- First, put on a sealant coat by mixing lacquer thinner to your lacquer in a bowl (half and half mixture).
- Make sure you have a great brush- do not skimp on buying one that has soft bristles and holds a lot of lacquer.
- Make one stroke at a time, slowly and evenly across the entire piece you are working on. Avoid multiple coats of the initial sealant coat- this will create too many brush strokes.
- Use a piece of 320 grit sandpaper and rough up the wood a little. (lightly)
- Take a tack-cloth and wipe all residue from sanding.
- Get your brush "damp" with lacquer first.
- Then, dip the brush into the lacker and let the brush soak up as much lacquer as possible.
- The trick to applying lacquer properly with a brush is to keep the brush lying on the same side all the way across the piece of wood- do NOT go back and forth, sort of flipping the brush from one side to the other.
- It's important that you have the brush full enough so that you don't have to refill in the middle of one swipe across the wood- you want to be able to go from one end to the other in one stroke.
- As your first coat is drying, you'll be tempted to fill in areas that look like you didn't cover well enough- do not give in to the temptation. Let these be, and go ahead and do another top coat (after the other coat dries). It'll be fine. Promise.
- Don't clean your brush thoroughly between coats, but dip it into lacquer thinner some, and then wipe it onto a towel. It'll be ok to use it again without fully cleaning it.
- Use the 320 grit sandpaper between each coat, and use the tack-cloth to remove residue before each next coat.
- Apply as many coats as you want- depending on how dark you want your wood to be.
- You should use steel wool and/or pumice stone to "sand" the finished wood. These things work better to get out imperfections that sandpaper just can't get. They also create a nice sheen on the finished piece of wood.
If the brush on method doesn't sound like your kind of thing, no worries, the spray on method might just be for you.
How To Spray Lacquer
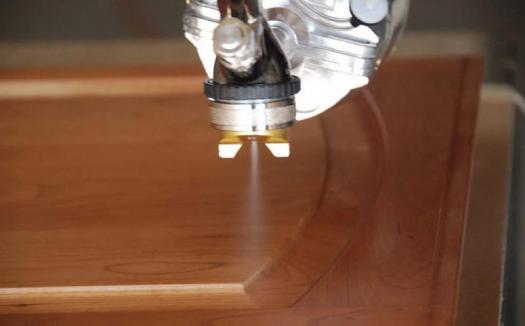
- Use the 50/50 mixture of whatever lacquer you plan to spray and the lacquer thinner we discussed in the the brushing steps above. Put a thick sealant coat on with a brush.
- Wait 30 minutes and use 0000-grade steel wool to buff it out a bit.
- Adjust the air regulator to 30-PSI.
- Fill up the spray gun with no more than 30% thinner and the rest lacquer.
- Practice spraying on a test piece of wood first.
- Apply the wet coat to the entire surface of the wood.
- It's guaranteed that you will have some overspray-it's pretty much impossible not to, but be as careful as possible to not have too much.
- Wait at least two hours and do the steel-wool wipe down again. If lacquer gets caught in the steel wool, you didn't wait long enough, so put it all away and try again tomorrow with the steel wool.
- Repeat steps 7 and 8 and do three more wet coats.
- Thin the lacquer to 2/1 ratio thinner to lacquer and apply two wet coats no more than 5 minutes apart.
- Leave it all alone for two days.
- Use steel wool to get all bugs and dust off. -after it has sat for two days.
- Wet some sand paper (1000-grit) either with straight water or a couple drops of dishwashing soap. Rub the piece of wood down with that.
- Use 4F pumice to polish it (lubricate the pumice with water first)- grab an old t-shirt made of cotton to use with this step.
- Wipe with soap and water or paint thinner (this won't hurt the lacquer) and shine it up.
There you have it! Whether you are brushing or spraying, follow these few simple tips for the best final result.
To learn more about woodworking and tools, or if you're just looking for more creative project ideas, visit www.thesawguy.com.