Choosing the correct drywall thickness for walls is essential for any construction or renovation project. Drywall typically comes in thicknesses of 1/4-inch, 3/8-inch, 1/2-inch, and 5/8-inch—each suitable for different building requirements and situations. This article provides a straightforward guide on how to navigate these options to achieve the appropriate balance of soundproofing, safety, and durability for your walls.
Table of contents
- Key Takeaways
- Three Most Common Drywall Thickness for Your Walls
- Decoding Drywall Sizes for Walls
- Types of Drywall for Different Wall Needs
- Installation Insights: Tips for Installing Drywall
- Finishing Touches: Drywall Tape and Texture
- Alternative Solutions: When Not to Use Drywall
- Complying with Building Codes
- Saws You Can Use for Drywall
- Summary
- Frequently Asked Questions
Key Takeaways
- Drywall thickness ranges from 1/4-inch for flexible installations to 5/8-inch for enhanced soundproofing and fire resistance, with 1/2-inch being the most common for interior walls and ceilings.
- Drywall sheet sizes are typically four feet wide with varying lengths, with standard sizes being 4’x8’, 4’x12’, and custom cuts available for unique project requirements to reduce seams and finishing work.
- Drywall is available in different types, including regular, moisture-resistant, and fire-resistant options like Type X, and proper installation requires appropriate hanging techniques, fasteners, taping, and texture application.
Three Most Common Drywall Thickness for Your Walls
The range of drywall thickness options presents an impressive level of versatility to cover a wide variety of needs. Choosing the right option depends on what you need from your walls and ceilings. Drywalls come in various standard sizes: 1/4-inch, 3/8-inch, 1/2-inch or 5/8-inch, which offer different benefits such as increased durability, soundproofing and fire protection capabilities. Purchasing drywall sheets is easy through a local supplier. Just pick the correct size and go get ’em yourself or have them delivered to your job site.
The most common thickness: 1/2 Inch Drywall
1/2 inch drywall is the go-to option for interior walls and ceilings, known as a “jack of all trades” in this area. It meets the requirements of durability while not being too difficult to handle. It’s the most common drywall or gypsum board inside residential homes. Not only does this type come with various varieties intended for soundproofing or lightness needs, but there are also types that guarantee mold resistance and water repellency. Each sheet weighs around 51 pounds, which shows they can still withstand pressure while remaining relatively lightweight. All things considered, when searching for something appropriate (and reliable) for indoor wall structures and roofs, look no further than choosing 1/2 inch drywall!
Going Thicker: 5/8 Inch Drywall
When it comes to the 5/8 inch drywall, we are talking about a much stronger and fireproof option. This thicker type is ideal for ceilings or walls that need additional protection from flames. Fire rated drywall sheets are commonly used in commercial installations. They could also be in the specs for a residential area that expects a lot of structural stress or higher fire risk.
Slimmer Picks: 1/4 Inch & 3/8 Inch Drywall
For curved walls and minor repairs, you can use 1/4 inch or 3/8 inch drywall to get the job done. Thanks to its ability to bend according to curved surfaces, two layers of thin drywall provide an added degree of structural stability. As far as repairs go, there are various kinds of kits with patches and necessary tools that could be used along with single sheet alternatives for minor damages. Utilizing a thinner type such as 1/4 inches is great for recovering an existing surface that is too damaged to fill with plaster.
Decoding Drywall Sizes for Walls
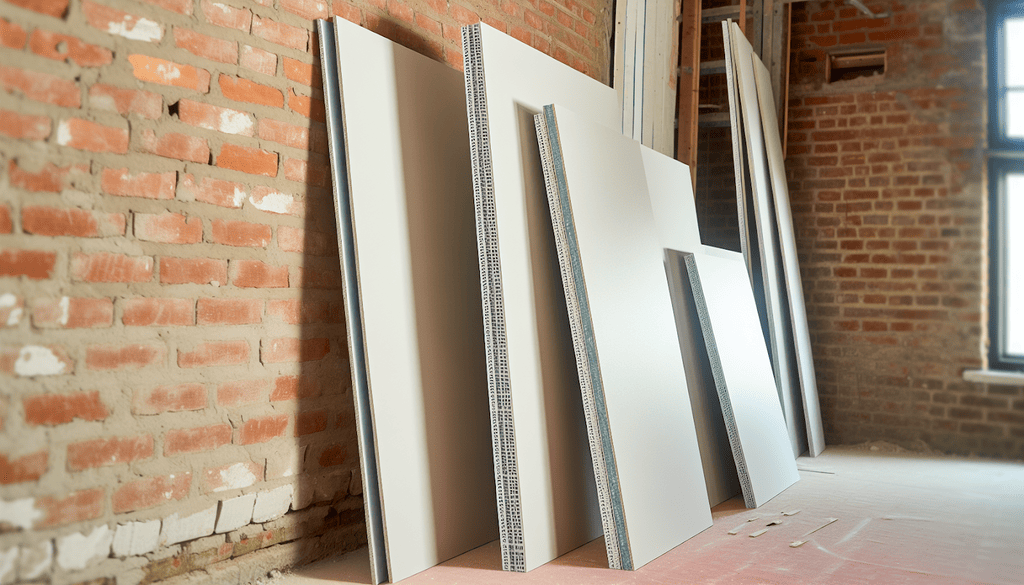
When it comes to acquiring drywall, thickness and size are equally important variables. Typically available in 4 feet wide with varying lengths based on the needs of a particular project. Purchasing standard sized panels like 4’ x 8’, 4’x12’, or even larger such as a 3-foot by 16-foot sheet, can solve most walling tasks. On the other hand, if you require an unusual size (from 2ft X 2 ft up until something far beyond what is widely stocked), having them custom cut for your specific purpose would likely be worth considering. The drywall size you choose could be dictated by portability. 51-pound sheets are almost near the max anyone wants to maneuver around job sites.
Size Matters: From Panels to Sheets
When it comes to drywall panels, size is a factor. Common dimensions used for construction and remodeling walls include 4’x8’, 4’x9’, 4’ x 10’, and 4’ x 12’. These sizes are practical since they match up with the height of most standard ceilings or walls while reducing noticeable seams on larger surfaces.
Bigger sheets can prove difficult in terms of transport due to their bulkiness when navigating around corners. Despite this difficulty, these large sizes offer many advantages such as faster installation times by providing fewer vertical joints between each board resulting in an overall smoother finish once painted over top.
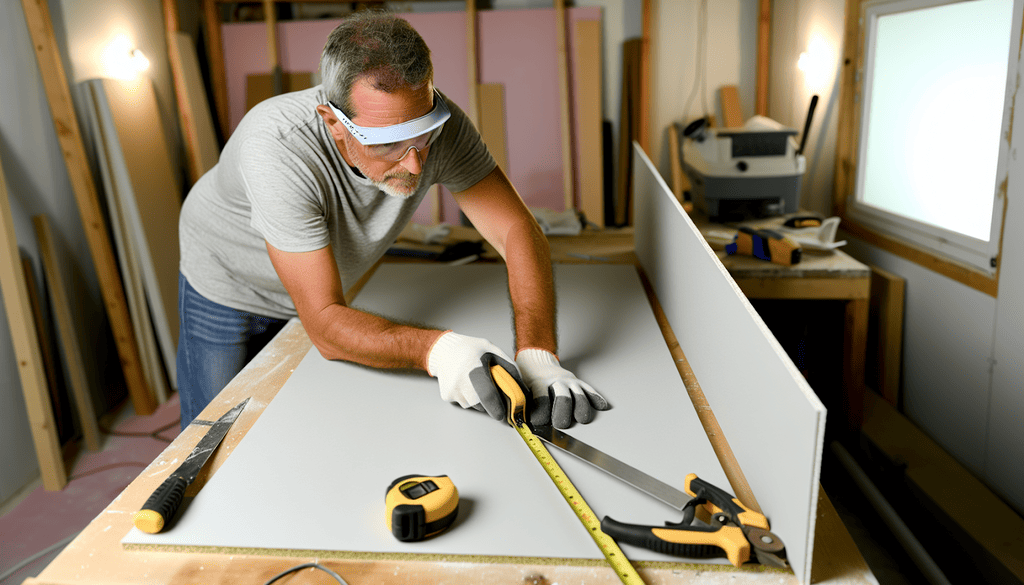
Custom Cuts: Tailoring Drywall to Fit
Accurate measuring and marking are essential for customizing your drywall to meet specific project needs. Make sure you use a straightedge or level when transferring the measurements of your installation area onto the sheet of drywall, in order to ensure that all lines remain straight. When cutting around outlets and switches, equip yourself with necessary tools like hole cutters and jab saws – leaving 1/8 inch clearance from receptacles is also important! Safety must always be considered. Donning safety goggles, gloves, dust masks or respirators as well as work boots should become second nature while working on any type of drywall projects.
Types of Drywall for Different Wall Needs
When it comes to the thickness and sizes of drywall, understanding how they differ is essential. There are three main types of thicker drywall panels that can be chosen according to one’s project needs: regular for general living spaces. Moisture-resistant for areas prone to high humidity. And fire-resistant type X, which provides extra protection such as in garages or stairwells. To select the right type, consider what exactly your room requires — from these varied options you’re sure to find something suitable!
Regular wallboards will work great if standard conditions apply, whereas more specific uses call for specialized materials like water resistant ones or even those with superior flame resistance. Check the job specs or think through your project carefully to pick the best type.
Regular Drywall: The All-Purpose Choice
Regular drywall is a very cost-effective choice for walls in standard living areas. This type of product consists of two layers encasing an inner core made up gypsum, as well as additional elements such as perlite, vermiculite and boric acid fiberglass strands to provide resistance against sound vibrations. Prices range from about $0.30-$0.50 per square foot.
So if you want that quality finish but have to stick within budget limits then regular drywall should be your go-to option for interior wall covering solutions without breaking the bank.
Specialty Drywall: Moisture and Fire Resistant Options
When constructing a building, regular drywall is suitable for most rooms. In certain areas where extra protection from fire and moisture may be required though, specialized types such as moisture resistant or fire-resistant boards can be employed.
Moisture-resistant drywall has been treated with an impervious coating that will help to keep out water and prevent mold growth in places like kitchens and bathrooms while the Type X form of Fireboard boasts enhanced insulation levels along with improved fire resistance – making it ideal for commercial premises which require compliance to specific regulations on this issue. Whatever your requirements are, there’s sure to be a type of Drywall board able to meet them perfectly!
Installation Insights: Tips for Installing Drywall
The installation of drywall requires the right tools and techniques. To attach it correctly, you’ll need special knives and carriers as well as screws for fastening. Besides that, joint compounds or mud must be applied to the seams between sheets, which are usually done using a trowel with an accompanying mud pan filled with compound.
Let’s take a closer look at these steps in more detail.
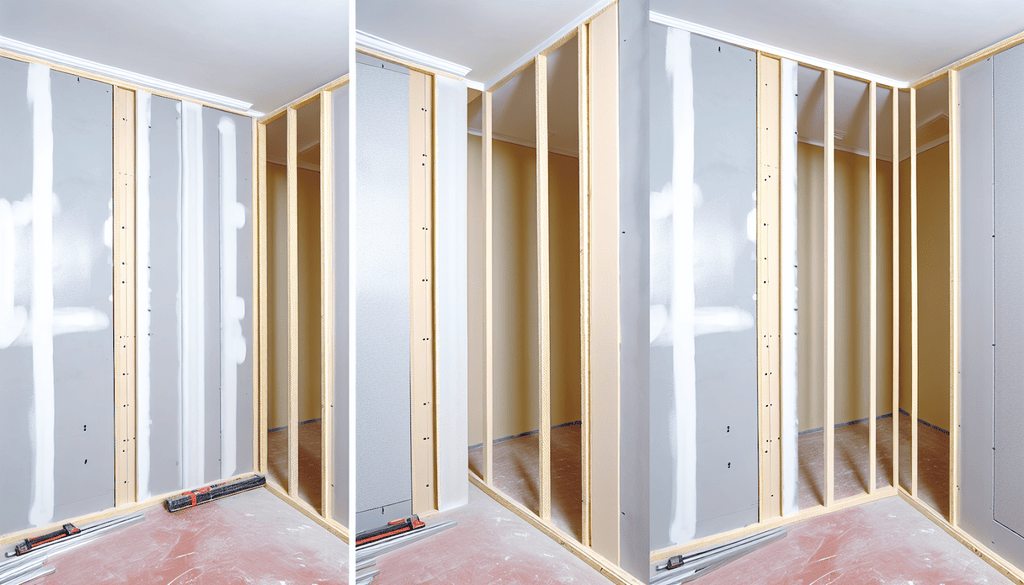
Hanging Techniques: Vertical vs. Horizontal
Some people install drywall sheets vertically. This makes them a bit easier to align with wall studs and avoids a problem at the baseboards with the curved edge of the drywall.
But horizontal installation is better. Here’s why:
- With 9 foot or shorter walls, installing drywall sheets horizontally produces about 25% less seam length.
- The seams will be at much more comfortable working heights, which should lead to a better finish.
- Horizontal drywall touches more studs on interior walls on each sheet. This makes it stronger than a vertical installation.
Smaller areas, like remodeling partitions or portions of interior residential walls and ceilings, might be good candidates for vertical installation. But most of the time you should be working horizontally.
Securing Drywall: Fasteners and Techniques
Drywall installation is a crucial step in creating smooth, ready-to-paint surfaces in your home. Securing the panels properly ensures they stay sturdy and don’t develop unsightly cracks or bulges. Here are the most common methods for attaching drywall:
- Screws: This is the most widely used and recommended method for its strength and ease of use. Drywall screws, with their distinctive bugle heads, are specifically designed for this purpose. They penetrate the drywall paper and bite into the underlying wood framing for a secure hold. Use coarse-threaded screws for wood studs and fine-threaded ones for metal framing.
- Spacing: Drive screws every 8-12 inches along the edges of the panel and every 16 inches across the field.
- Depth: The screw head should be slightly below the paper surface, not dimpling or tearing it.
- Nails: While less common than screws, nails can be used for drywall attachment, especially in ceilings where the weight isn’t significant. Use galvanized ring-shank nails specifically made for drywall.
- Spacing: Similar to screws, nail every 6-8 inches along edges and 12-16 inches across the panel.
- Depth: Sink the nail head slightly below the paper surface.
- Adhesive: In specific situations, like attaching thin drywall sheets to existing walls, construction adhesive can be used. However, it’s not a substitute for screws or nails for primary support.
Remember, proper technique is key for a successful drywall installation.
Use the right tools, maintain consistent spacing and depth, and avoid over-driving fasteners to prevent damage. With careful execution, you’ll have a smooth, secure drywall surface ready for your finishing touches.
Finishing Touches: Drywall Tape and Texture
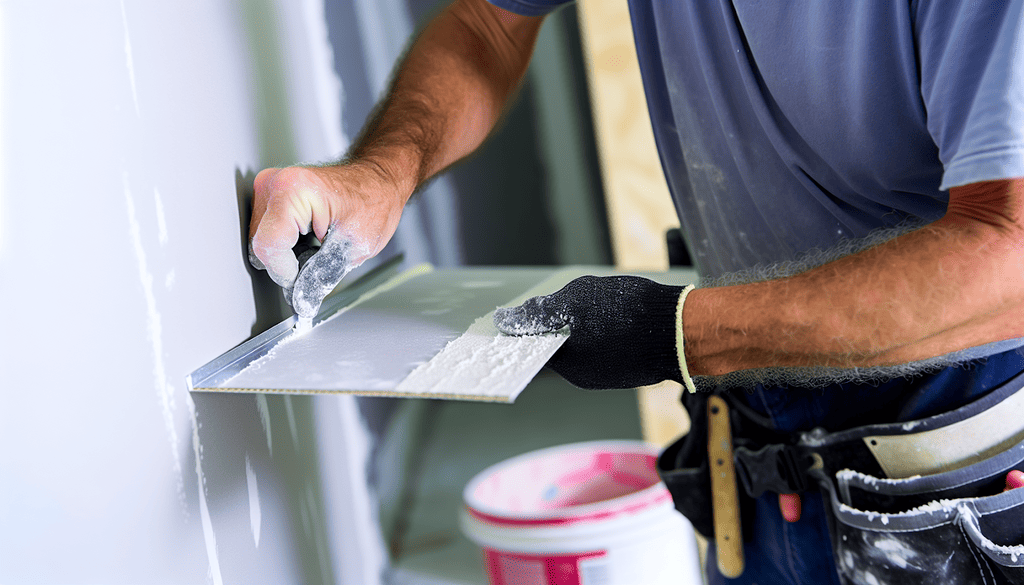
After the drywall has been secured in place, it’s time to apply some finishing touches. Drywall tape is necessary for a professional finish and comes in two types – paper or mesh. Both serve as an effective sealant between sheets of drywall when used with joint compound or mud, providing a neat appearance throughout any wallboard installation project.
With added texture techniques also available that can provide more visually appealing outcomes. There are plenty of ways one can make their walls look beautiful inside and out! These options will certainly aid anyone who wants to take their DIY projects up a notch without sacrificing quality results either way!
Taping for Perfection
Taming those seams! Drywall tape is your secret weapon for achieving a flawless, invisible finish. But navigating the world of paper, mesh, and mud can be tricky. Here are some expert tips to turn you into a taping pro:
- Match the tape to the task: Paper reigns supreme for flat seams, offering easy embedding and smooth results. For corners, the reinforced strength of fiberglass mesh tape provides superior crack resistance.
- Prep is key: Don’t underestimate the power of a clean joint! Before taping, scrape off any drywall bits and rough edges for a smooth base. Apply a thin layer of joint compound to fill the seam and prevent tape bubbles.
- Embrace the “bedding coat”: Before laying the tape, apply a thicker layer of joint compound, smoothing it outwards beyond the seam edges. This “bedding coat” creates a firm foundation for the tape to sink into, minimizing ridges and bumps.
- Tape with tension: Gently unroll the tape and press it firmly into the wet mud, working from the center outwards. Use a taping knife to smooth out any air bubbles or wrinkles, ensuring the tape is fully embedded.
- Mud, layer by layer: Don’t rush the mudding! Apply thin coats, gradually feathering them beyond the seam to blend with the surrounding wall. Sand lightly between coats for a seamless finish.
- Don’t forget the corners: For a crisp corner finish, fold the paper tape in half to create a sharp crease. Apply joint compound generously with a corner trowel, pressing the folded tape into the corner as you go. Smooth out the excess compound for a perfectly straight result.
Remember, patience and practice are your allies! With these tips and a little finesse, you’ll be taping like a pro and creating walls that whisper, “flawless.”
Texturing Techniques
A smooth finish may be the obvious option, but drywall surfaces can also have interesting textures applied to them that hide any minor blemishes. Different texturing techniques exist such as combing, popcorn effect, orange peel texture and knockdown amongst others like sand swirls or slap brush finishes. Each one requires a distinct application method – for example, in order to create a knockdown look, stalactite peaks must be formed using joint compound then smoothed down again creating an appealing pattered surface.
While the more subtle approach of orange peel is achieved by combining kernels with powder thereby covering any small flaws on the wall whilst still allowing light passage through it.
Alternative Solutions: When Not to Use Drywall
Interior walls and ceilings often call for drywall as the preferred solution, but in certain cases a drywall alternative may be employed. Kitchens and bathrooms that are exposed to moisture could benefit from cement board’s superior water-resistance capabilities. This material is also able to bear heavy loads without bending or warping. Traditional buildings have been known to opt for plaster walls due to their aesthetic appeal combined with a fire-resistant property.
Beyond just offering an alternative option, these alternatives possess added benefits of their own. Durability, resistance against various elements like water, can lead to higher levels of practicality down the line. Plaster wins out on grounds such as simplicity while still giving off an attractive look through its classic design when used on walls and ceilings alike.
Cement Board and Plaster Walls
For wet environments, cement board is the better choice than drywall due to its increased durability and resistance against moisture, mold and mildew. It won’t sag or warp under heavy loads. Plaster walls have an aesthetic advantage in their textured appearance as well as greater insulation efficiency. They are costlier when compared with drywall, which allows for more customization possibilities alongside a flawless finish.
Whether dealing with high-moisture areas or traditional homes without exterior details – there’s definitely a solution that fits your needs out of the alternatives to drywall such as plaster walls or cement board!
Complying with Building Codes
Buildign codes are not meant to be difficult or a pain in the a**. Take a little time to familiarize yourself with the relevant codes and important factors. Your work will be better and you won’t run afoul of any building inspectors.
Relevant Codes:
- International Building Code (IBC): Chapter 25 – Gypsum Board, Gypsum Panel Products, and Plaster: https://codes.iccsafe.org/content/IBC2018P4/effective-use-of-the-international-building-code
- International Residential Code (IRC): Chapter 7 – Wall Covering: https://codes.iccsafe.org/content/IRC2018P7
- International Existing Building Code (IEBC): Chapter 25 – Gypsum Board and Plaster: https://codes.iccsafe.org/content/IEBC2018P5
Key Areas Addressed:
- Fire Resistance:
- Minimum drywall thicknesses and types for different occupancies and fire ratings.
- Specific requirements for fire-resistant drywall (Type X) in certain areas.
- Fire-blocking measures to prevent fire spread through wall cavities.
- Sound Control:
- Sound transmission ratings (STC) for different wall assemblies.
- Insulation requirements for sound attenuation.
- Specific details for soundproofing walls, such as resilient channels and double-layer drywall.
- Moisture Control:
- Vapor barriers and water-resistant drywall for wet areas (bathrooms, kitchens).
- Flashing and sealing details around windows and doors.
- Ventilation requirements to prevent moisture buildup.
Additional Considerations:
- Seismic Design: In areas prone to earthquakes, additional requirements may apply for drywall installation, such as using stronger fasteners and reinforcing joints.
- Accessibility: The Americans with Disabilities Act (ADA) also has provisions related to drywall, such as ensuring proper clearances around grab bars and other accessible features.
Always consult the specific codes and standards applicable to your project and location. These can vary depending on the jurisdiction and the type of building.
For further guidance:
- US Gypsum Corporation (USG): Technical Article – Building Codes: https://www.usg.com/content/dam/USG_Marketing_Communications/united_states/product_promotional_materials/finished_assets/usg-drywall-suspension-system-product-evaluation-report-en-4358.pdf
- International Code Council (ICC): Building Code Adoption Information: https://www.iccsafe.org/advocacy/code-adoption-resources/
Saws You Can Use for Drywall
Drywall projects often call for precise cuts, and choosing the right saw makes all the difference. Here are the top three saws you might encounter:
- Utility knife: Your trusty multi-tool takes center stage for most everyday cuts. Score smooth lines through paper and score thicker sections for clean breaks.
- Jigsaw: Maneuver through curves and tight spaces with ease. Ideal for cutting access holes for outlets or intricate shapes for decorative features.
- Rotary saw: Power through thicker drywall sheets and dense materials like cement board. Use a carbide-tipped blade for clean, chip-free cuts.
Remember, safety comes first! Wear eye protection and operate saws with caution. With the right tool and careful technique, your drywall project will be a smooth success.
Summary
When installing drywall, understanding the importance of selecting the correct thickness is vital in order to abide by local building codes. Depending on your needs and space requirements, there are a variety of options available which can improve not only aesthetics but also offer longevity, safety and comfort.
It’s essential to thoroughly research all aspects when considering different types such as standard living areas or high-moisture rooms before undertaking this project so you can feel confident with your decisions regarding the right kind of drywall for your specific situation.
Frequently Asked Questions
Should I use 1 2 or 5 8 drywall for walls?
For residential walls and ceilings, 1/2-inch drywall is a simple and economical option. If you need more fireproofing, strength or sound insulation, then the suggested thickness should be 5/8 inch of drywall for these conditions.
What is the standard drywall thickness for interior walls?
The typical drywall thickness used for interior walls is 1/2-inch, offering a balance between its weight and strength that makes it the standard choice among residential homes. Drywall with this thickness has become highly popular in home building and remodeling projects due to its durability when applied on the inside of houses.
Can drywall be an inch thick?
Drywall can range from 1/4 inch up to 5/8 of an inch thick, though not exactly one full inch. Depending on the desired application and framing requirements for a given project, certain thicknesses should be used appropriately.
What are the different types of drywall available?
When selecting the right type of drywall for your needs, you should be aware that there are three main options: regular, moisture-resistant and fire-resistant. Consider each one carefully in order to determine which is best suited to meet your requirements. Regular drywall provides basic protection against dents and scratches, but may not provide basic protection against scratches.
What are the common sizes of drywall sheets?
Standard drywall sheets are 4′ x 8′. This size balances the need to cover large areas with the ability to carry a sheet around. Longer sheets are available from most manufacturers and are used on larger jobs.