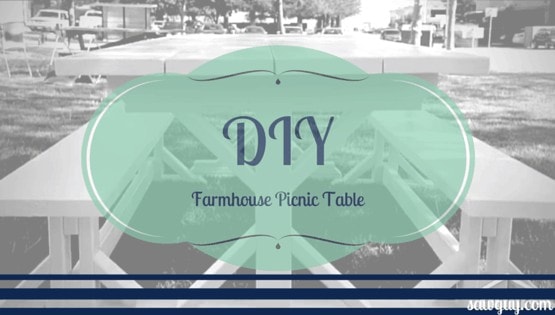

If you’re looking to build a picnic table with a little more style. This Farmhouse Picnic Table from “build.com” is easy-to-do and stands out amongst the standard design.
The farmhouse picnic table is a very classy look and is certainly more versatile than just sitting on the patio in the backyard.
WHAT YOU’LL NEED
- Drill
- Hammer
- 3″ Exterior Deck Screws (pre-drill every hole before using)
- 2″ Finish Nails (use wood glue in conjunction with)
- Wood Glue
- Circular Saw or Miter Saw (this one works great)
- Counter Sink Drill Bit (pre-drilling hides screws)
MATERIAL LIST
- 2- 2x12x8
- 4- 2x10x8
- 12- 2x4x8
- 1- 1x4x12
- 1- 4x4x8


TABLE

STEP 1. PRIME & PAINT ALL WOOD
Naturally, this step should only be completed if you plan on painting the finished table. If you plan on staining it, then you should do so beforehand as well.
Painting or staining the wood before you start makes it so much easier, because it is very difficult and time-consuming to reach between the joints and tight corners.
Plus, when you finish, all that is left is touching up the cut edges and maybe one light final coat.

STEP 2. MAKE ALL CUTS
“Measure twice, cut once.” Easily one of the best pieces of advice I have ever received when it comes to woodworking and construction.
This step is important to do correctly, so please take your time. Reference the cut list to get all measurements and angles. Once, you’ve finished cutting, it will almost be like putting a puzzle together.
Using a miter saw is preferred, however, with a little more measuring and marking angles, a circular saw can be utilized.
I suggest organizing your cut wood into piles based on whether it is for the table or bench, and even further categorize into groups for legs, braces, tabletop.


STEP 3. ASSEMBLE THE LEGS & ATTACH BRACES
Here we go! If you’ve organized everything the way I explained previously, this shouldn’t be as complicated as it sounds.
Center and attach 1x4x20 (top & base) to 4x4x20 screwing (pre-drill first) two 3″ deck screws through each 1x4x20 to the 4×4 on the top and bottom.


At this point your legs should look like kind of like an “I”, although a completely different scale. Now, attach your four 2x4x11 (45 degree) braces into the 4×4 and the 1×4’s on each side in an “X” type pattern.
STEP 4. BUILD AND ATTACH TOP & BASE
Use wood glue and screws to attach the 2x4x31-3/8-45 degree (first) and 2x4x31-3/8 (second) into the 1x4x20’s on each end. Also, use wood glue and nails to attach 1x4x3-1/2’s as feet on the bottoms of each leg.


STEP 5. ATTACH RUNNER (CROSSBEAM)
Pre-drill and screw the 2x4x77 into each leg (8″ up from base of leg to middle of 4×4). Use a level to ensure the cross beam is square before attaching both sides.

STEP 6. SECURE BOARDS FOR TABLETOP
Lay the 2x10x96 tabletop boards onto legs and attach using screws. Ensure each board is square before proceeding to the next.


Screw the 2x4x18 braces from the top of the crossbeam to the bottom of the table.
STEP 7. FILL SCREW HOLES
Depending on what type of finish you desire, this step is optional. If you choose to fill the screw holes, use wood filler and sandpaper before applying last coat of paint for a seamless look.

BENCHES

You might have noticed the process for assembling the benches is the same as for the table. The main difference is, instead of using 4×4’s you will use two 2x4x11-3/4’s on each side with the cross beam in between. It should look exactly like the example in the measurement diagram (pictured above).
Essentially, you are repeating the same process, but on a smaller scale.
SUMMARY
There are many options for finishes and style. For a clean and seamless look, caulk every joint and fill every hole before adding a final coat of paint.
Want something slightly more rustic? Leave the screw holes, paint sporadically, sand, and stain.
I really like this farmhouse picnic table versus the standard. It’s extremely durable, stylish, and you can even use it as your dining table.
Have fun!
Click here to learn how to make a DIY Pallet Feature Wall.
Watch the full tutorial below.