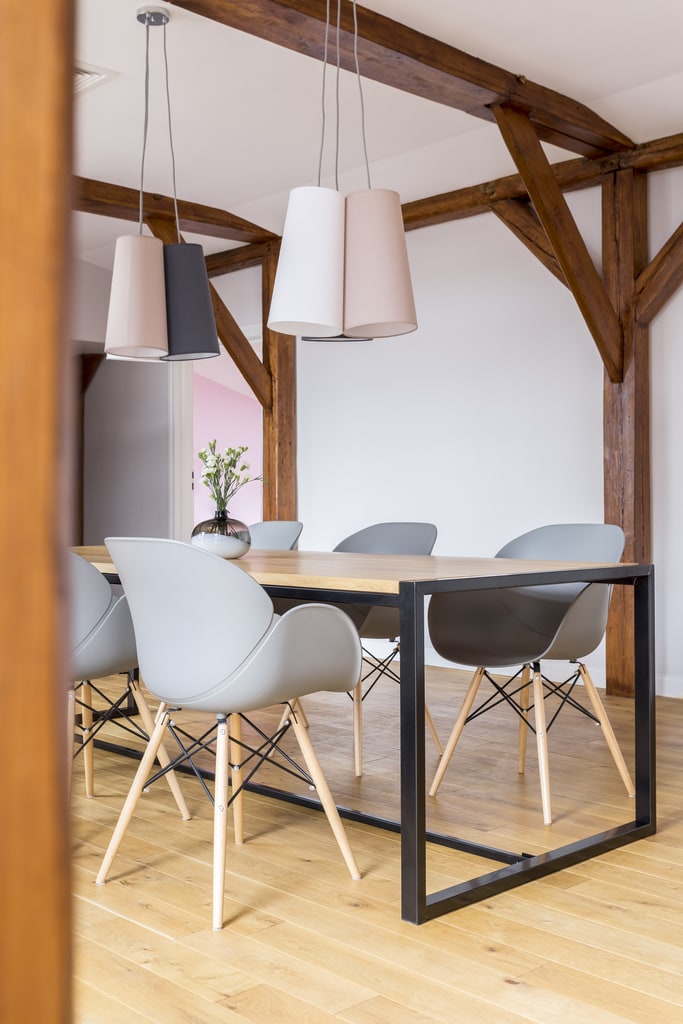
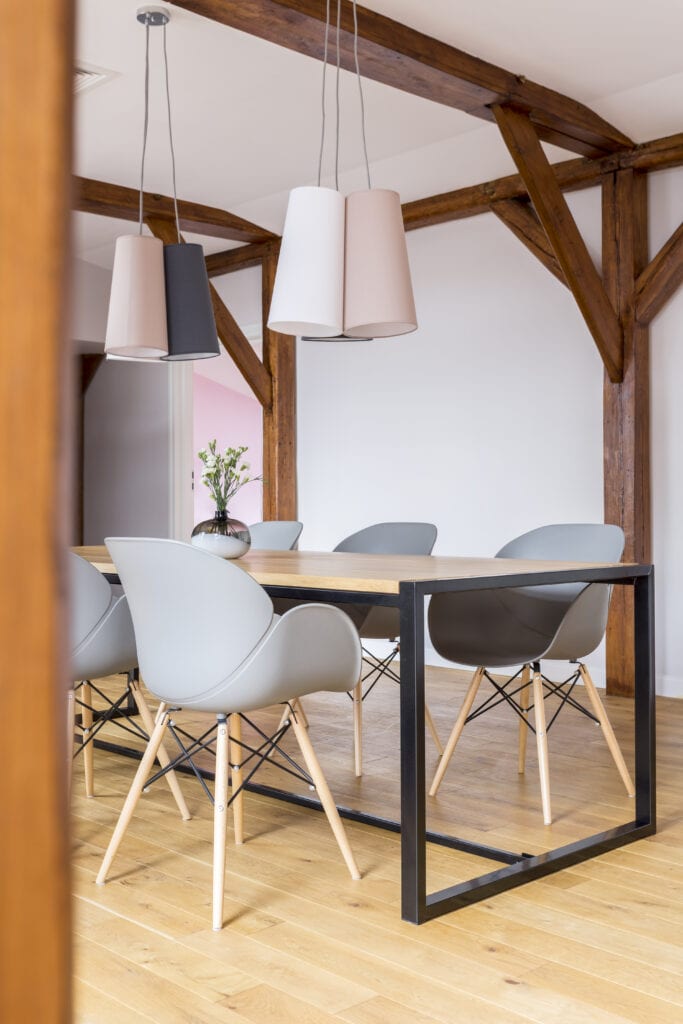
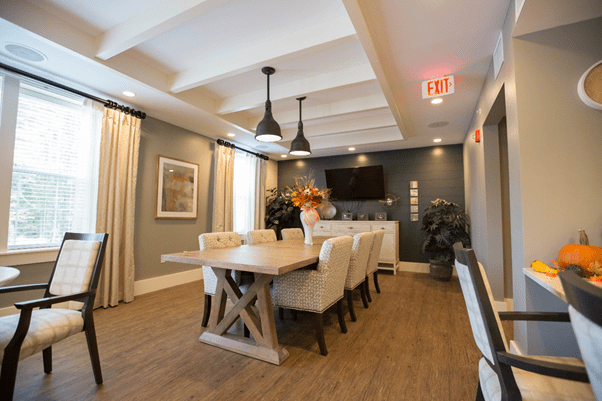
Would you like a welcoming dining table that your family can gather around? Nothing quite beats the look of a farmhouse table for warmth and a cozy feel. You can allow the tabletop to show the grain of the wood for a traditional look or paint the entire surface to have a contemporary farmhouse table.
It’s easy to find rustic farmhouse table plans for free online. In this post, we’ll delve deeper into what every farmhouse table must have and which plans, projects, and ideas are worth considering.
Table of contents
What is a Farmhouse-Style Table?
The kitchen table, farmhouse-style or not, plays a classic and essential role in the home. Farmhouse-style typically refers to rustic table-and-chair dining sets. In the 19th century, no house was without a farmhouse table. At that time, families often kept the table, then called a harvest table, in the cellar.
The traditional table was a hand-made, DIY farmhouse table that the family could use to sort produce. It typically had an unpainted wood top and could double as a picnic table if needed. The farmer’s family employed a simple construction process, using inexpensive wood at hand and a simple DIY farmhouse table plan circulated in the community.
The legs of the table were typically plain, without much decoration. The farmer or his wife might have painted them with leftover paint. The purpose of the traditional farmhouse DIY table was to be functional. These farmhouse tables, unlike dining room tables, were not seen by guests.
Contemporary designers like Ana White appreciate the simple, clean lines of these classic pieces of furniture. The bare, unpainted table allows the grain of the wood to show through. Over time, the wood develops a rich patina. Ana White has built much of the furniture in her home herself. Considering that she’s self-taught, she’s an inspiration.
All she needs are her tools, solid wood, and a dining table or farmhouse table plan. She’s saved herself a fortune by making her farmhouse table and furniture.
How Much Does a Farmhouse Table Cost?
The cost of a farmhouse table depends on the type as well as whether or not it’s antique. A new farmhouse kitchen table costs, on average, $250 – $300, despite the simple design. You’ll pay ten times as much for an antique, rustic, farmhouse table. Full farmhouse table dining sets will cost even more.
If you’re handy, you may build yourself a farmhouse table for a fraction of the retail cost. All you need is a farmhouse table plan, lumber, a saw and sander, a wood stain or varnish, and some screws. The uncomplicated nature of the farmhouse table design makes it simple for beginners.
What Type of Wood is Best for a Farmhouse Table?
Traditionally made from whatever wood was lying around, there are no wrong answers to what wood you can use to fashion a table. Hardwood is preferable because it’ll last longer. Consider looking for reclaimed lumber–to save your budget and create a unique look. Here are some suggestions:
- Pine: Easy on the budget, you may stain pine to recreate whatever look you prefer.
- White Oak: Expensive, but hard-wearing, white oak will fit with most decor styles and create an upmarket look. If you’d like to show your creativity, why not use a live edge?
- Cedar: Cedar is an excellent choice for durability, particularly in conditions of high humidity. Red cedar adds warmth to any room. The woodgrain pattern adds interest.
- Cypress: Mainly light in color. Cypress may also have a speckled texture that gives your kitchen table some depth.
- Aspen: Aspen is a reasonably-priced wood that’s light in tone. Its primary advantage over pine is that it doesn’t dent or scratch as easily.
How Do You Decorate a Farmhouse Dining Room?
The simpler, the better, is the key to decorating. The woodgrain finish needs little embellishment. If you prefer, use one runner on the top in a fabric that highlights your table. Then, you may add a pretty arrangement of country flowers in the center. Make collecting the flowers a project for your kids.
Make Your Table With Our Free DIY Project
This free DIY project is more straightforward than it seems. We’ve taken the table that we showed initially and came up with an easy hack for you. You’ll make the top as usual, but instead of using legs, you’ll use the stools.
How?
Start by creating the top of the table. To do so, you’ll need a selection of boards. The length and width are your preferred dimensions to fit your space, and your family’s seating needs. There are two ways to join the boards:
- Using glue along with pocket holes and screws: This takes longer but is far more durable. The pocket holes remain visible on the underside. If this bothers you, you may add one more layer of wood to finish the bottom.
- Using biscuits and glue: You’ll need a biscuit joiner that’ll allow you to cut the grooves. This method is faster, but not as secure as using glue and screws together.
Whether you add a skirt or not is your decision.
When the top is complete, it’s time to add the legs. Remove the hinges and string from the trestles. Glue the pieces together and clamp them until the glue is dry. In the meantime, cut a scrap of wood the length of the upper frame.
Screw it securely on either end to the underside of the table. Position it just to the inside of where your leg will be. Repeat on the other side of the table. Working from the inside facing out, glue the stool to the scrap lumber. Clamp and allow to dry.
For extra security, screw the scrap wood and top of the trestle. Be careful to miss the screws going into the table’s underside.
Do You Need More Inspiration?
Lucky Goose’s rugged option is ideal if you want to build everything from scratch. The site has full plans and teaches you how to use pocket holes in more detail.
Escagedo Woodworking’s simple model uses biscuit joinery and reinforces the shape and corners with a frame. It’s a simple design that incorporates structure as both a design feature and for stability.
Woodworking Freak’s design is an excellent option if you’re using reclaimed wood. Prepare the boards, stain them the same color, and then join them. The crossbar on the bottom provides extra stability and a handy footrest.