
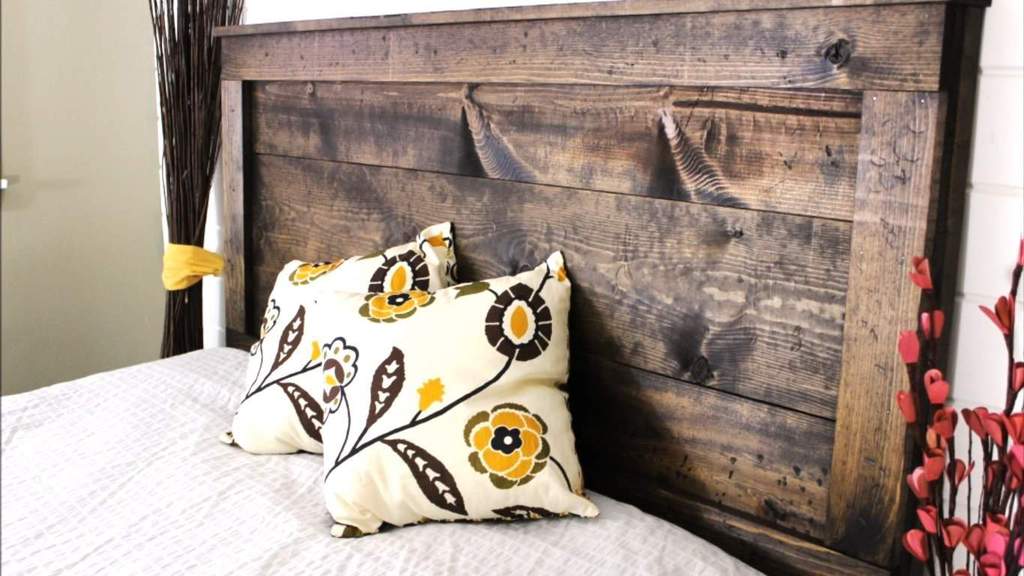
The question is simple: who needs an expensive headboard when you can build a cheaper one that’s just as elegant?
For this How-To, we’ll breakdown the Rehab Life Tutorial on how to make a rustic headboard for a queen-sized bed without burning your pockets.
After all, it only costs $20.
What You'll Need
- 2 pcs. 2”x4” x8ft lumber
- 3 pcs. 1”x10” x6ft lumber
- 3 pcs. 1”x4” x8ft lumber
- miter saw
- hammer
- sanding block
- finishing nails (1 1/4”)
- screws (2 1/2")
- wood stain
- paint brush or rag
Step 1: Measure and cut the lumber
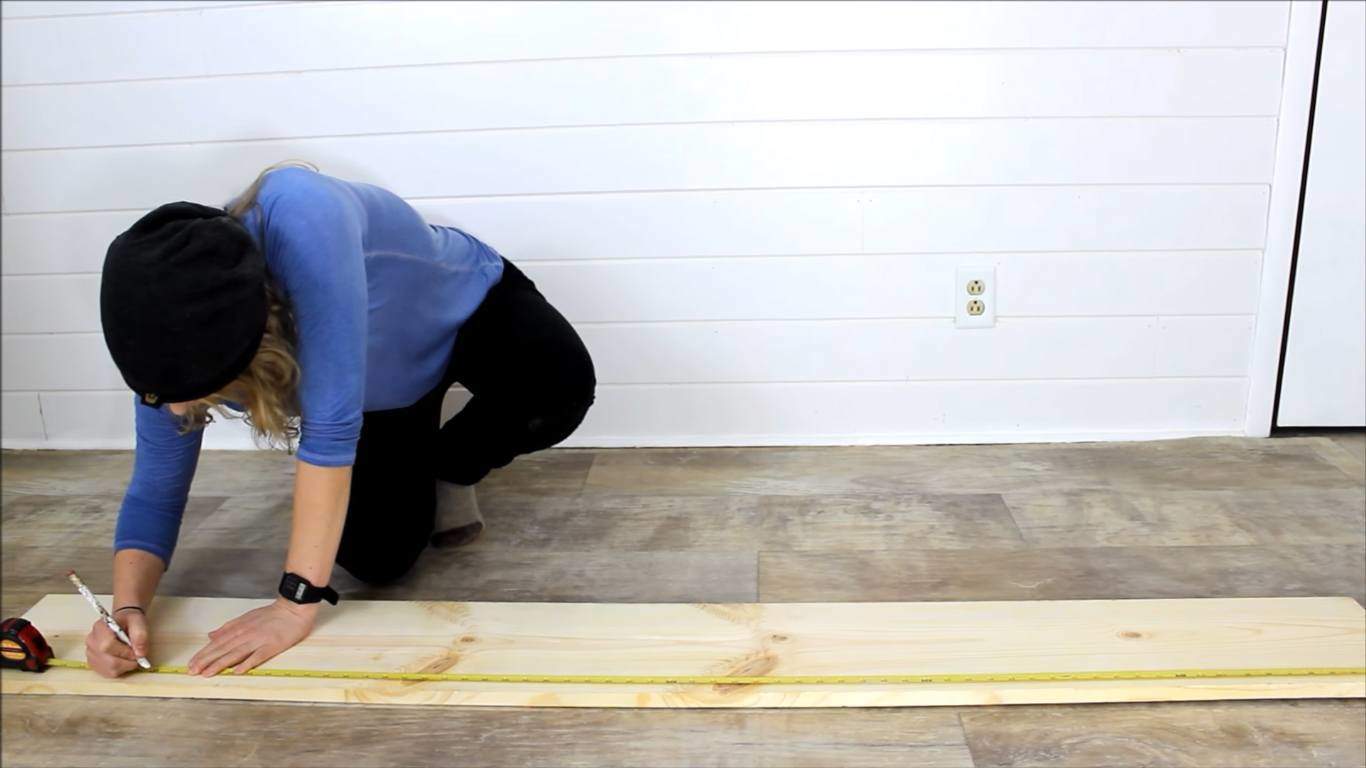
Following a queen-sized bed’s dimensions (62" w x 56 3/4" h), measure each lumber piece into these board sizes:
- Two 56” long pieces from the 2”x4”s
- Three 62” long pieces from the 1”x10”s
- One 63” long piece from the first 1”x4”
- Two 62” long piece from the second 1”x4”
- Two 20 ¾” pieces from the third 1”x4”
If these don’t work for you, there are other measurements for other bed sizes in the video.

Cut the lumber with your miter saw.
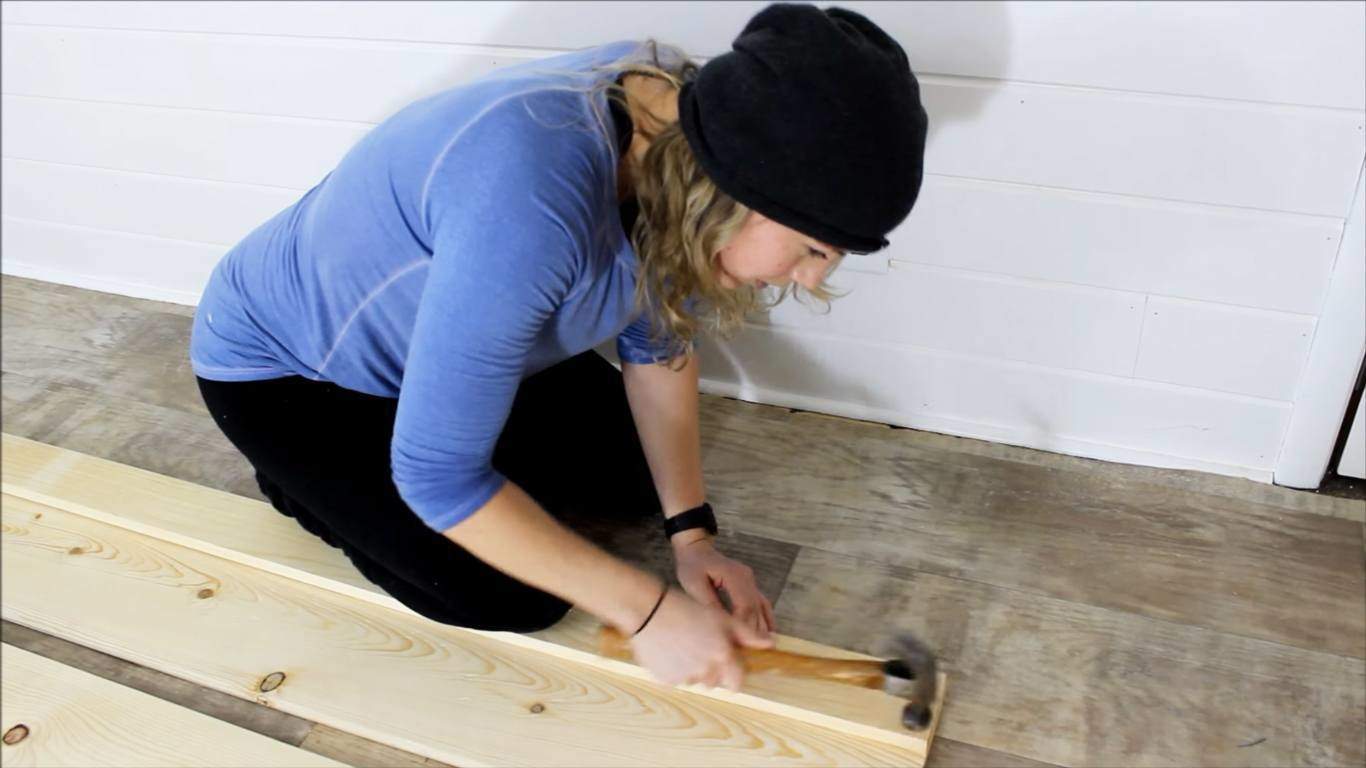
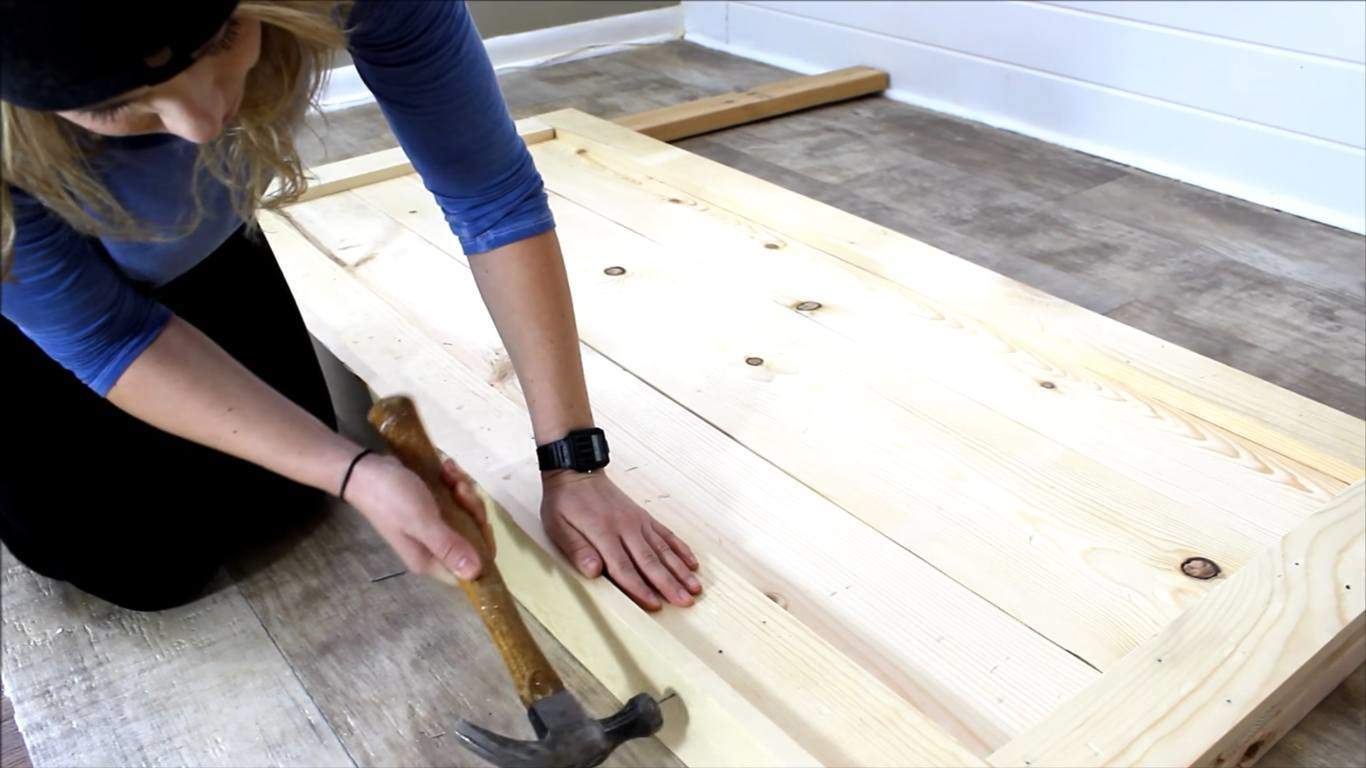
Step 2: Beat the boards
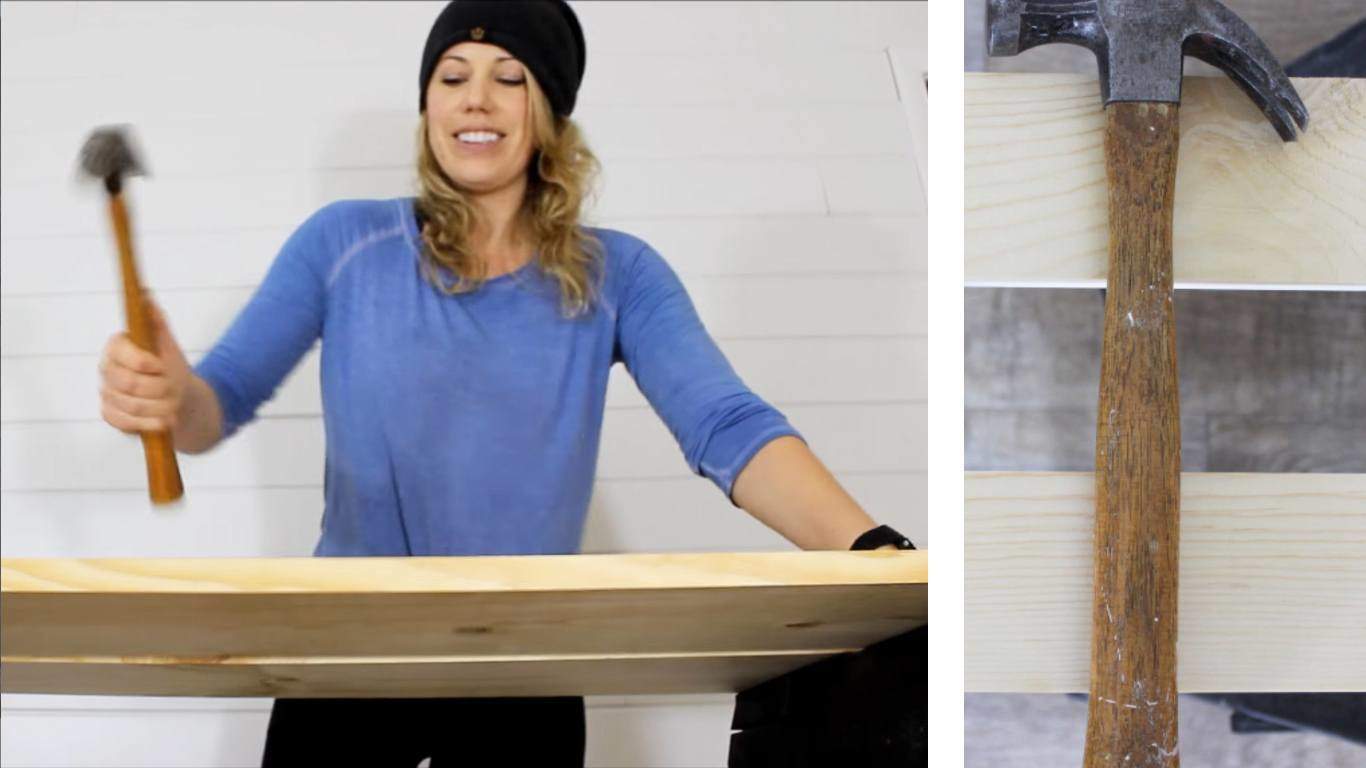
Just like our other rustic projects, the wood should look a little bit distressed. So use your hammer to beat each board, and give it little cracks. Be careful not to strike too hard though. You may end up damaging them. You can also use a heavy wrench for this, but basically any kind of tool that can smash things will do.
Step 3: Sand all the boards

Using the sanding block, go through all the boards.
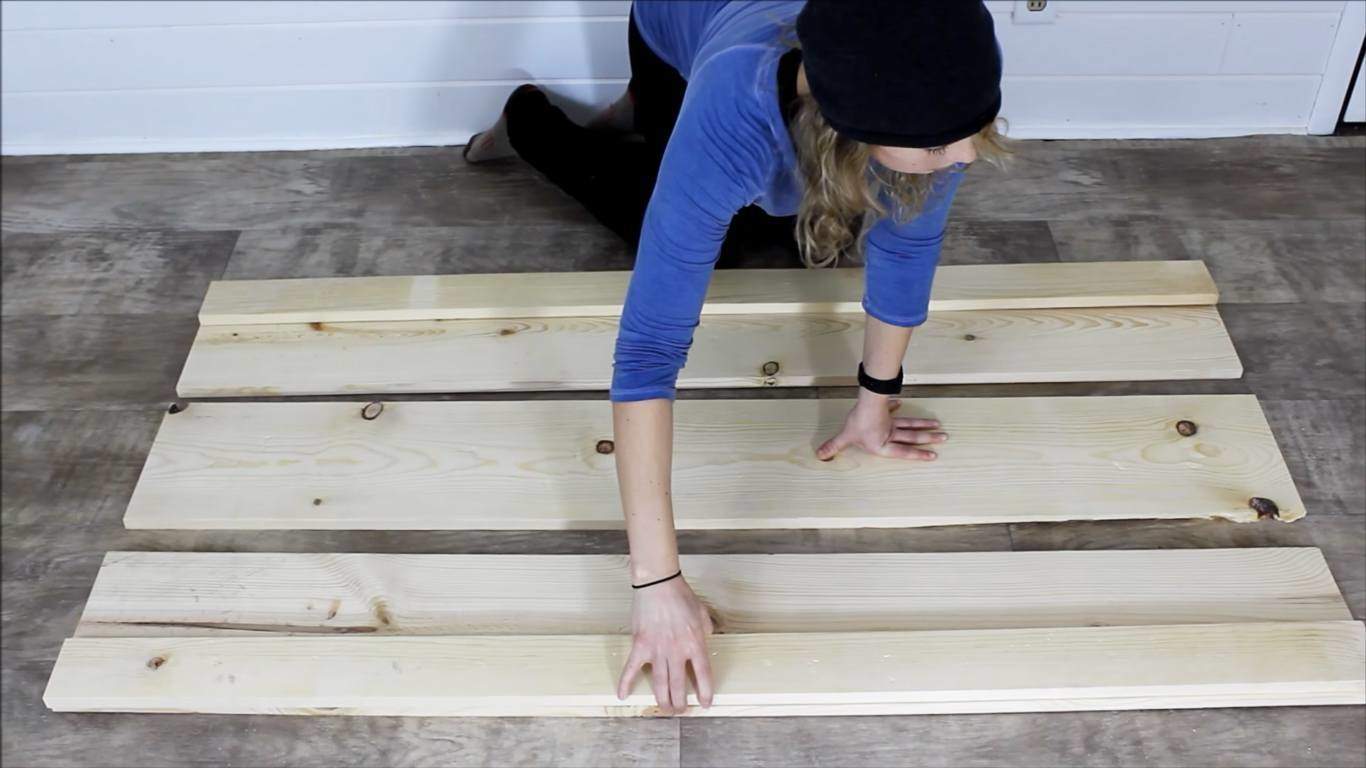
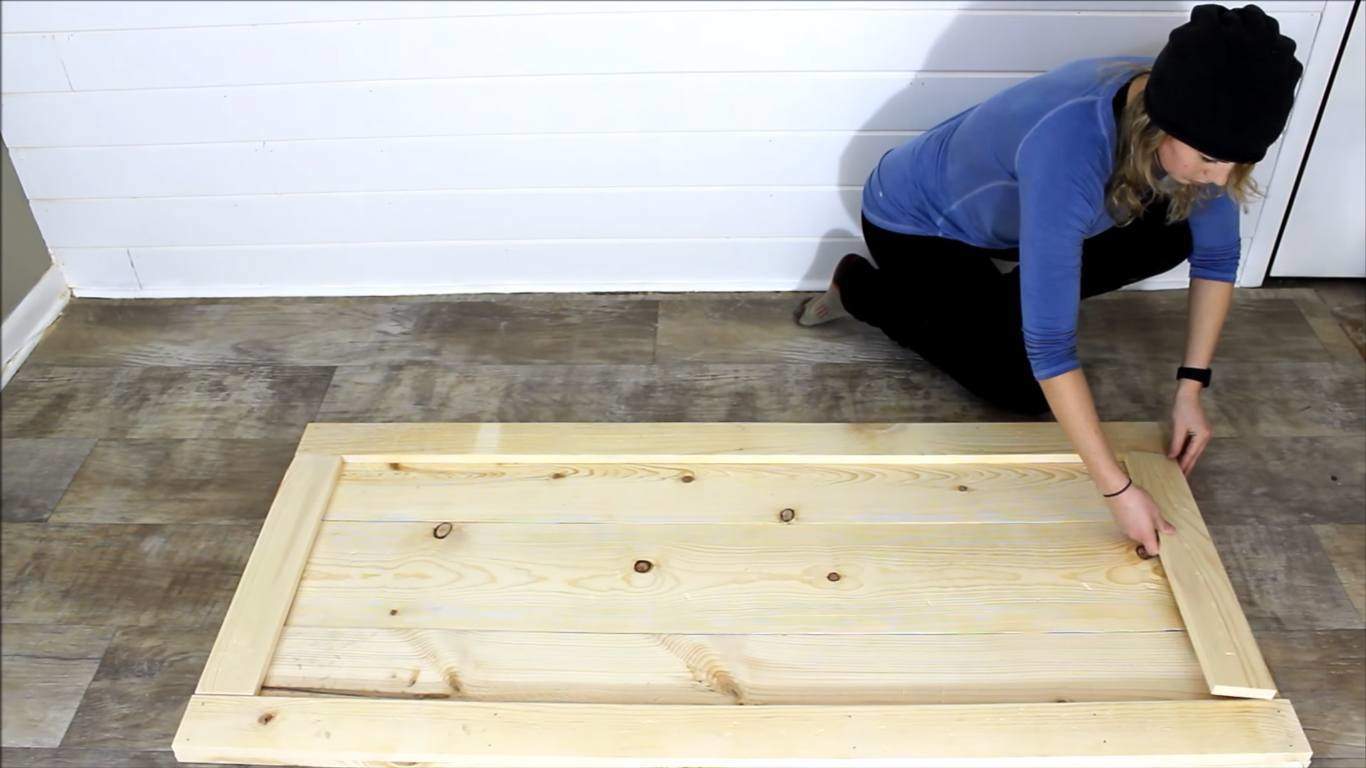
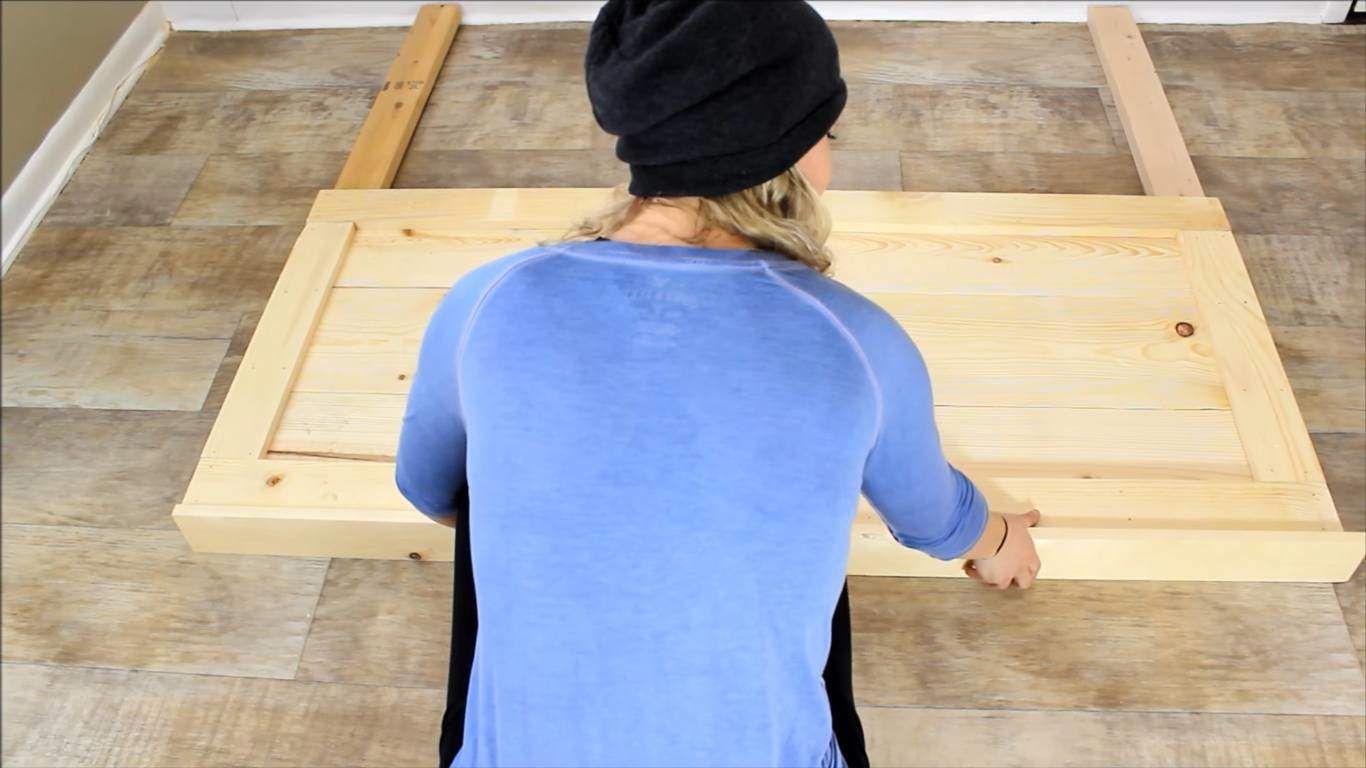
Step 4: Arrange the three 1"x10" x62" long pieces
Lay the three 62” long pieces of 1”x10”s flat on the floor. Arrange them horizontally, with one board preceding the other. They should make up a large rectangular headboard together.
Step 5: Line the two 1"x4" x62" long pieces on top
Now take the two 1"x4" x62” boards, and line them up at the top and bottom ends of the headboard. These are the first parts of the frame. Remember to make sure that they are flush with the 1”x10”s.
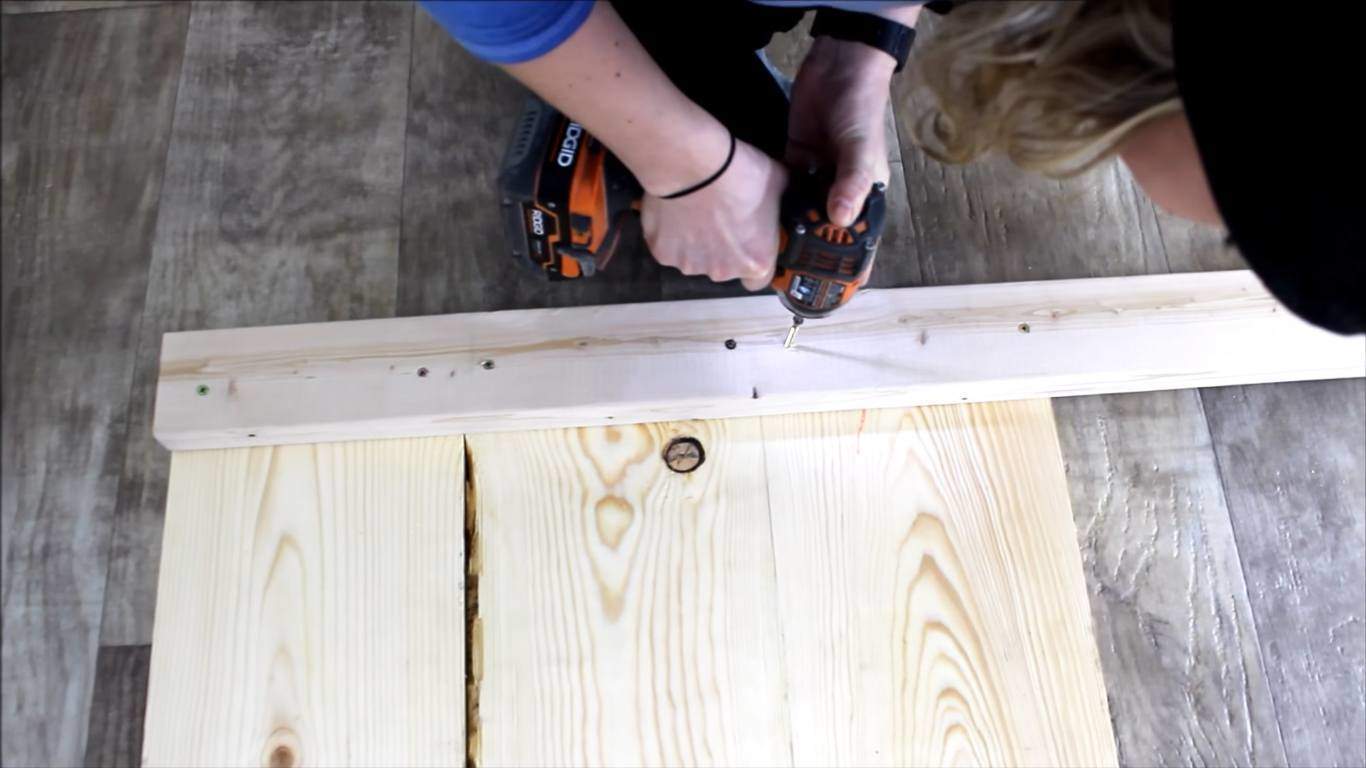
Secure each 1”x4” x62" into place with finishing nails.
Step 6: Place the 20 3/4” pieces on two sides of the headboard
Push the 1”x10”s together. Tighten them together to get rid of any gaps in the middle of the headboard. Complete the frame by laying the two 20 3/4” pieces on the left and right sides of the headboard. Secure everything with finishing nails.
Make sure you'll fasten all the 1”x10”s to the frame, especially the middle one.
Step 7: Place the headboard’s legs

Now it’s time to give it legs. Flip the headboard. Take the two 56” long pieces of 2”x4”s, and put them flush against both ends of the frame. Use screws to attach them.
Step 8: Put the 1"x4" x63” board at the top
Get the 63” long piece of 1”x4”, and put it against the top of the headboard.
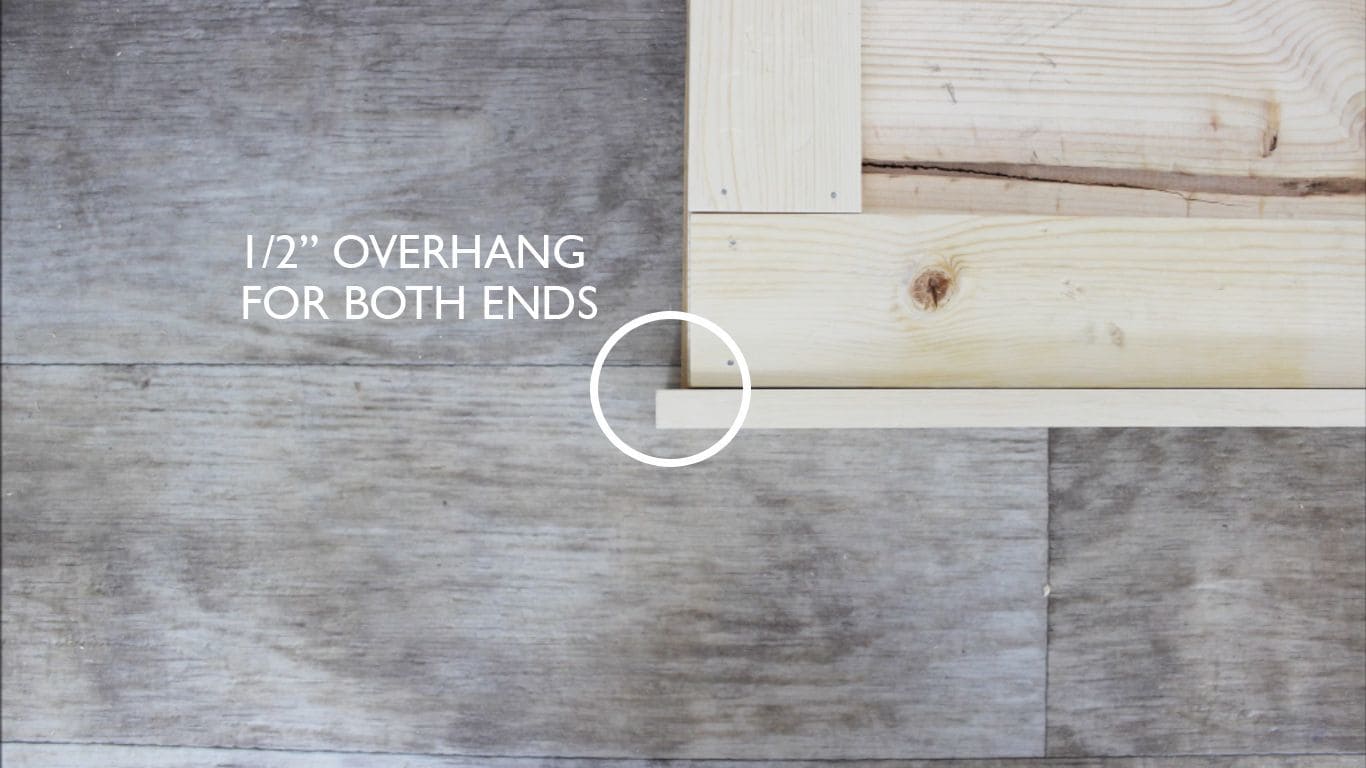
There should be a 1/2” overhang for both ends. Once you’re satisfied with this board’s position, secure it with finishing nails.
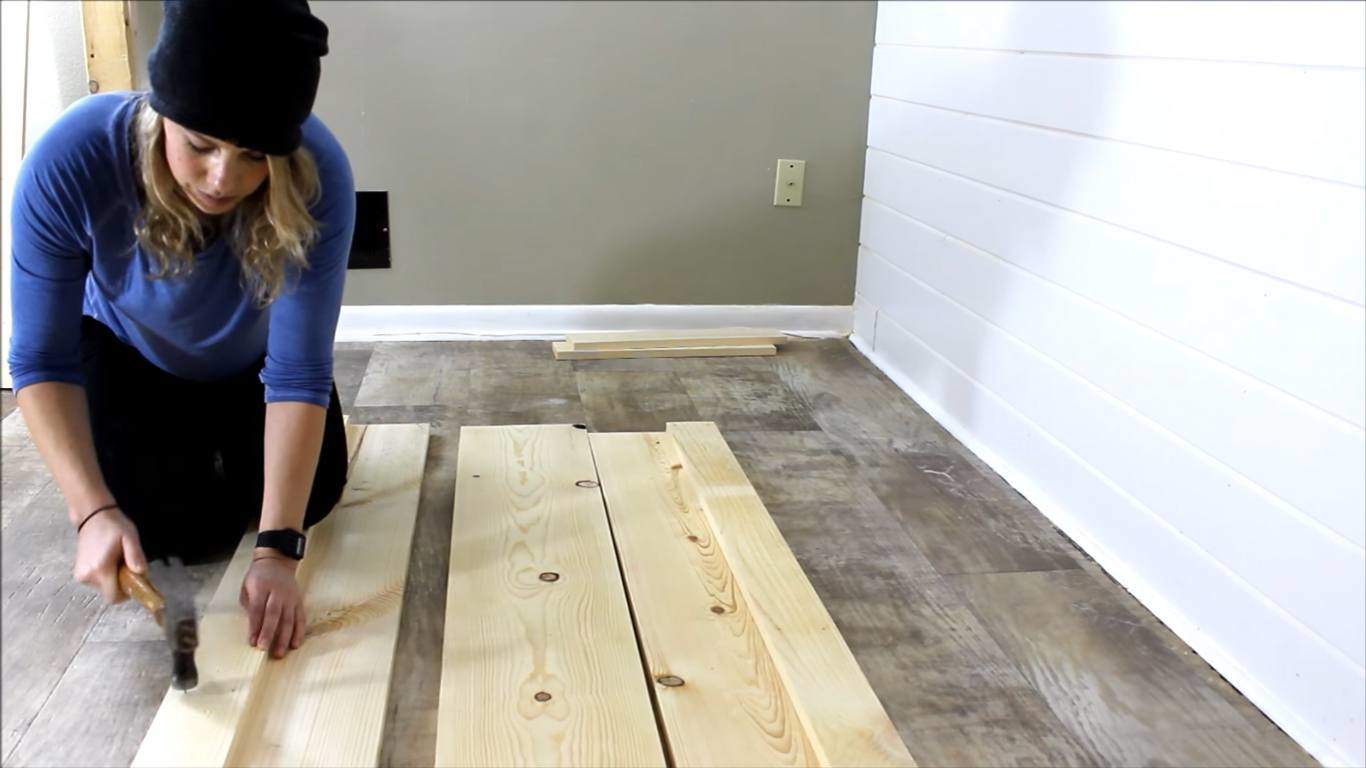
Step 9: Apply wood stain
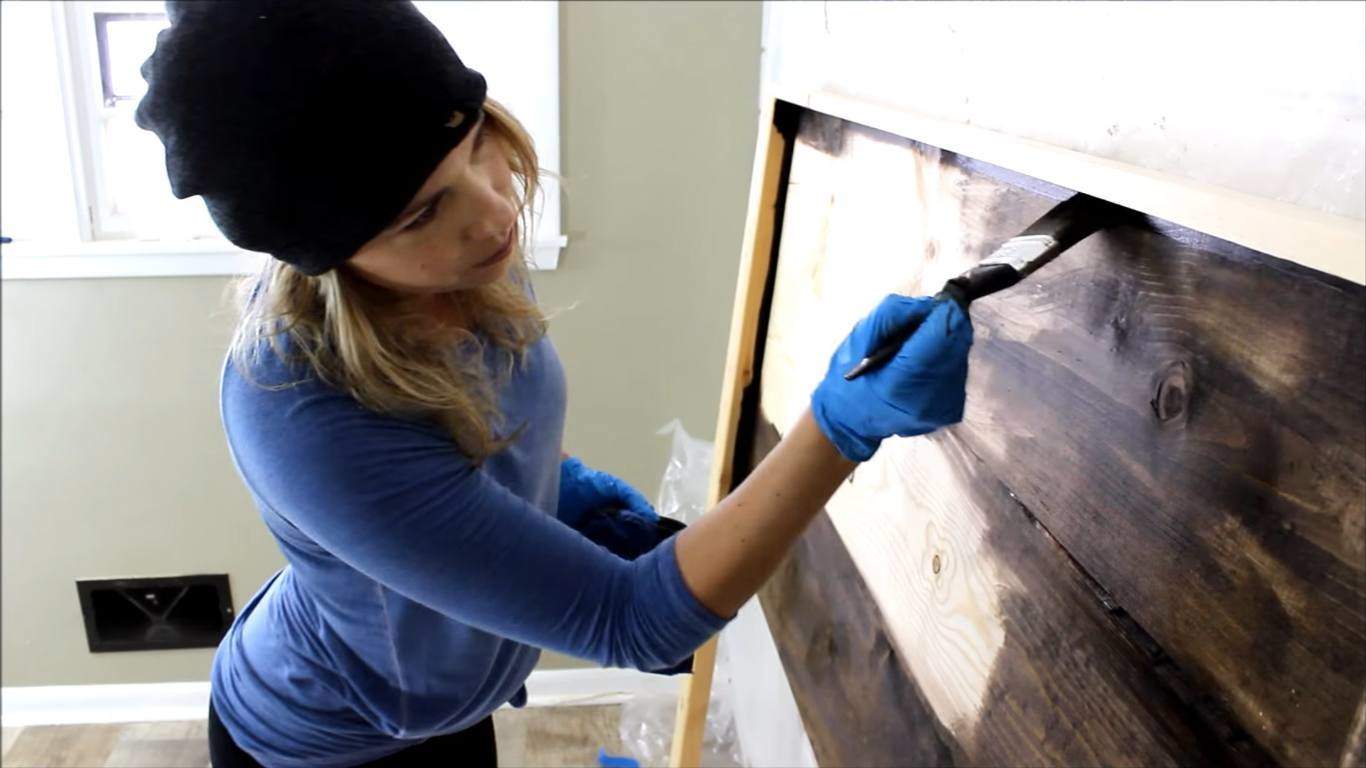
And finally, add the signature rustic look with a wood stain. You can use a brush or an old rag for this part of the build.
Let the headboard dry for a few hours. And after that, it’s ready to bring some rustic country charm into your bedroom!
This DIY project is from The Rehab Life. If you want to know more about this tutorial, watch their full video here.
This is my “big” diy project and I’m pretty clueless. Do you happen to have the list of lumber needed for a regular king size bed? Thanks in advance!
how about a foot board to match ?