We keep buying shelves, but never seem to have enough of them when we need them the most. The closet’s all stocked and the empty ones are full.
So how do you get more space for your stuff, especially a massive shoe collection?
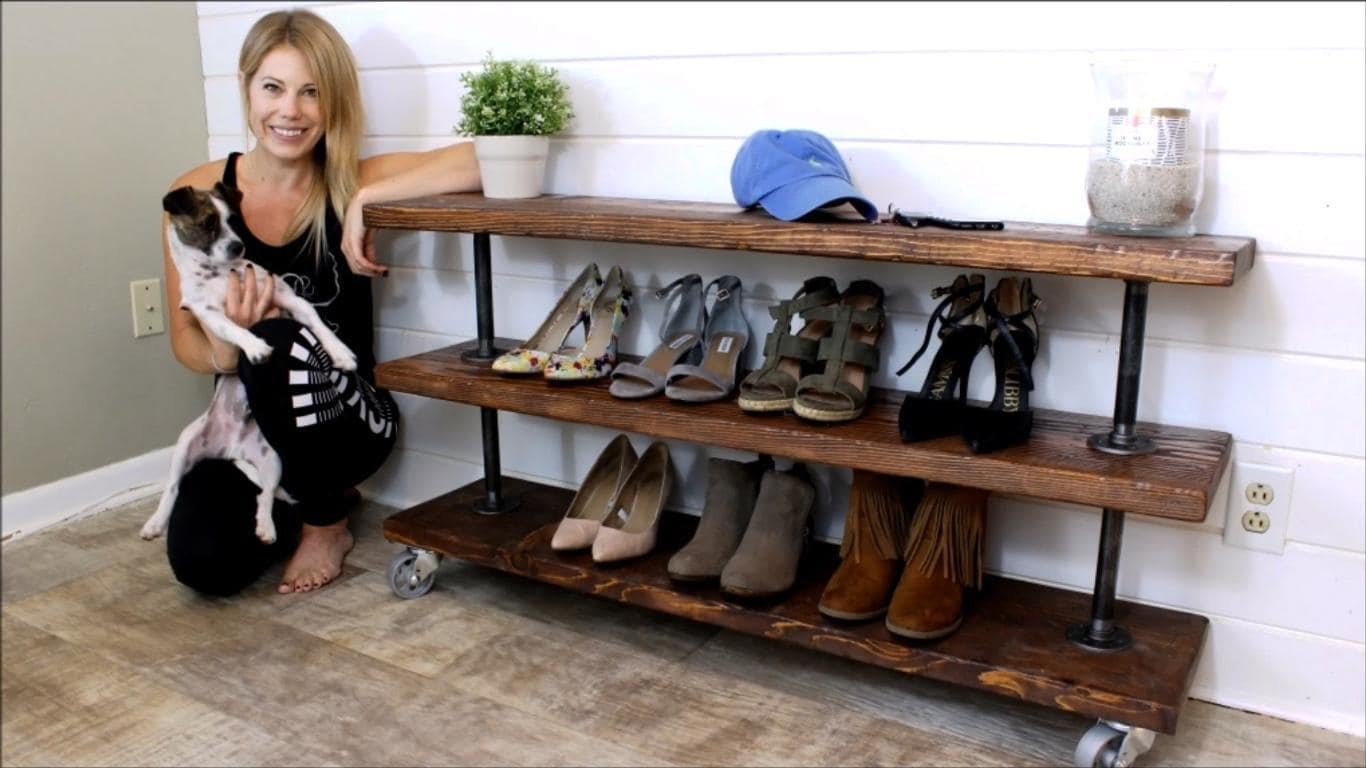
Enter the DIY Industrial Shelving Unit built by The Rehab Life that you can make for yourself. The most convenient part about this shelf is that it has wheels to move to your bidding without sacrificing style and charm.
Follow this simple tutorial in building a rustic industrial shelving unit that moves.
What You'll Need:
- 3 pcs. 2”x12” x4ft boards
- 8 pcs. 3/4” floor flanges
- 4 pcs. 3/4" galvanized pipes (8”)
- 4 pcs. 3” steel caster wheels
- hammer
- small chisel/ screwdriver (optional)
- sanding block
- paint brush/ rag
- wood stain
- polyurethane
- screws (1 1/4")
Step 1: Pound the boards with your hammer
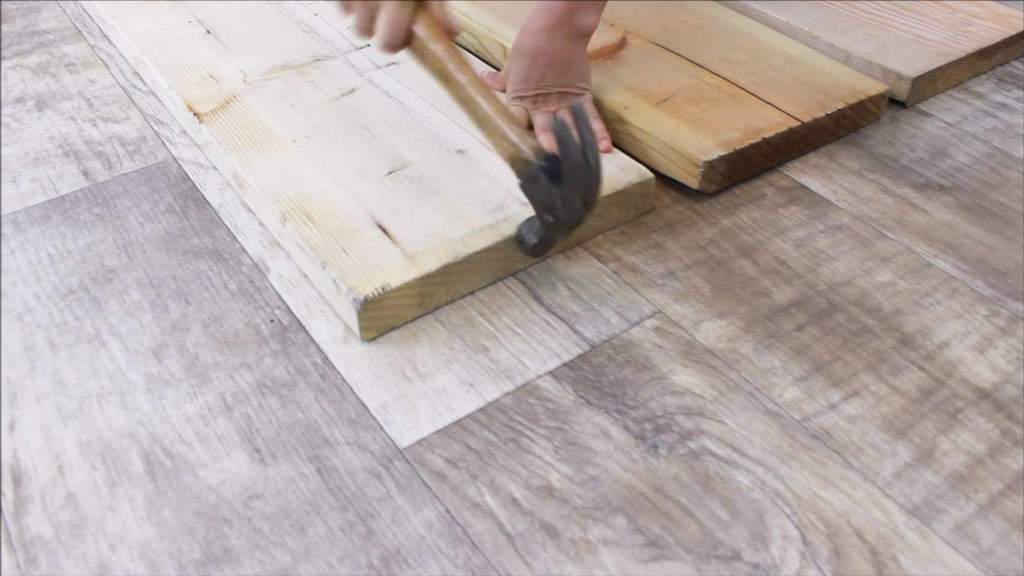
The 2”x12” boards already have the perfect size for this shelf, so you won’t be cutting them anymore. Instead, proceed directly to distressing these boards with your hammer to give them that rustic look.
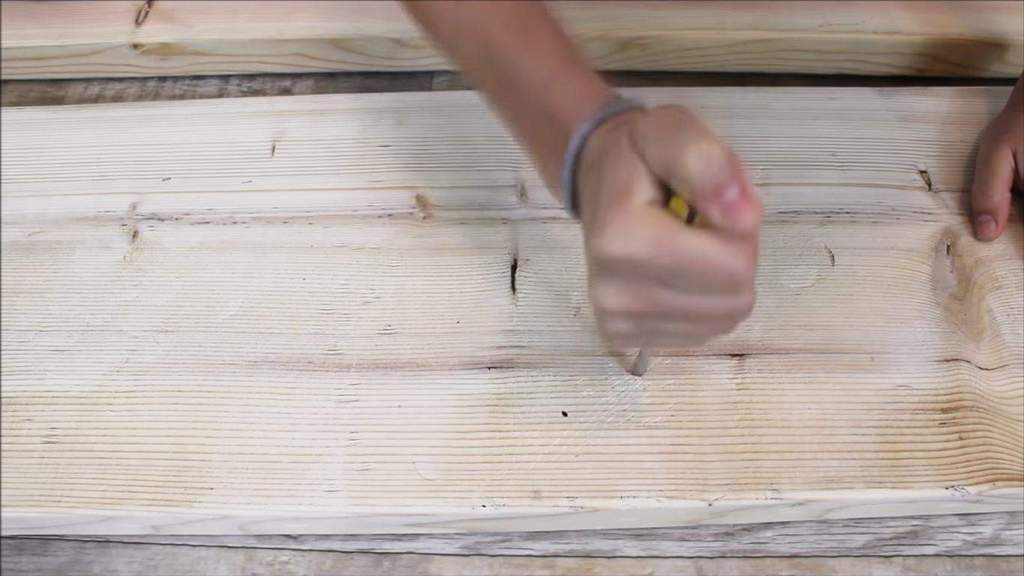
You can also poke holes and make scratches on them using a small chisel or a screwdriver.
Step 2: Sand the boards
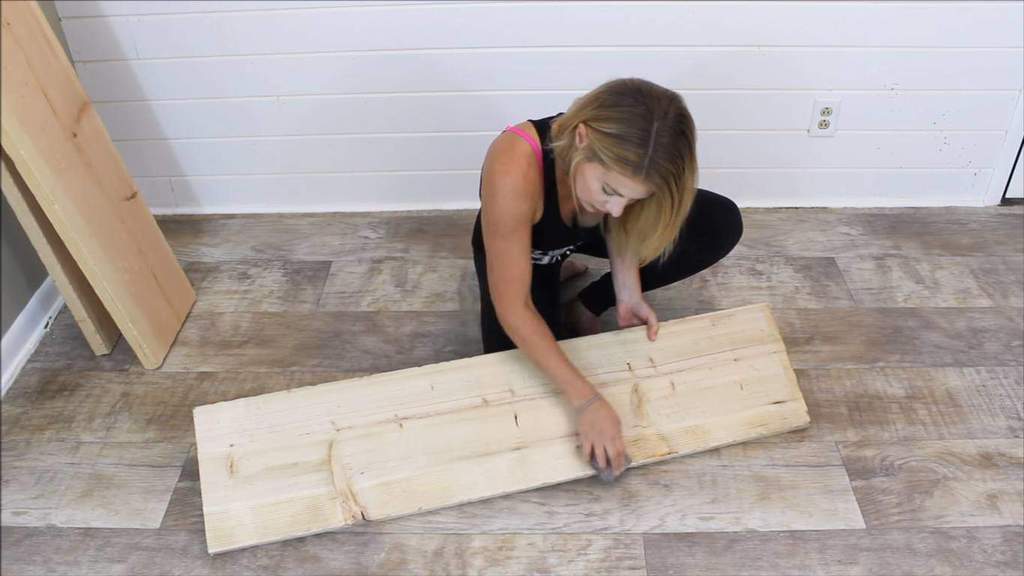
Use your sanding block to smoothen the edges and to get rid of miller marks.
Step 3: Apply wood stain
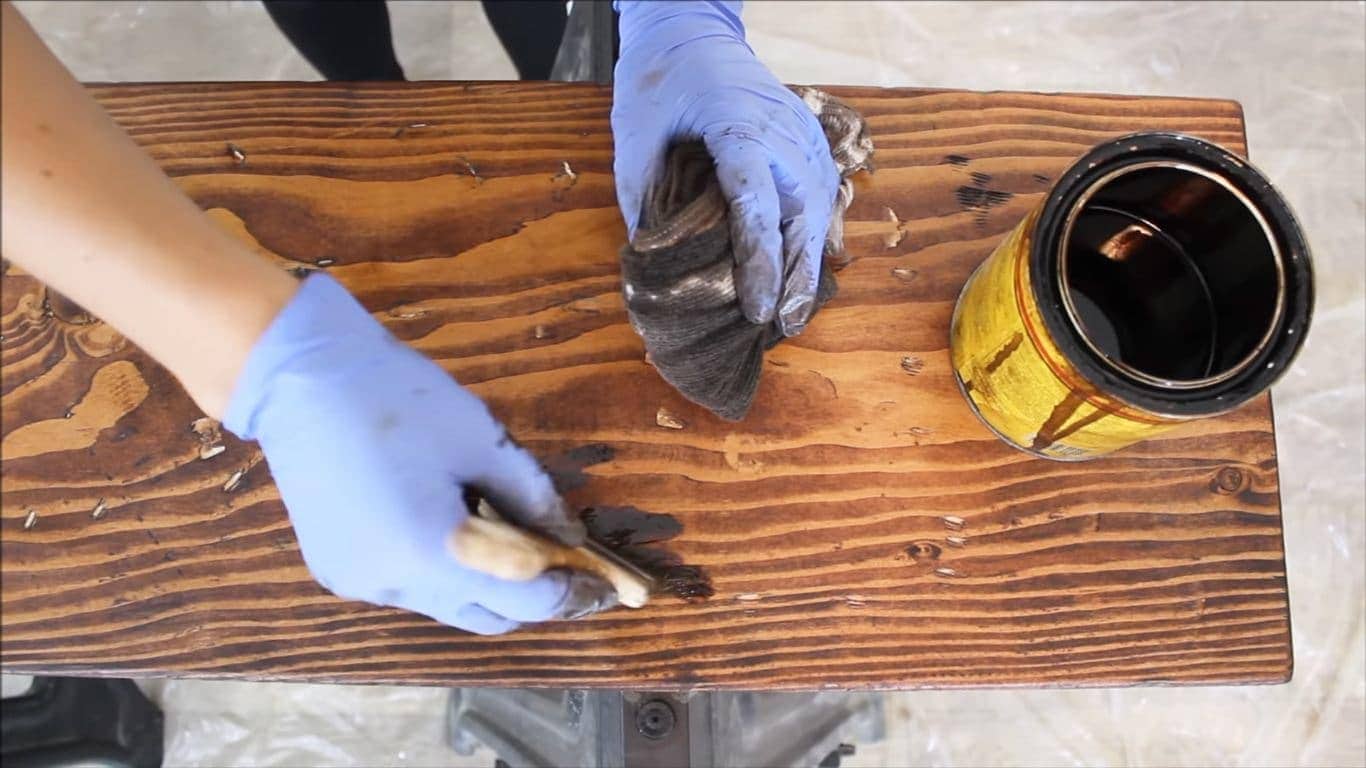
Cover the boards with your preferred wood stain, and let them dry for a few hours.
Step 4: Coat the boards with poly
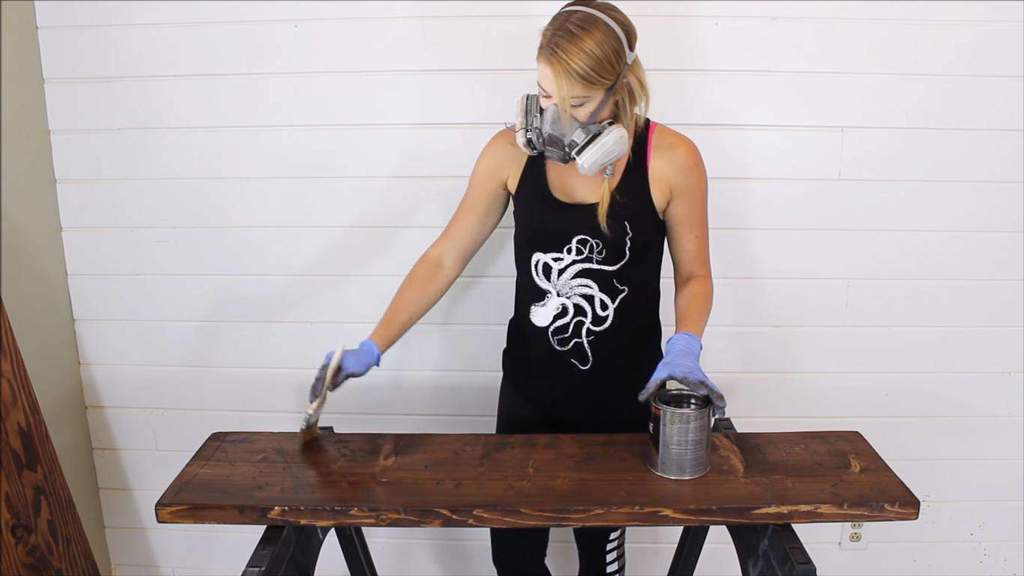
Coat the boards with polyurethane to protect them from moisture and damage, and let them dry.
Step 5: Assemble the pipes
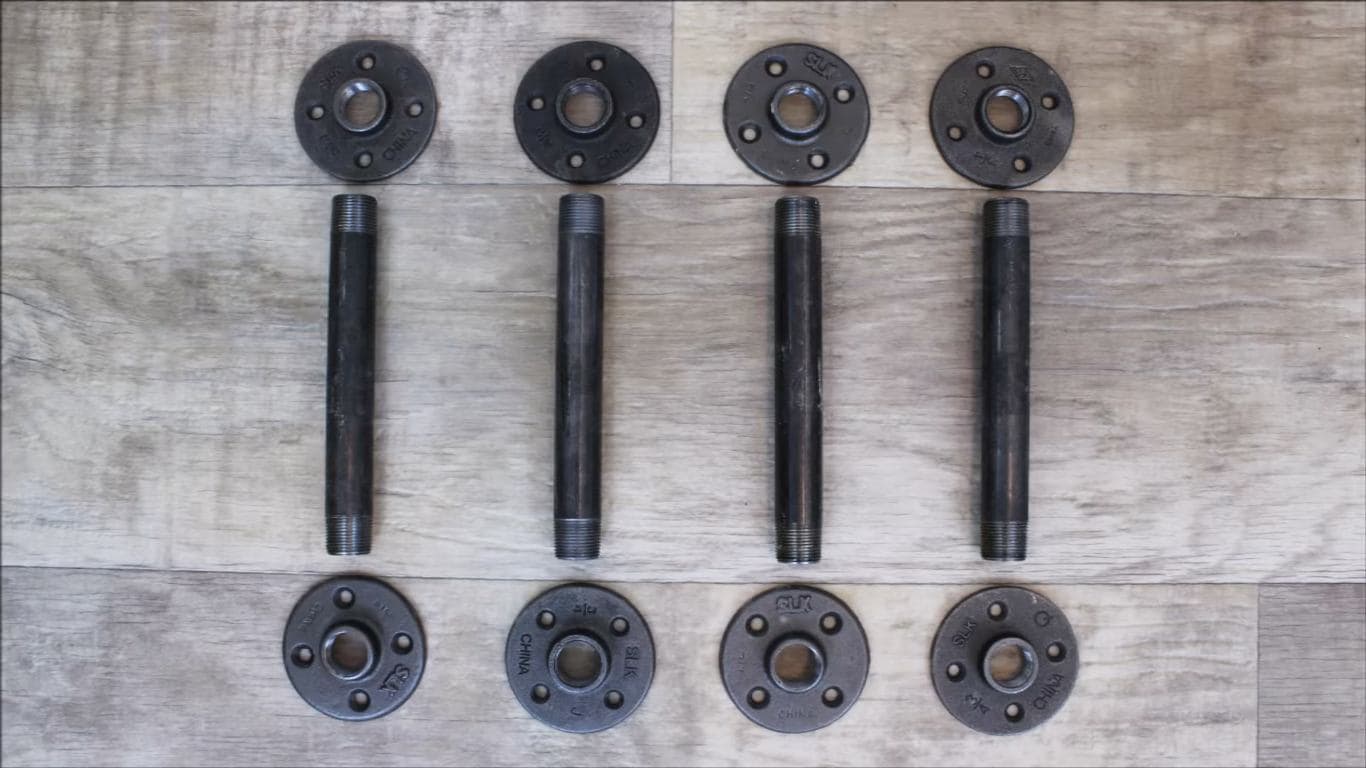
While your boards are drying, grab your pipes and arrange them like this.

Screw them together. You should have 4 pipes all in all.
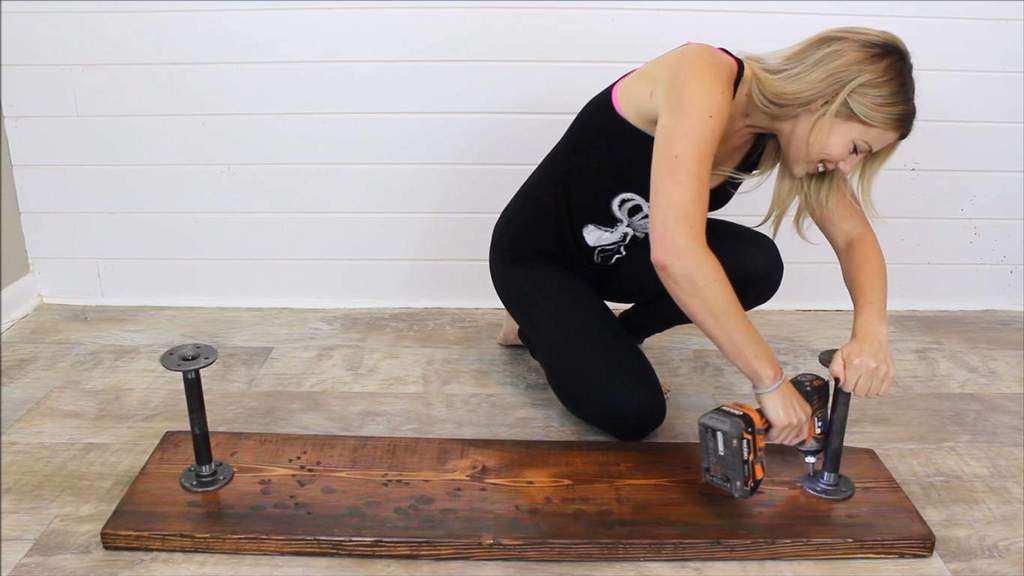
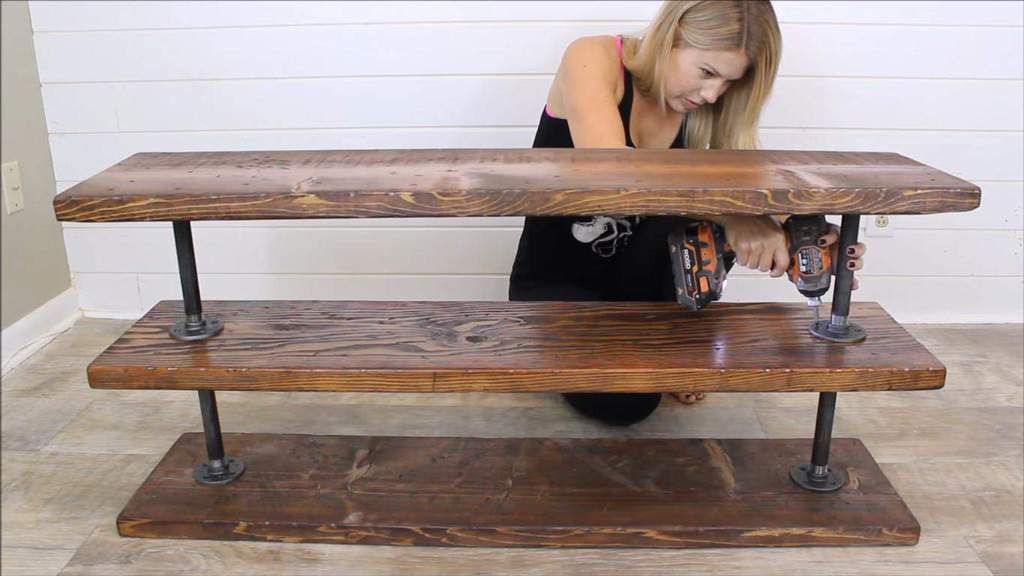
Step 6: Attach the pipes to the boards
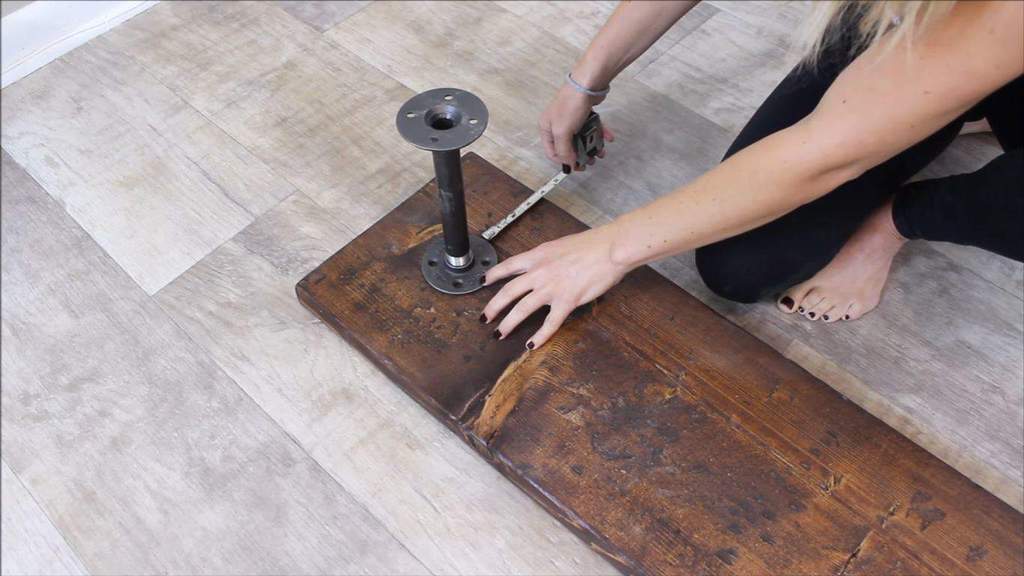
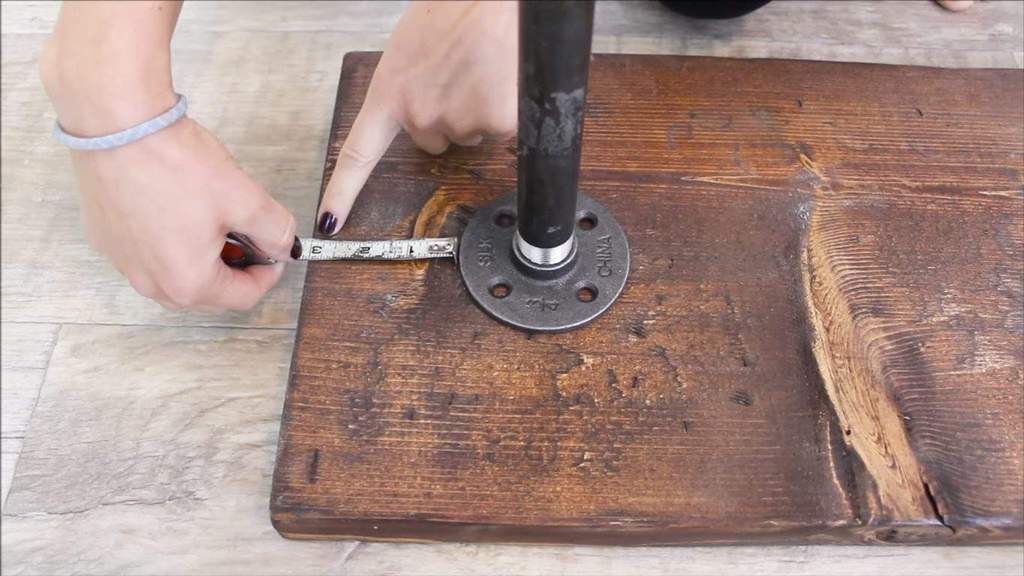
Get one of the 2”x12” boards, and attach two of the pipes on each of its sides. Each pipe should be centered and exactly 3” away from the board’s edge.
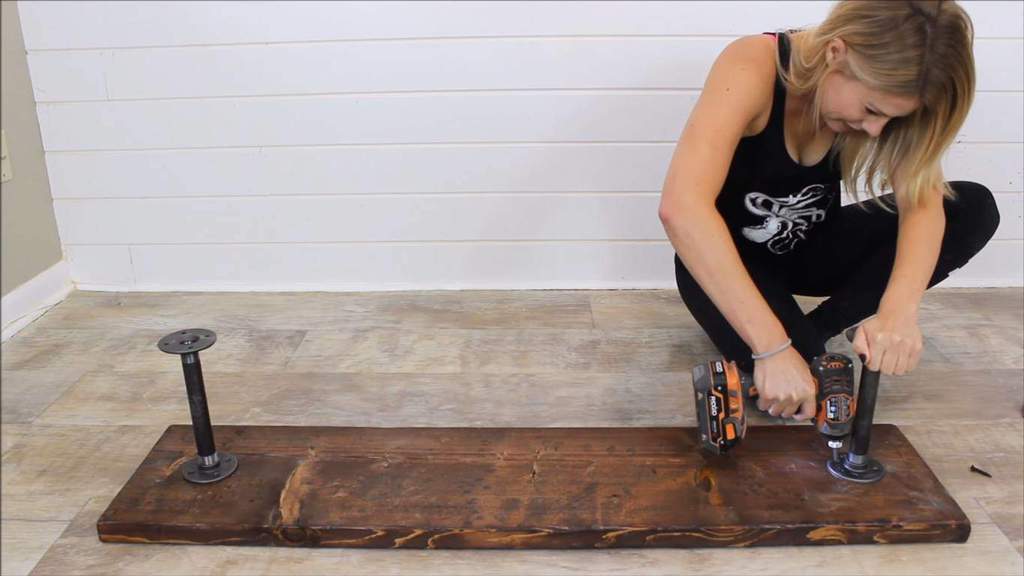
Screw the pipes into place.
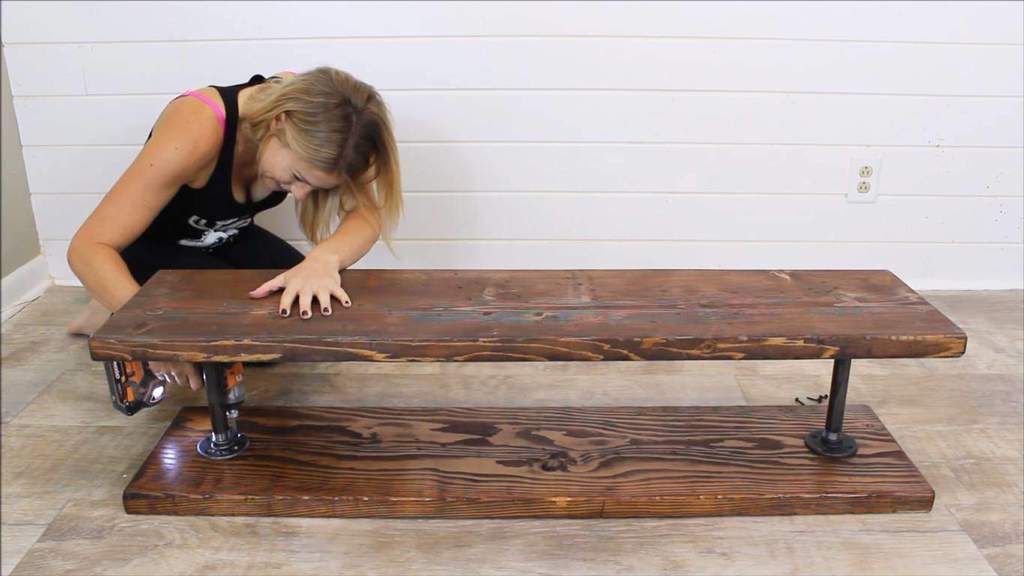
Step 7: Lay another board at the bottom of the fixed pipes
Get another 2”x12”. Lay it flat on the floor. Take the board with the screwed pipes, and position it facedown on top of the 2”x12” that’s already on the floor.
For the shelves to be straight and aligned perfectly, make sure that the other end of the pipes are also centered and 3” away from the board’s edge. Then secure everything with screws.
Step 8: Attach the last two pipes on the last board
Repeat what you did in Step 6 with the last two pipes and the last 2”x12” board.
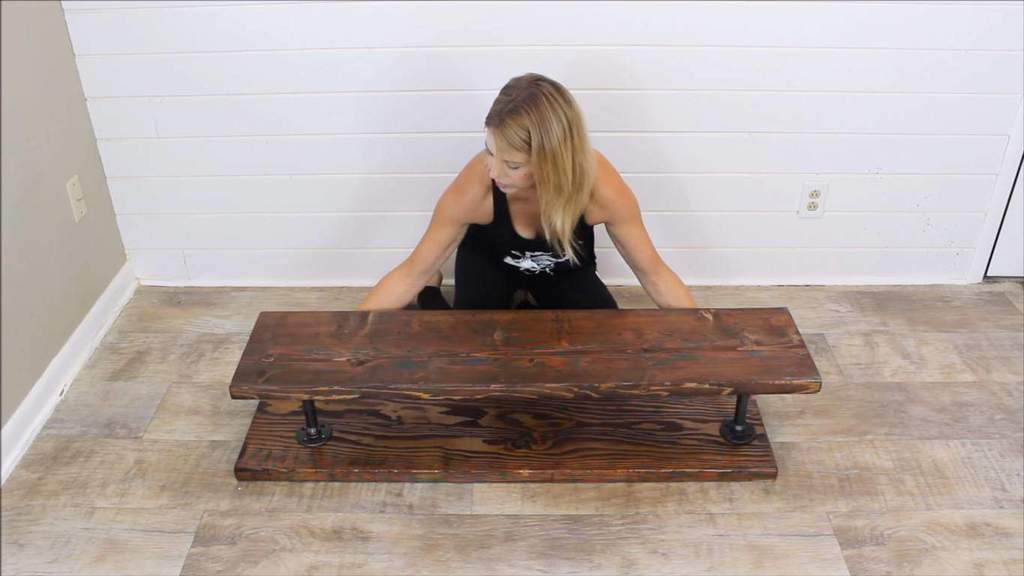
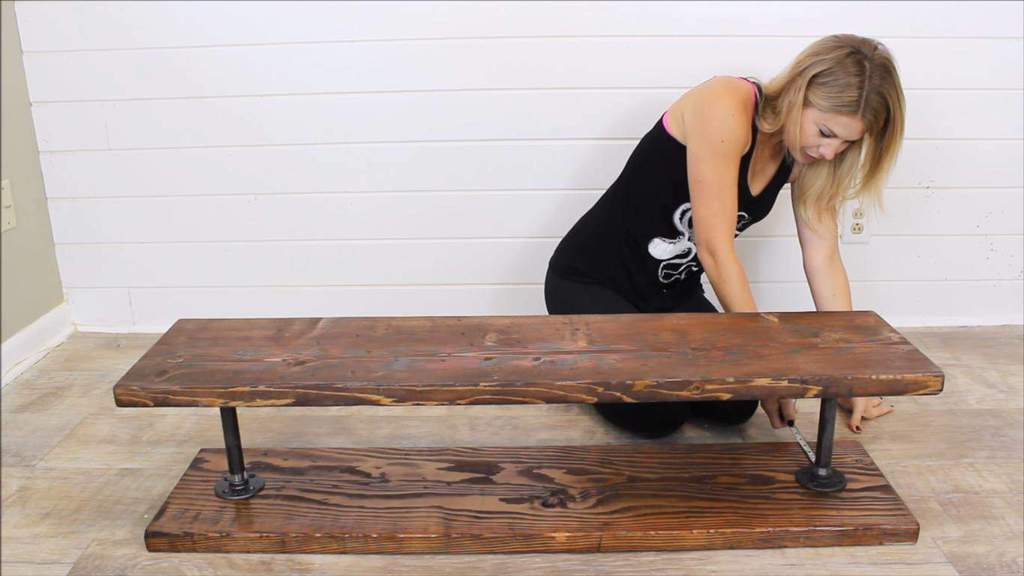
Step 9: Connect all the boards together to make the shelf
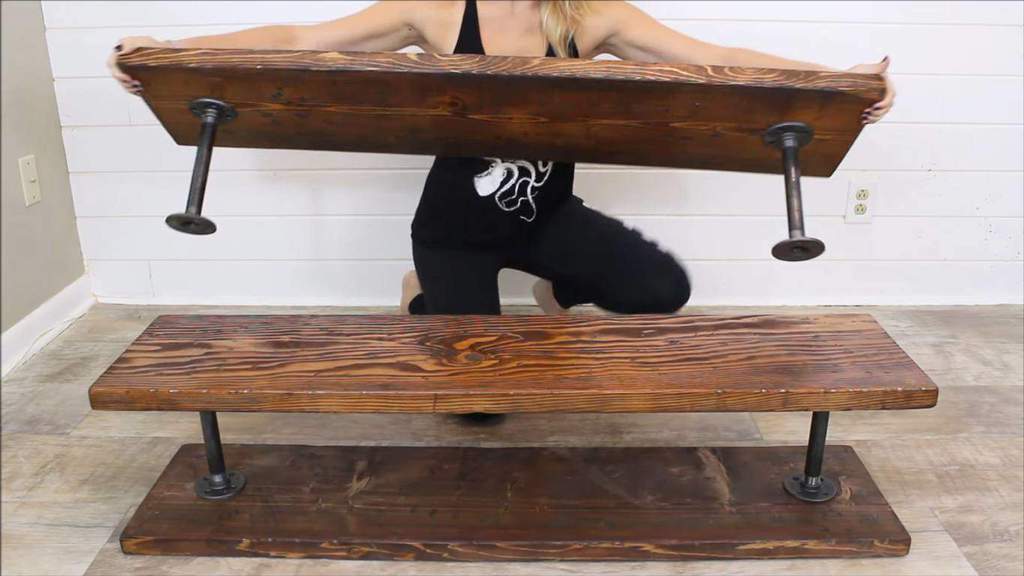
Get the board from Step 8, and place it on top of the boards from Step 7. Make sure that all pipes are still centered and 3” away from the edge.
Screw everything into place.
Step 10: Attach the wheels
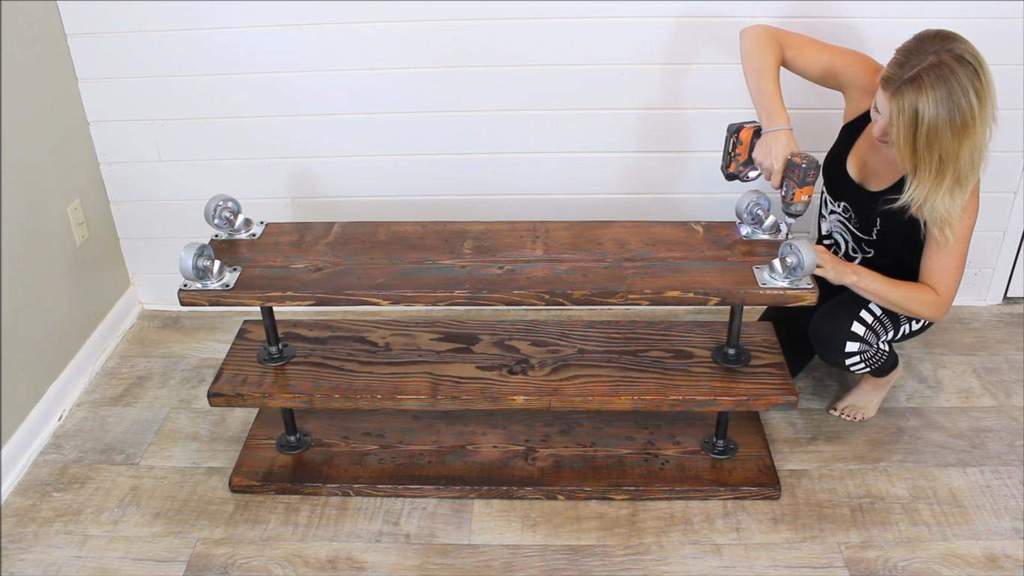
You’re almost done. Just grab the caster wheels. Place them upside-down on each end of the bottom board, and secure them into place using screws.
Flip the shelf over, and you’re done! Fill the shelves with shoes and other what-nots, and place it anywhere in the house without breaking a sweat.
This tutorial is from The Rehab Life. You can also see their YouTube video here.
this is awesome. Gonna take a stab at it. Thanks for posting!