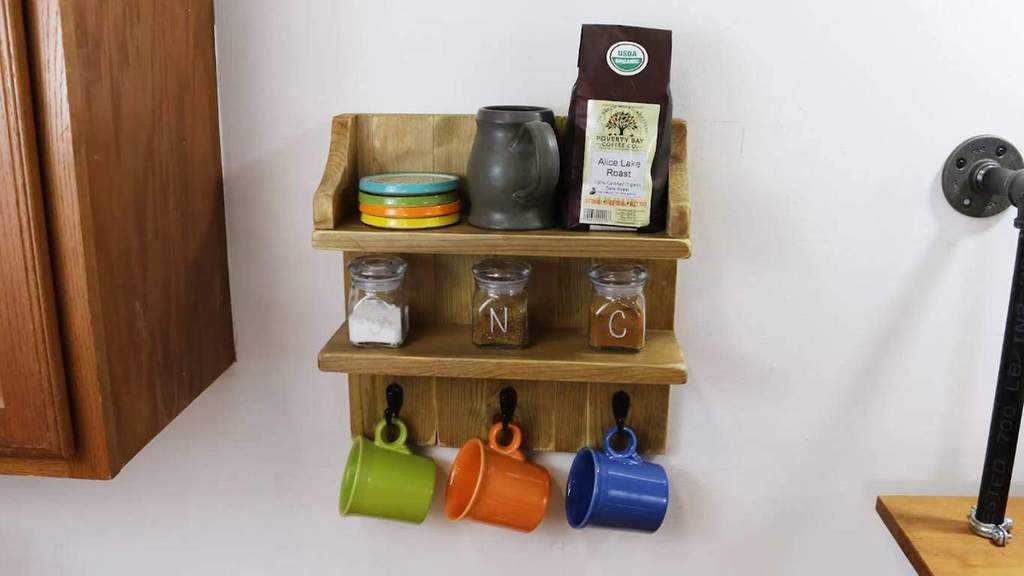
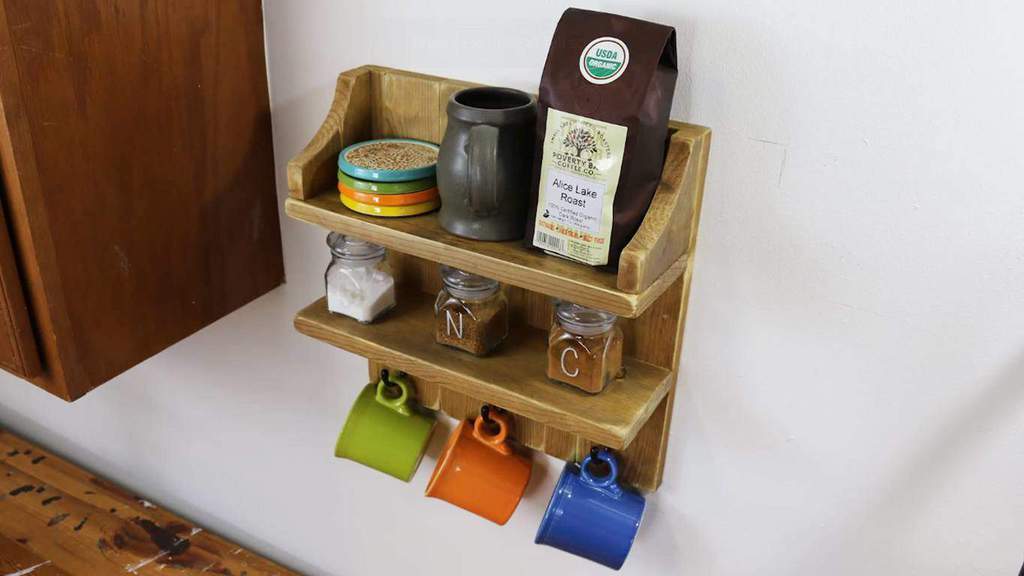
Here’s a cool place to keep the things you need to make your favorite cup of java. And the best thing about it is that it doesn’t need a lot of space.
You can put it anywhere, from your office to your garage where you do most of your work, where you drink most of your coffee.
Follow this easy tutorial created by DIY With Rick in making a small rustic coffee shelf that you can put just about anywhere in your house.
What You'll Need:
- wood
- Coping saw
- paint brush
- wood stain
- sanding block/ sand paper
- wood glue
- clamps
- screws (1 1/4")
- wood filler
- hooks
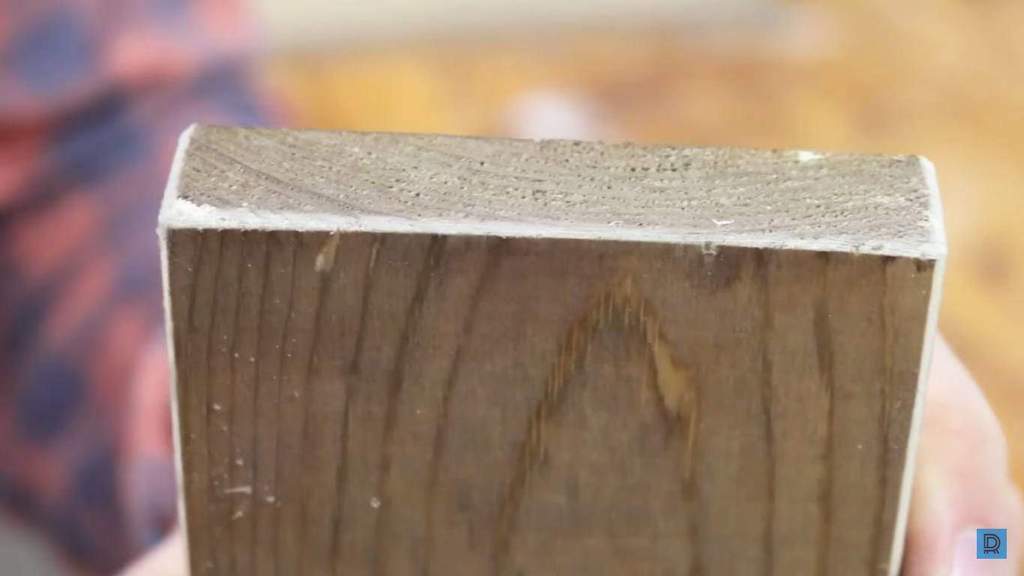
Step 1: Measure and cut the wood
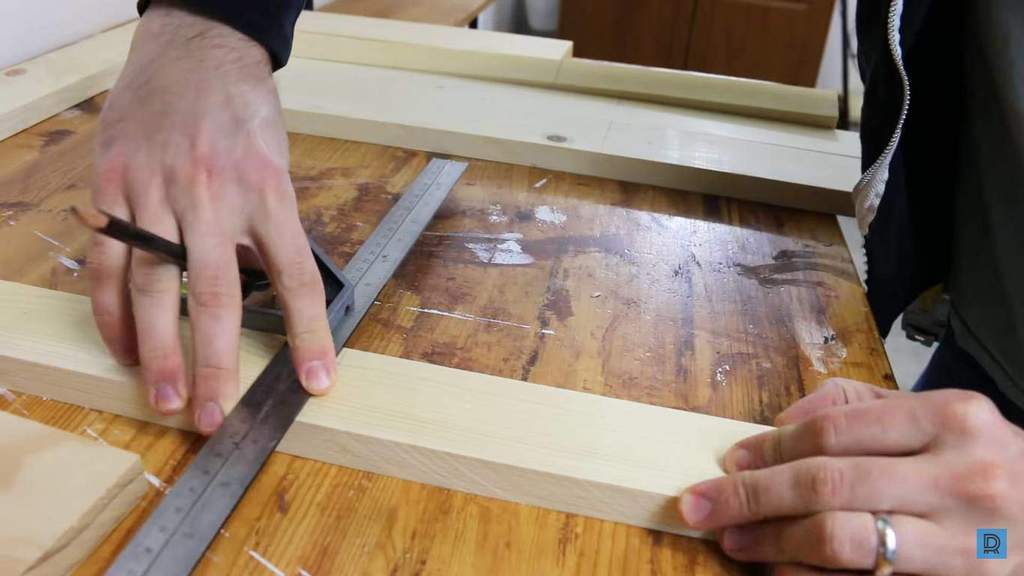
For this project, you don’t need any particular lumber size. The dimensions for the shelf is 14 1/4”x14”. So any wood sizes that can fit that will do. This hanging furniture also has two shelves, each with a 4” height. If you’re putting this together with craps of wood, a combination square would actually make it more appealing and yes, more rustic.
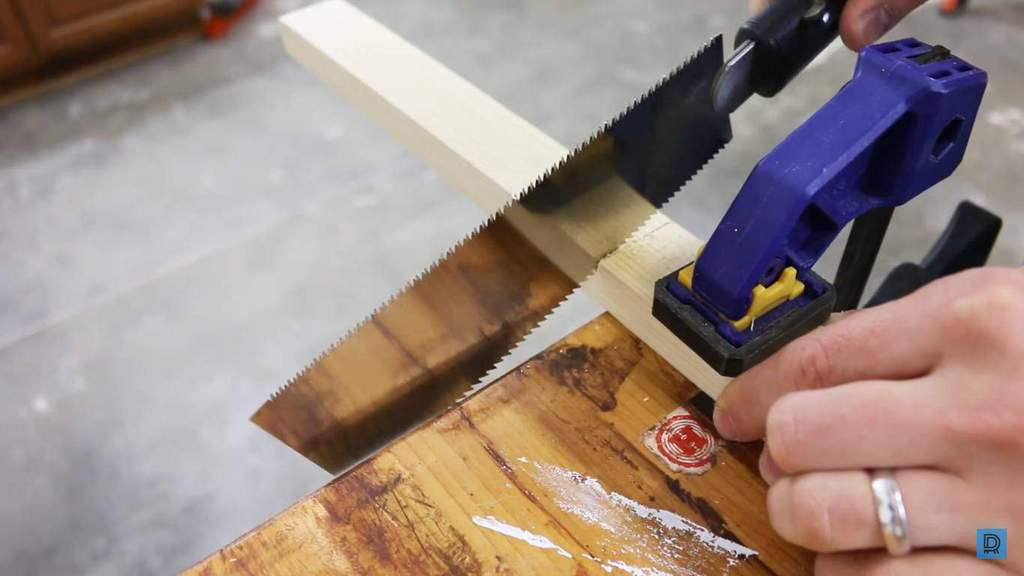
Cut the wood with any kind of saw. If you have trouble cutting a uniform surface, use a chisel to even it out. (Note: a miter saw would make this part of the DIY so much easier.)
Step 2: Make decorative end pieces for the shelf
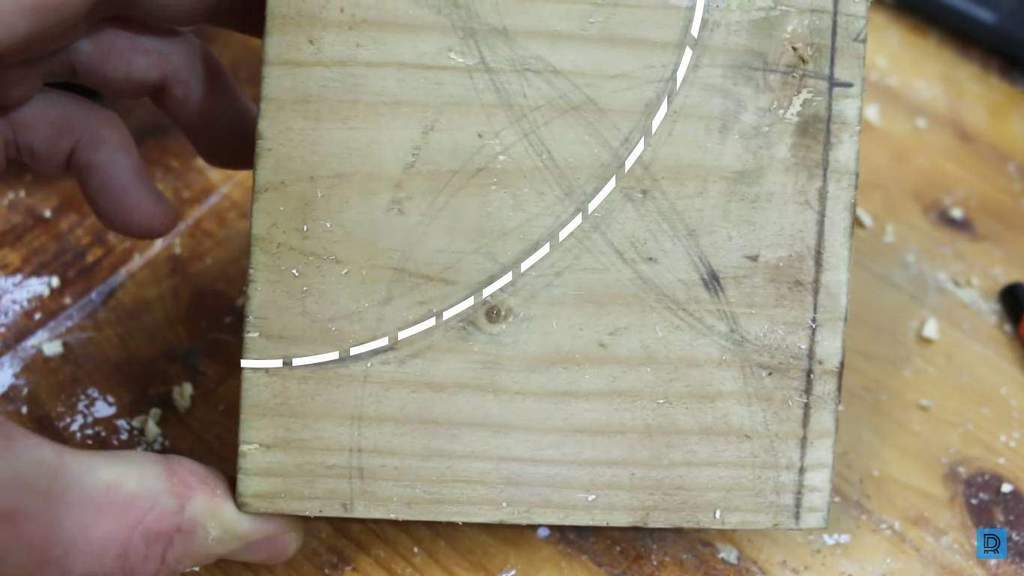
Give some decorative pieces to your shelf. Cut 2 pieces of 4”x4”s. Their dimensions have to be the same with the shelves’ height which is 4”. Then draw a half circle at one end.
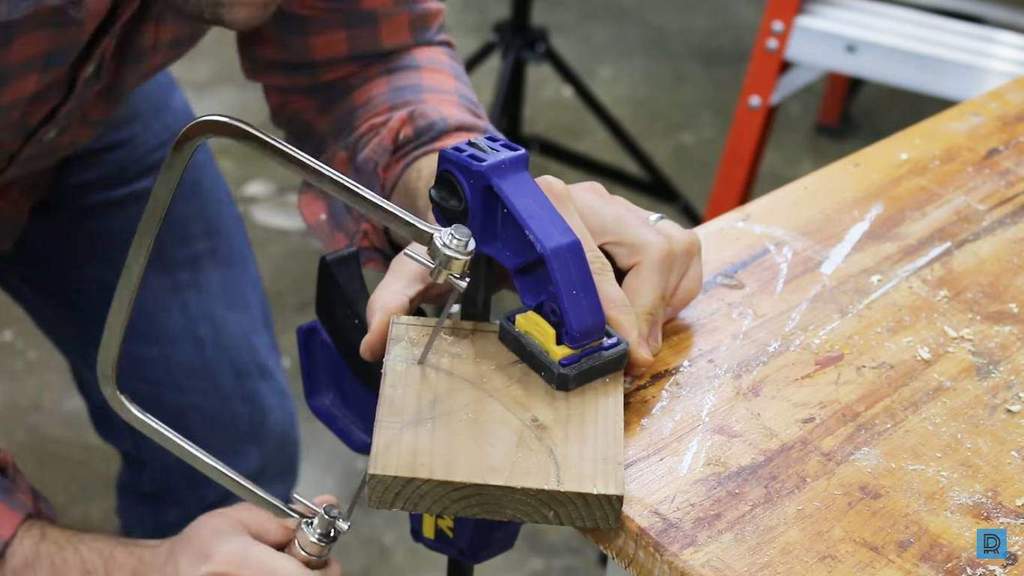
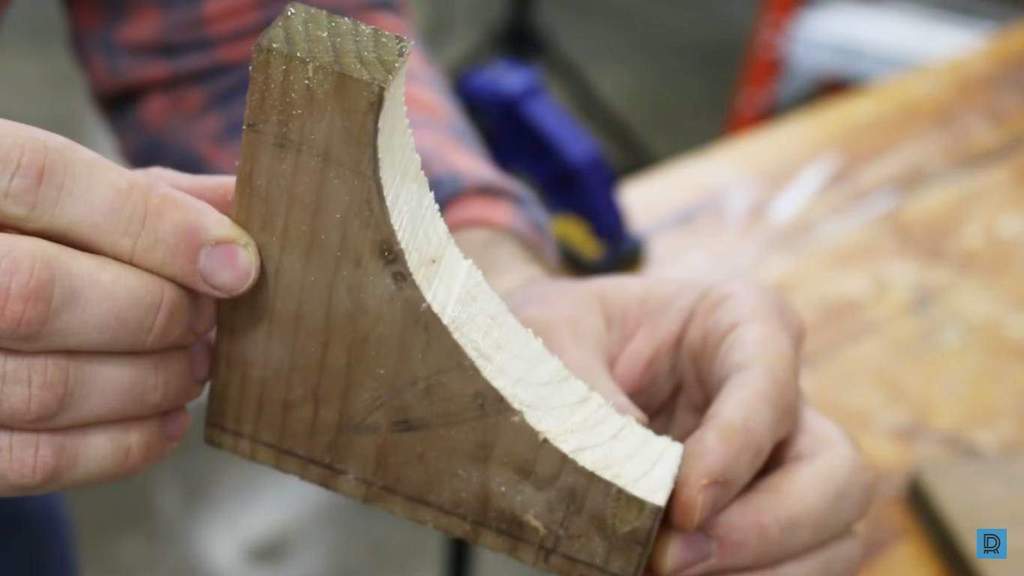
Cut out the half circle, and sand the curved part of the end piece.
Use that cut out as a pattern to make the other end piece.
Step 3: Apply wood stain

Using a paint brush, stain the wood with your preferred color. Then wait for it to dry. If you want, you can sand the wood to level the surface just before applying the stain. And for an even trendier look, give the boards a more defined color with this easy painting technique for rustic furniture.
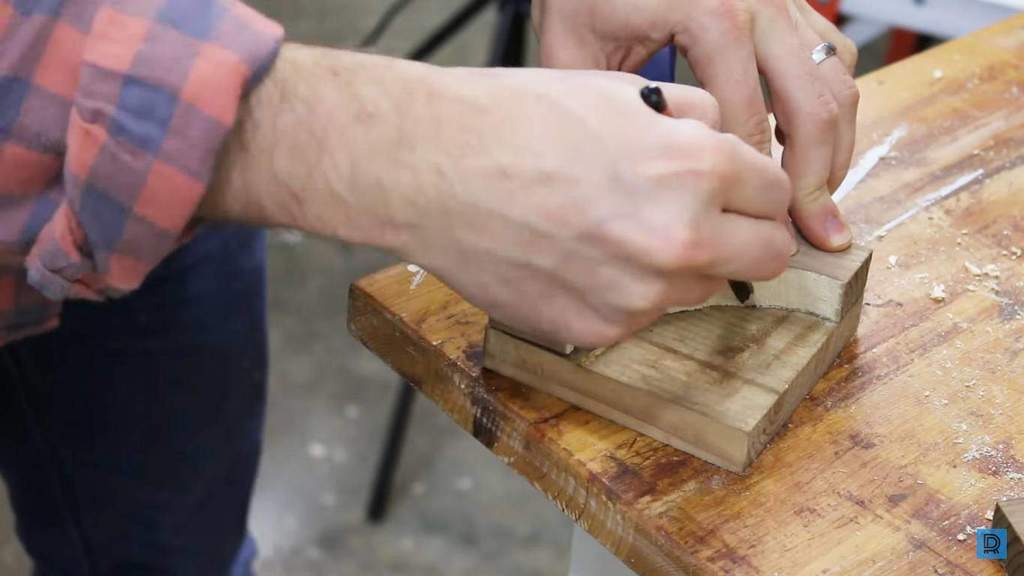
Step 4: Sand the edges
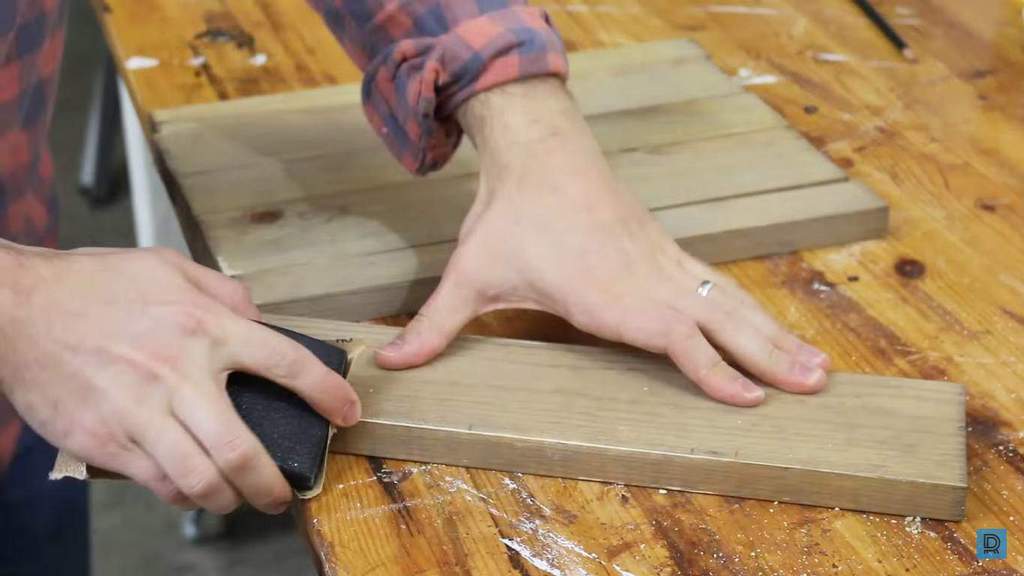
Sanding the edges won’t just make them smoother. It also makes the shelf more distressed.
Step 5: Attach the pieces that make the shelf’s back

Use wood glue to attach the back part of the shelf together. Push the boards together. Use clamps to hold the square shape. The more clamps you have, the better. But if you don’t have any, you can always resort to good old fashioned elbow grease and use your hands with a little help from heavy objects like a bucket full of paint.
Step 6: Attach the shelves
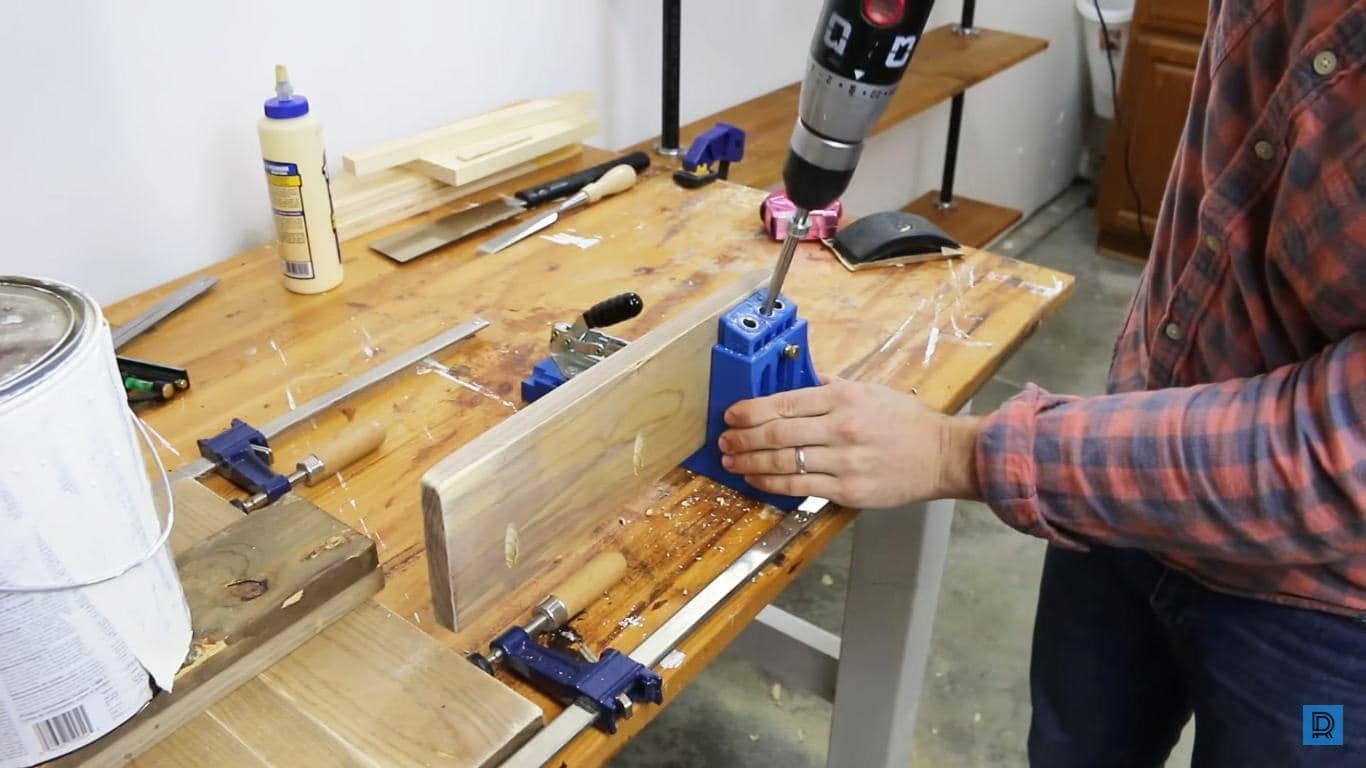
Now it’s time for the shelves. Drill 3 pocket holes into one end of each shelf.

Put some wood glue at the edge closest to the drilled holes, and attach each shelf to the backboard. Remember to give 4 inches of space between the two shelves.

Screw them into place.
Step 7: Place the end pieces on the top shelf
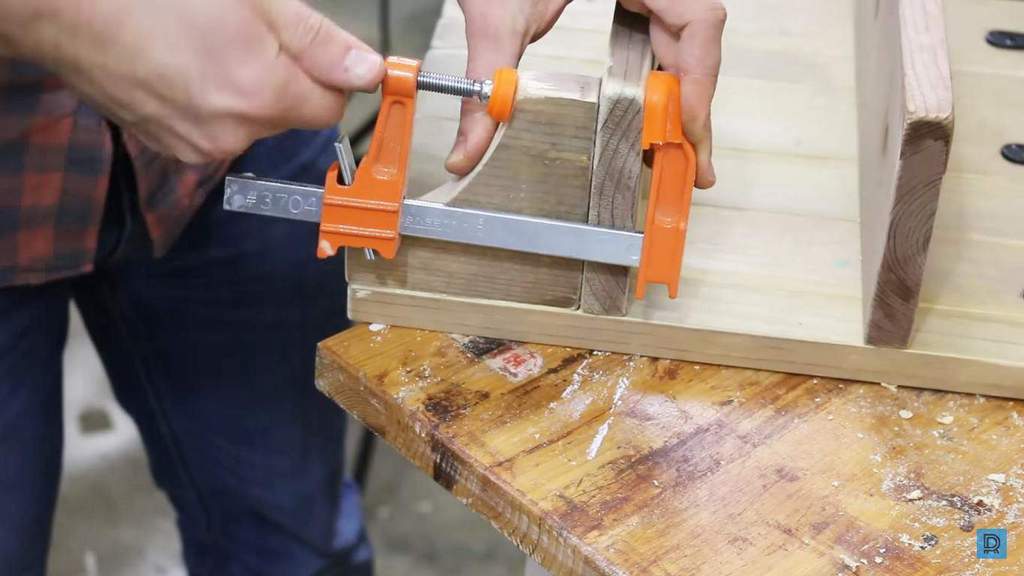
Put the end pieces at each side of the top shelf, aligned with the backboard and the shelf’s side. Then glue and clamp them into place.
Step 8: Use wood fillers to fill in screw holes
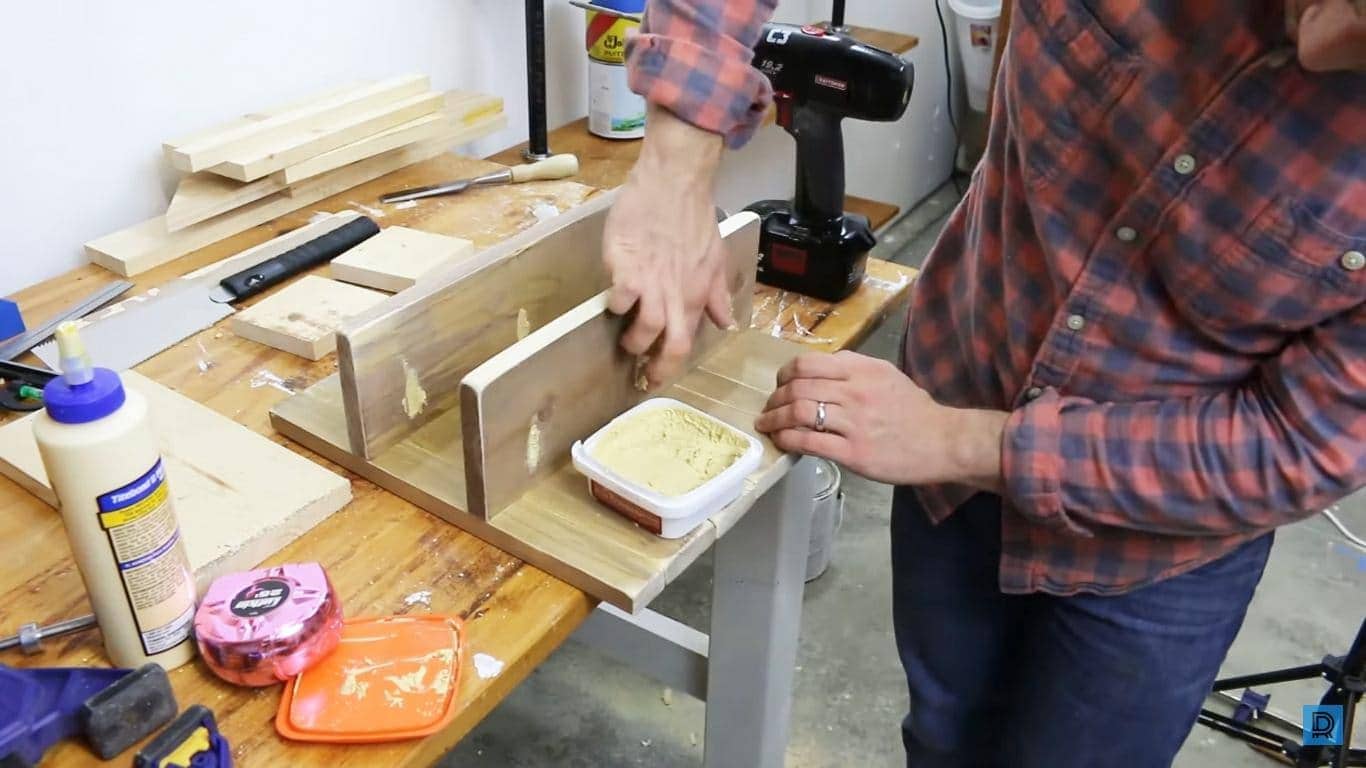
Rub some wood fillers to cover the screw holes.
Step 9: Attach the hooks
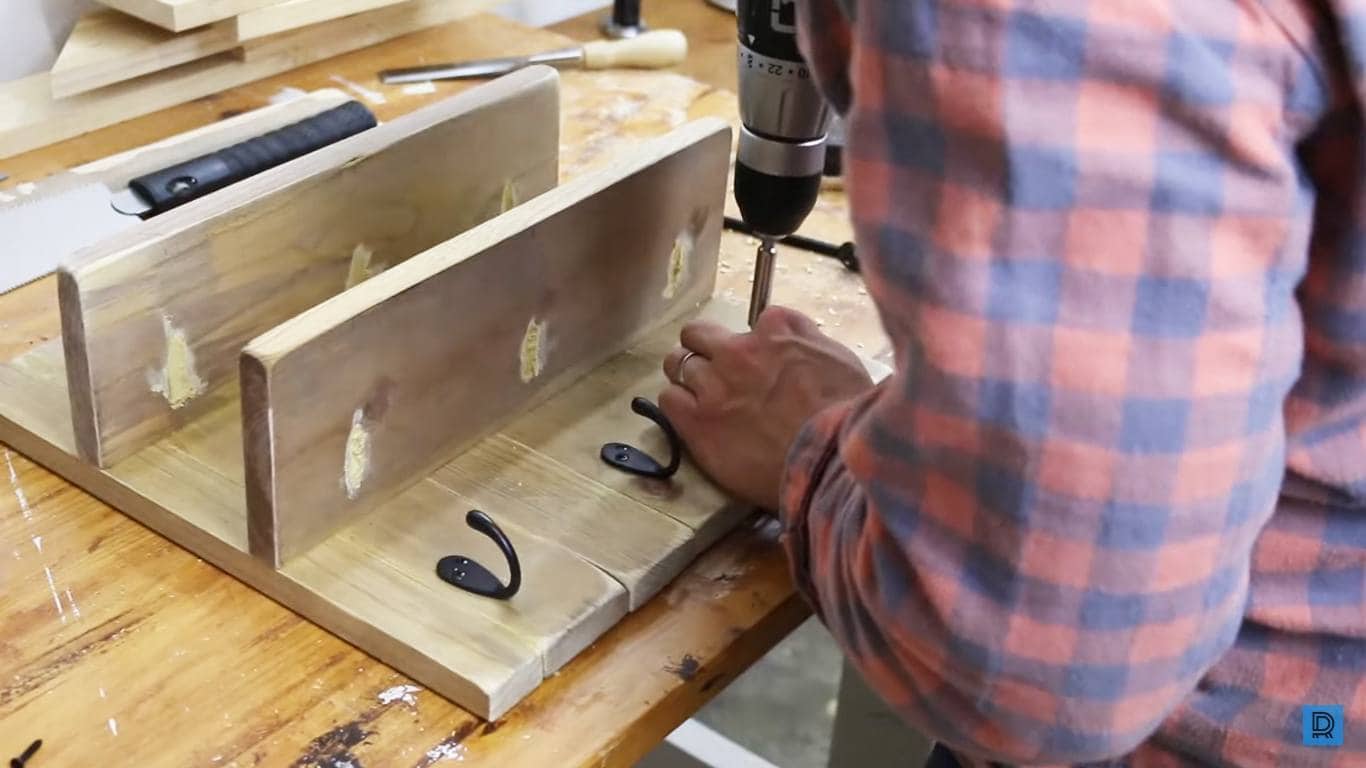
Apply clear coat to the shelf, and let it dry. After that, attach store-bought hooks at the bottom. Space them out evenly, and screw them tightly into place.
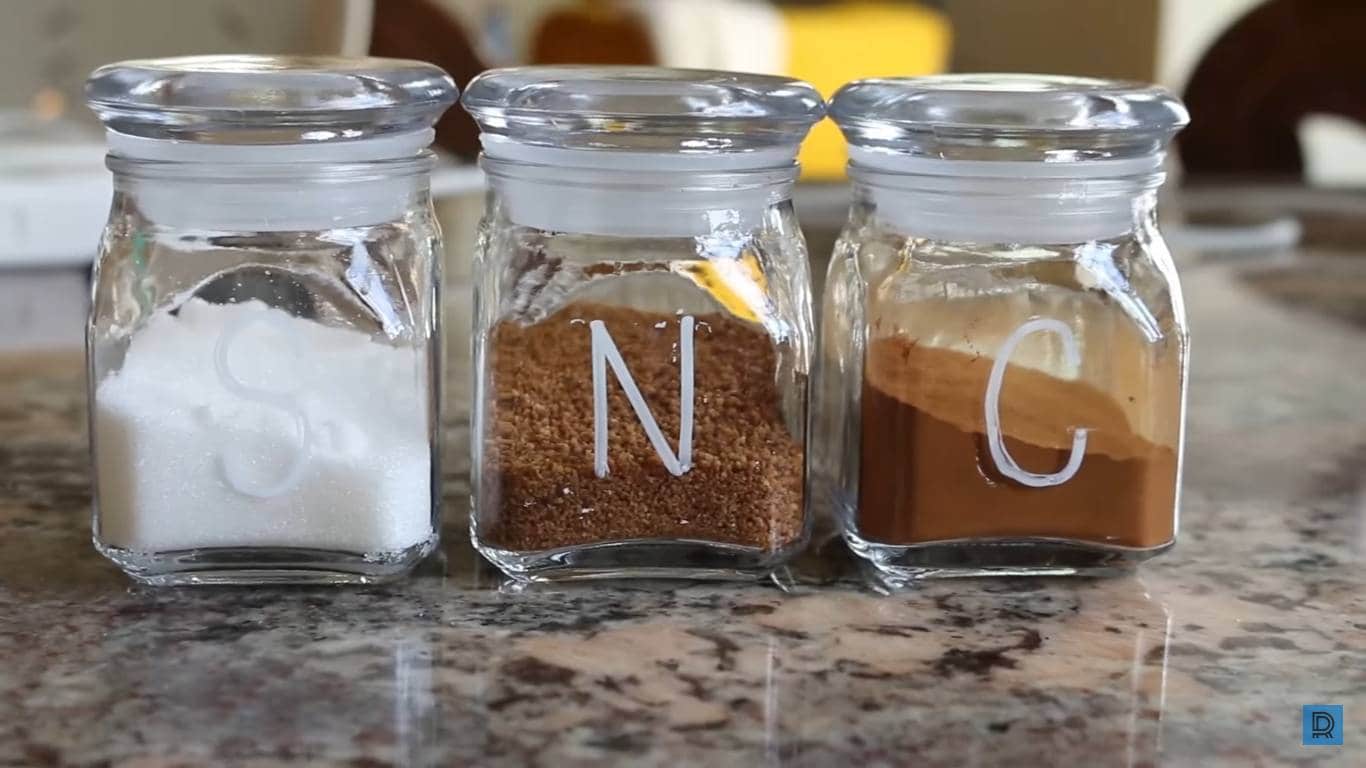
BONUS DIY!
For a swankier look, get some small jars at your local craft store. Fill the jars with coffee essentials, and label each one with a white marker, using only the first letters of the names of what the jars contain. C is for cinnamon!
Isn’t that just amazing? Now you can make coffee in your hobby room, saving you energy from going in and out of the kitchen. After all, you’ll need all that energy to get make even more rustic DIYs.
This tutorial is brought to us by DIY with Rick. Get even more details on the project here.