Organize your bathroom essentials with inspiration from the charming countryside.
This rustic cabinet will only cost you about $20, but it’s as elegant and sturdy as any store-bought furniture.
Just follow this simple How-To on making a rustic bathroom cabinet based on the YouTube video by TheRehabLife, and you’ll have your bathroom de-cluttered and perked up in no time.
What You'll Need
- wood stain
- paint brush and rag
- polyurethane
- galvanized piping
- 1 pc. 18" long pipe
- 2 pcs. floor langes (1/2")
- 2 pcs. 90 degree elbows (1/2")
- 2 pcs. close nipples (1/2")
- screws (1/2")
Step 1: Measure and cut the wood
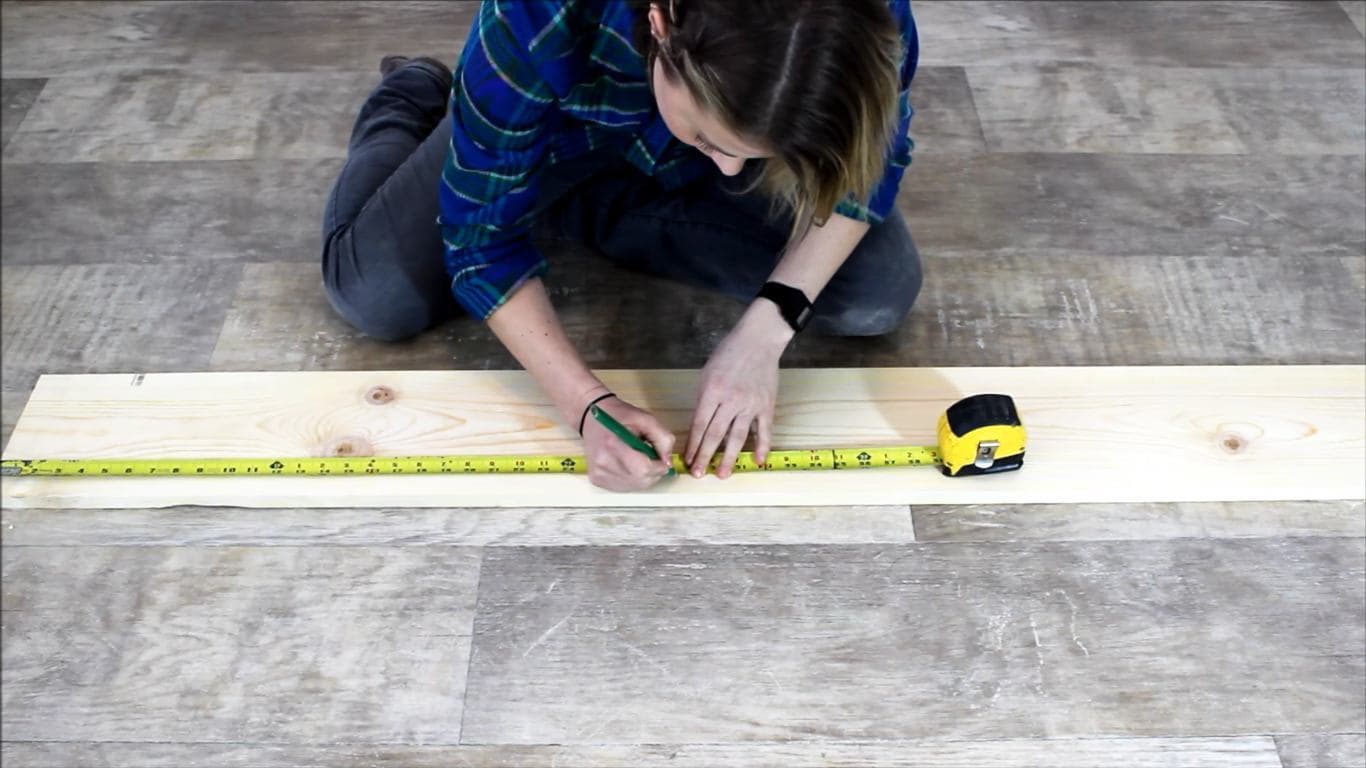
Measure the wood into these sizes:
- Two 22 1/2” long pieces from the 1”x6”
- Two 28 1/2” long piece; one 24” long piece; and one 25” long piece from the 1”x8”
- One 22 1/2” long piece from the 1”x2”
- 24”x30” from the plywood
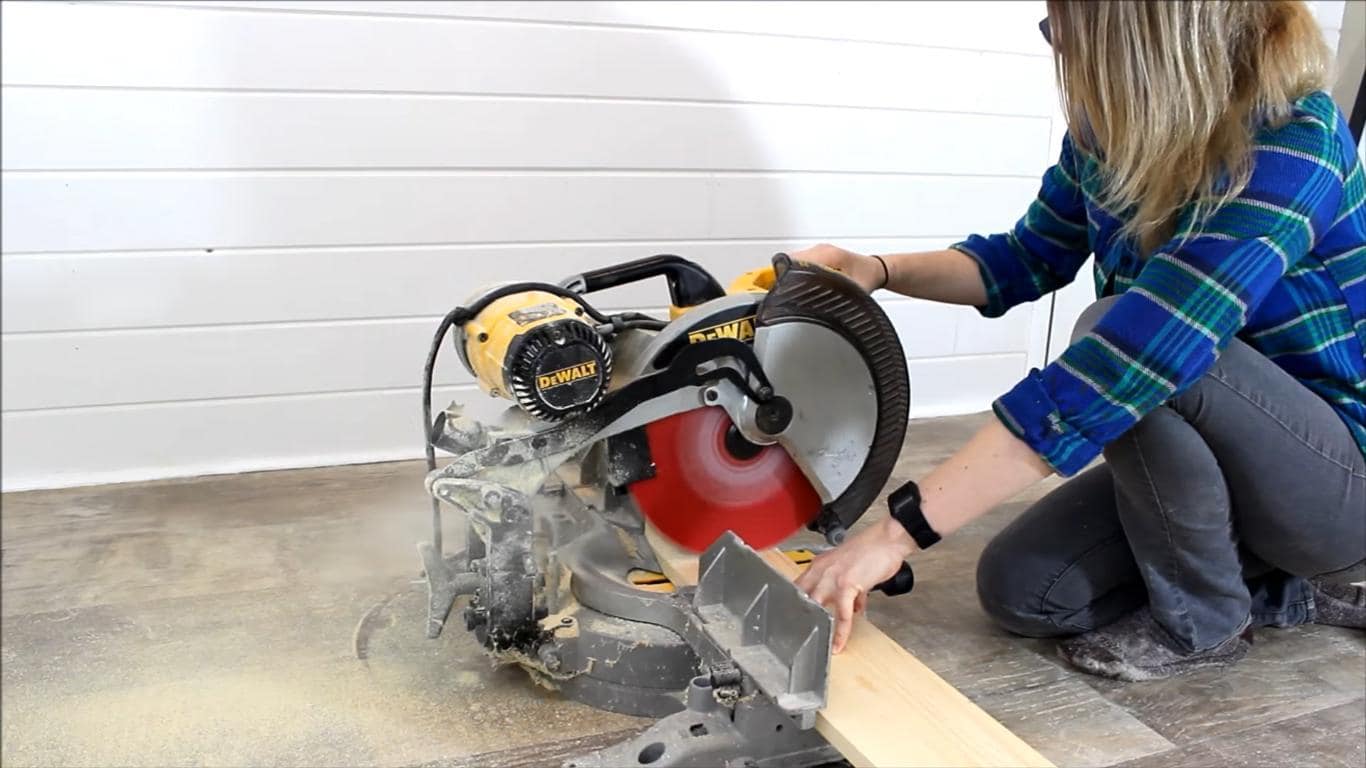
Cut the wood with your miter saw.
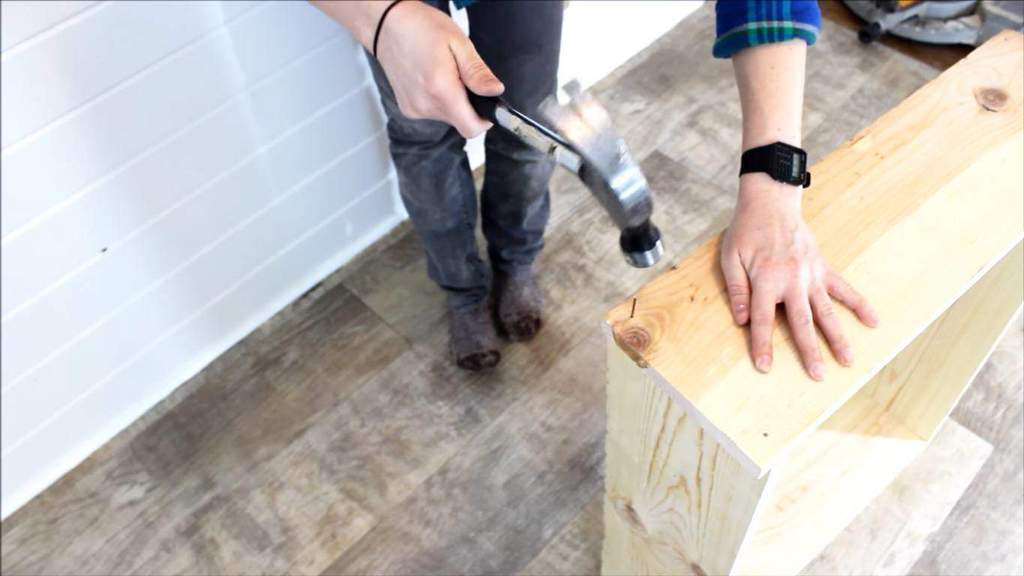
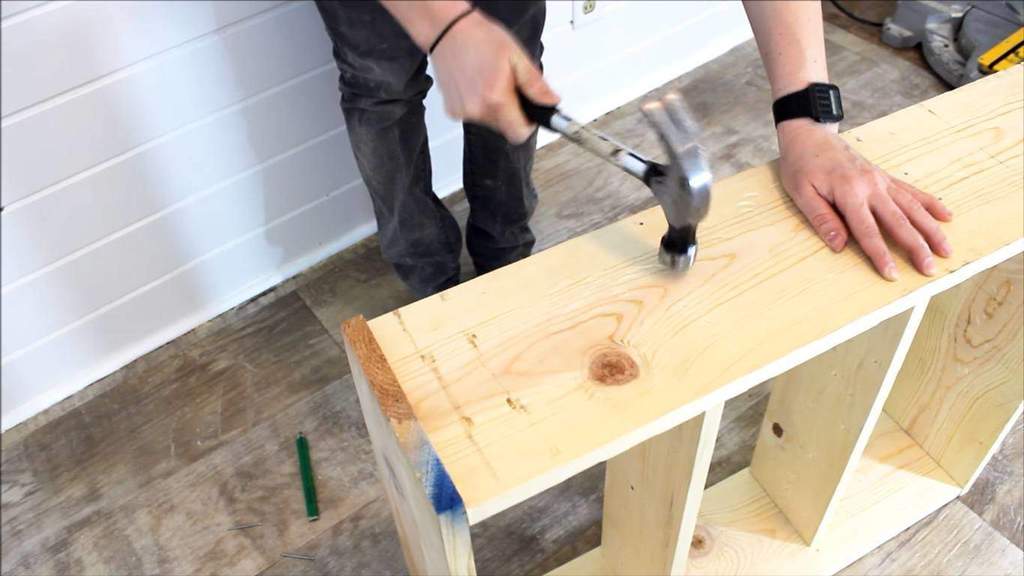
Step 2: Beat the boards
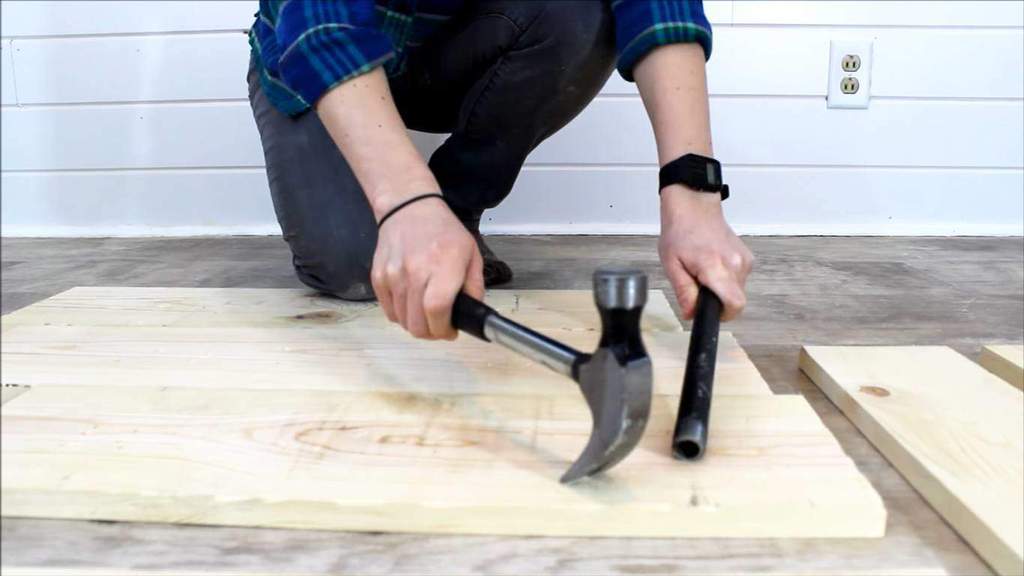
Pound the boards with a hammer or any other heavy tool. Give them that distressed accent that’s perfect for a rustic theme.
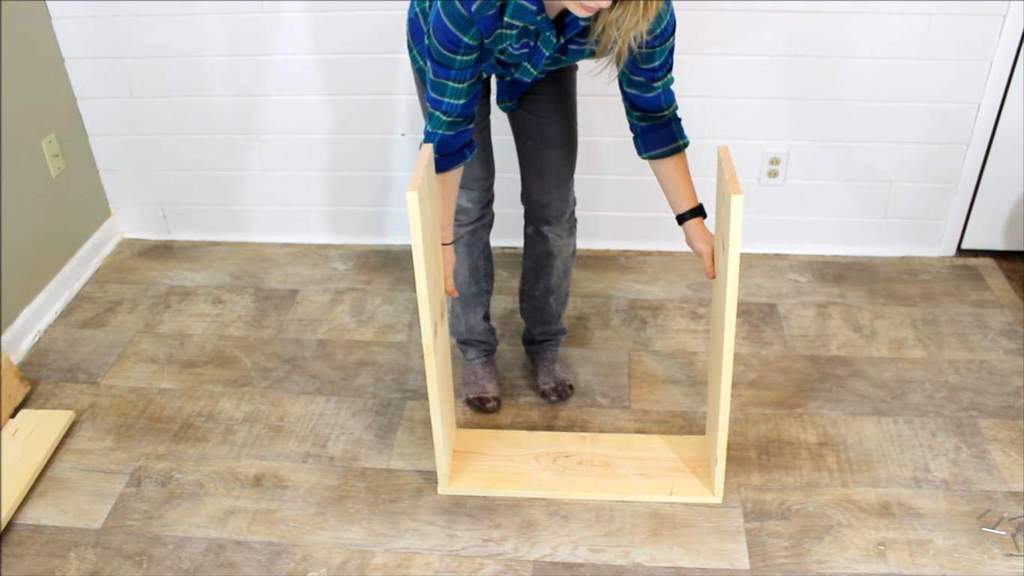
Step 3: Attach the 24” and the 28 1/2” boards together
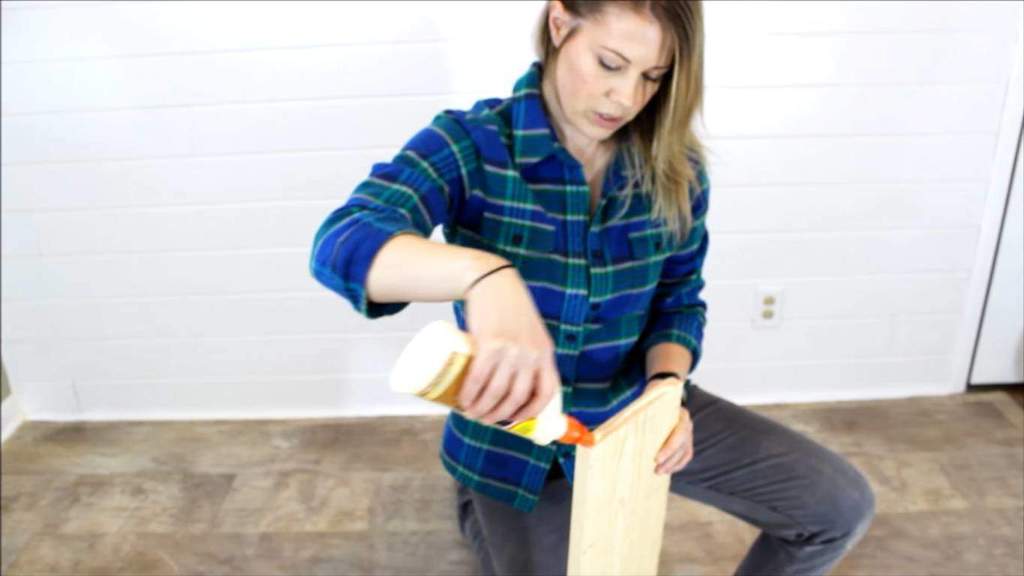
Take one of the 28 1/2” boards. Squeeze some glue on one of its ends, and attach it to the 24” board.
Secure the two with the 2" nails.
Take the second 28 1/2” board. Put glue on one end, and connect it to at the other end of the 24” board. Use the same nails to secure the two.
Step 4: Place the 25” board on top
Flip the combined three boards over. You should have something that looks like a large “U”. Put glue on both ends of that U. Take the 25” board, and lay it across the top. This will be the top part of your cabinet.
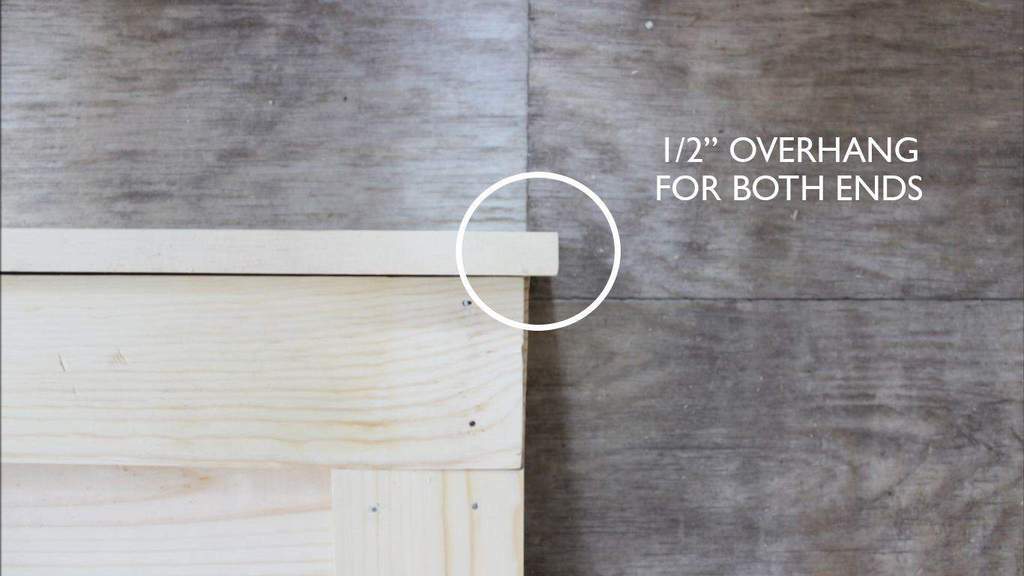
Don’t forget to leave a 1/2” overhang on each side.
Secure the board with nails.
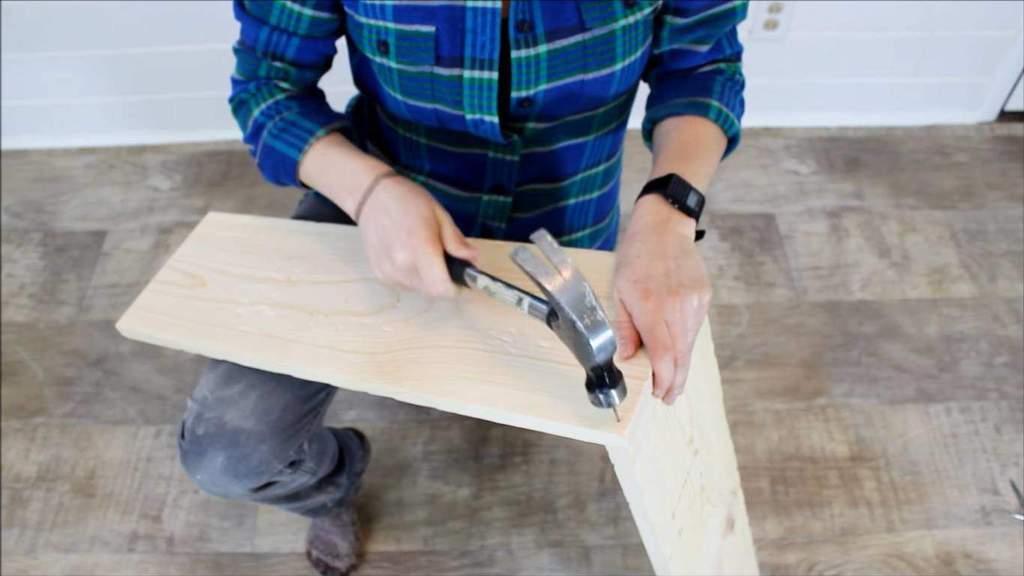
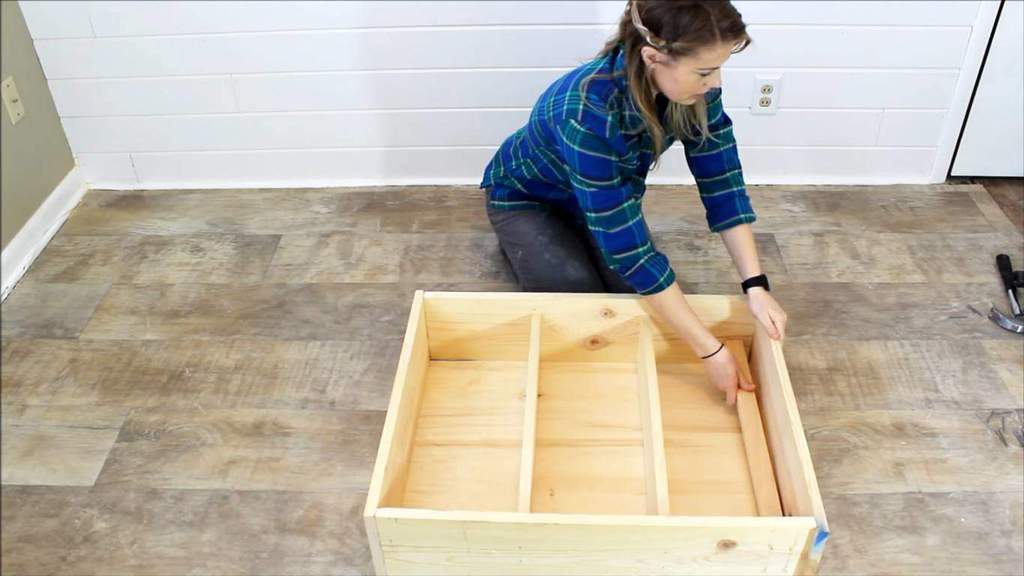
Step 5: Make the shelves
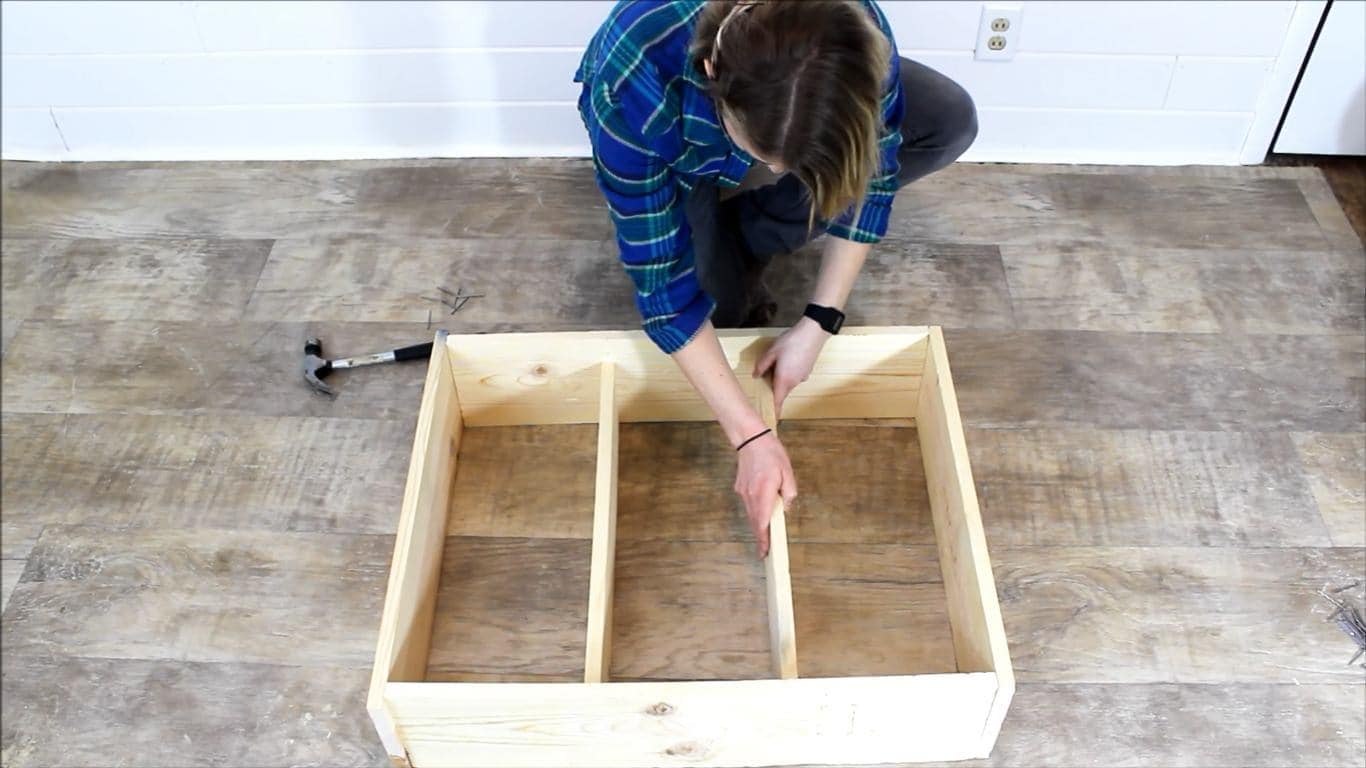
Now that the frame is done. It’s time to put in its shelves. Lay the frame flat on the floor. Take the 22 1/2” boards, and space them evenly inside the frame. Lay them flush with the floor.
Secure them into place with 4 2” nails for every end of each shelf.
Step 6: Place the plywood over the cabinet
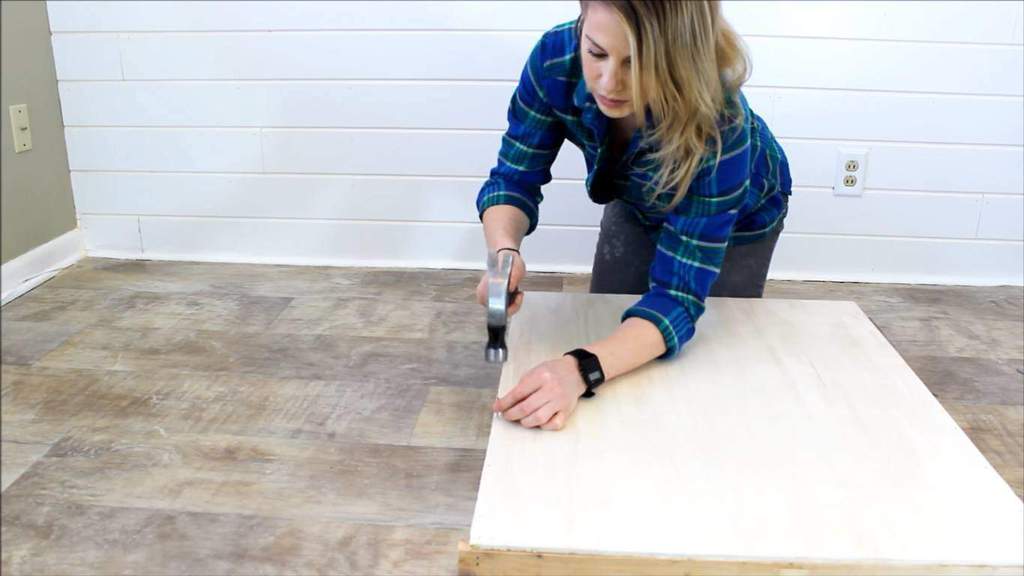
Lay the cabinet over, with its front facing down. Cover the exposed side with the plywood you’ve set aside. Attach this one using the finish nails.
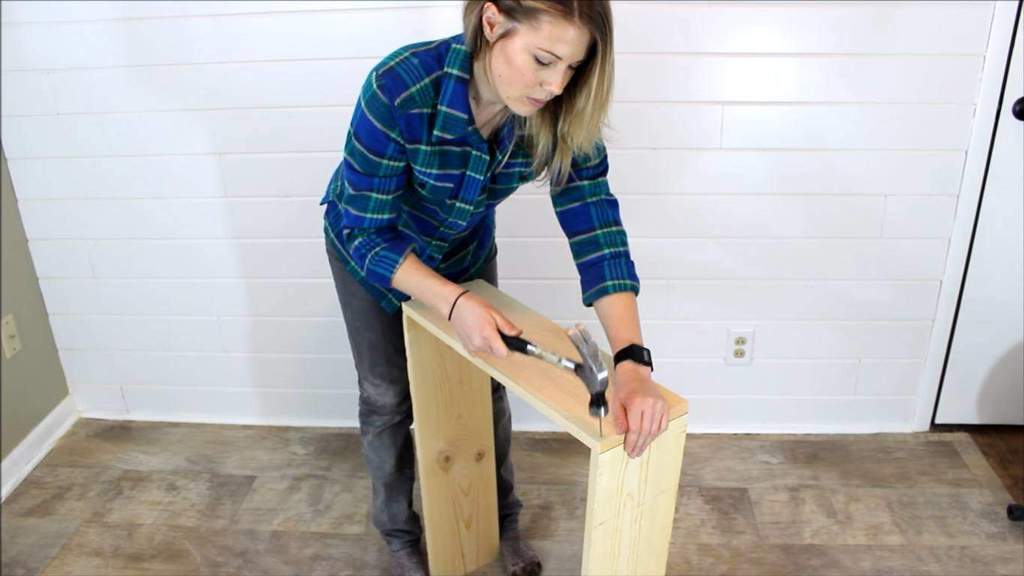
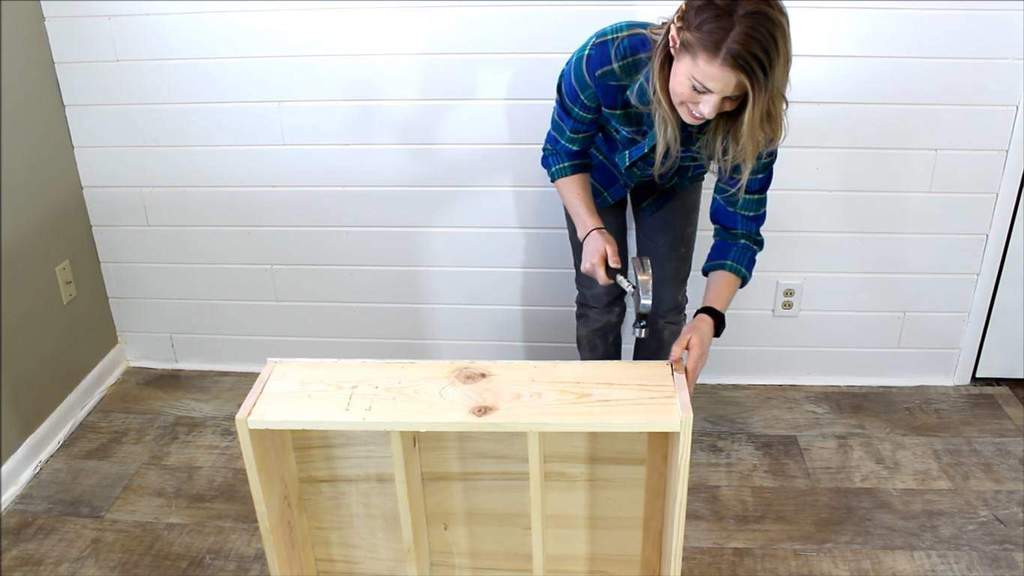
Step 7: Insert the 1”x2” board into the back of the cabinet
Now we can see that the cabinet is almost done. Flip it rightside-up. Then get the 1”x2” board and insert it into its back. This is what you’re going to be using to hang your cabinet on your bathroom wall. Secure it into place using nails.
Step 8: Sand the cabinet
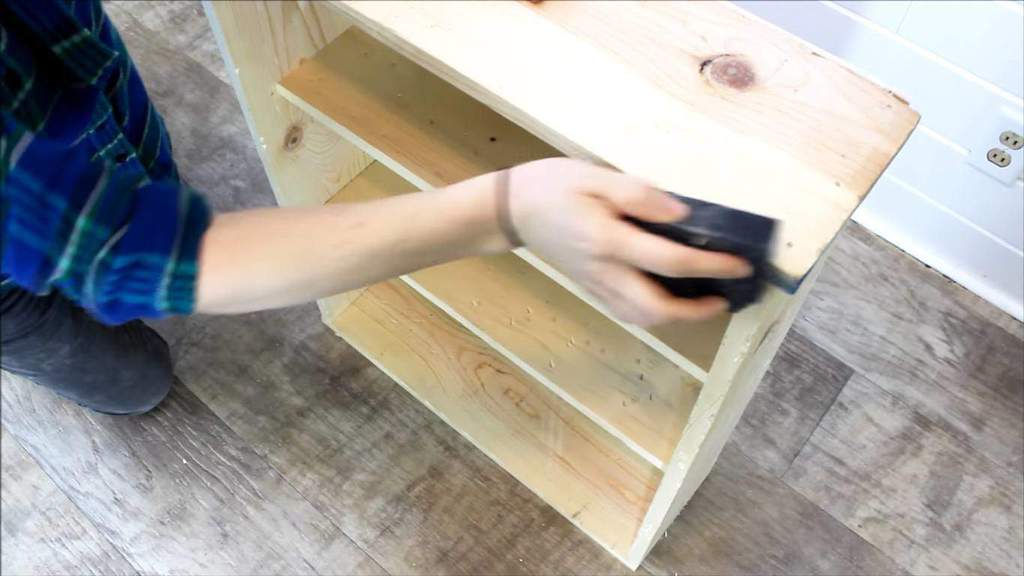
Remove the cabinet’s mill marks and the extra glue hanging from the edges with your sanding block.
Step 9: Apply wood stain and poly
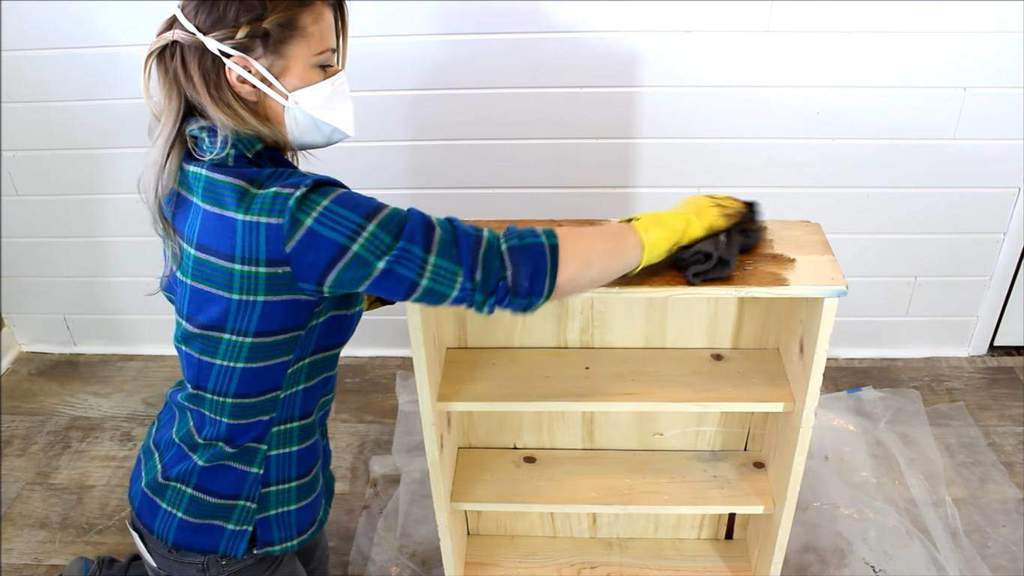
Using your rag, cover the cabinet with the wood stain of your choice. Wait a bit for it to dry.
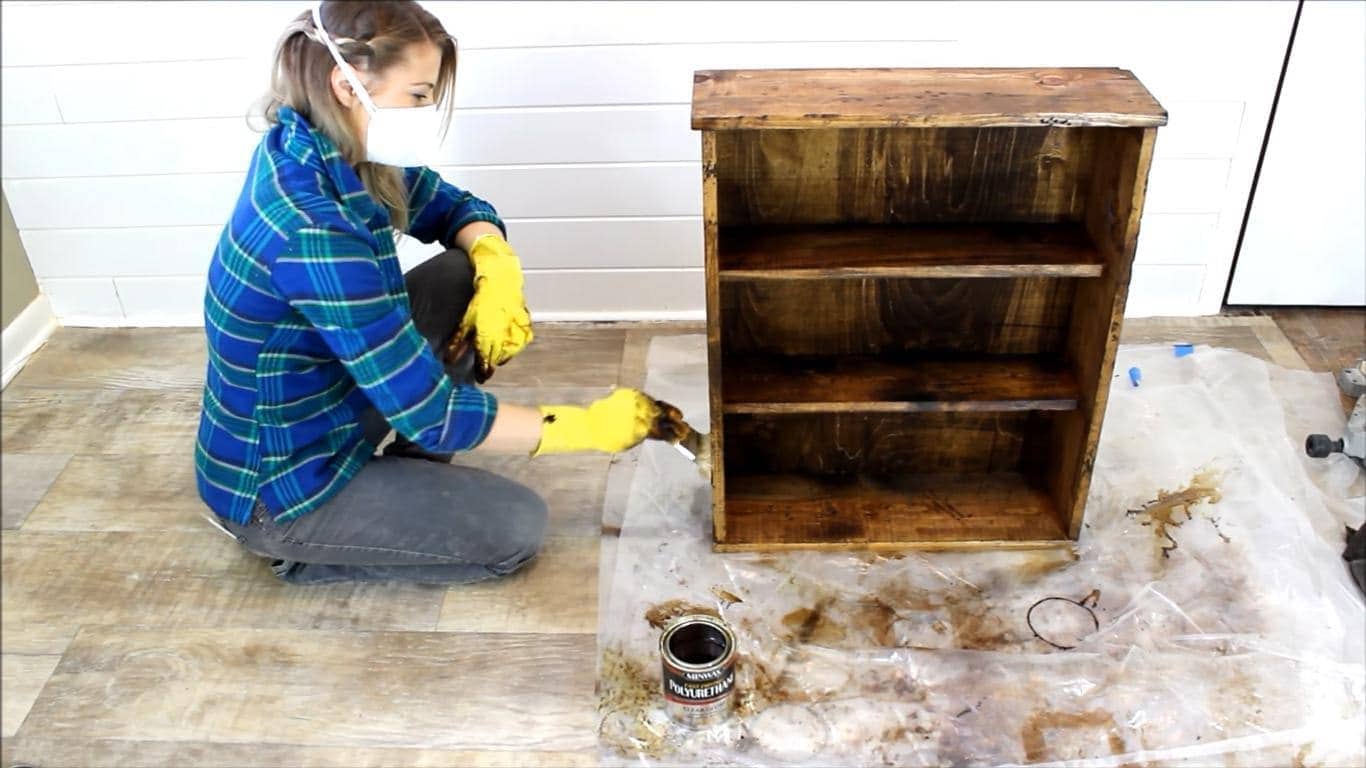
Once it’s dry, apply the polyurethane to protect the cabinet from moisture and rot.
Step 10: Assemble the towel bar
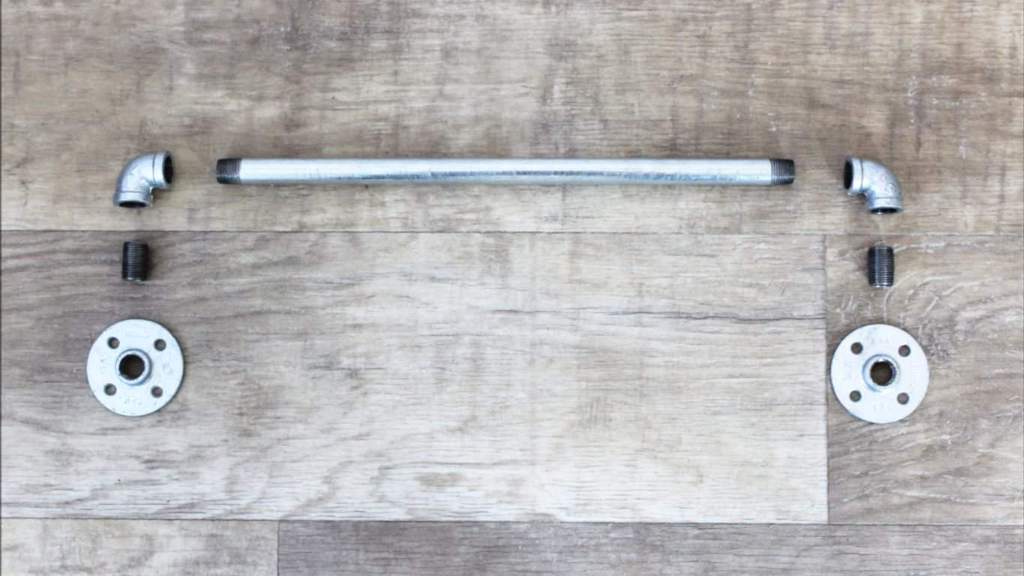
This time, you’re going to put the towel bar together. Arrange the galvanized piping like this.
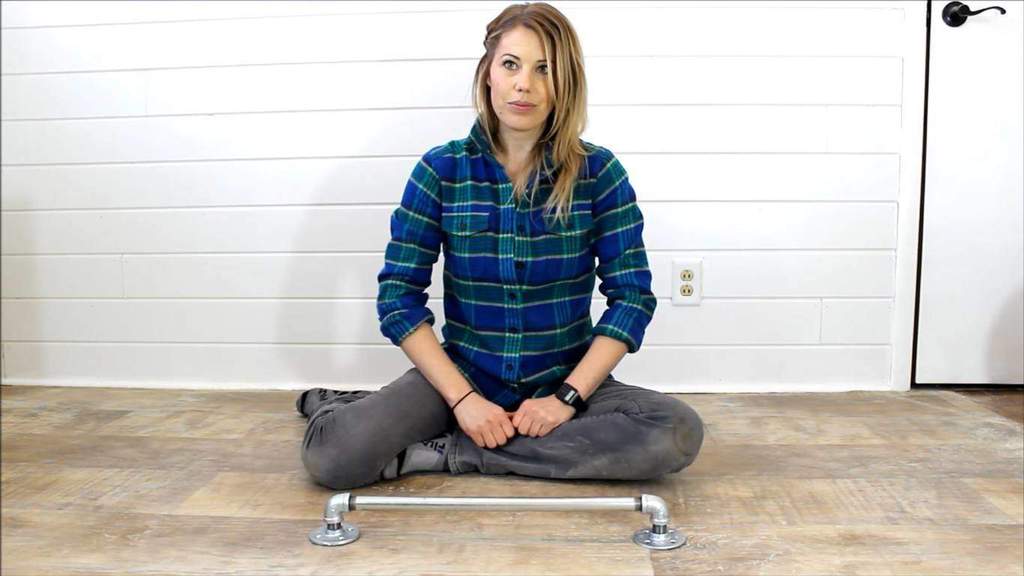
Assemble the towel bar. So, you’ll have something like this.
Step 11: Attach the towel bar to the cabinet
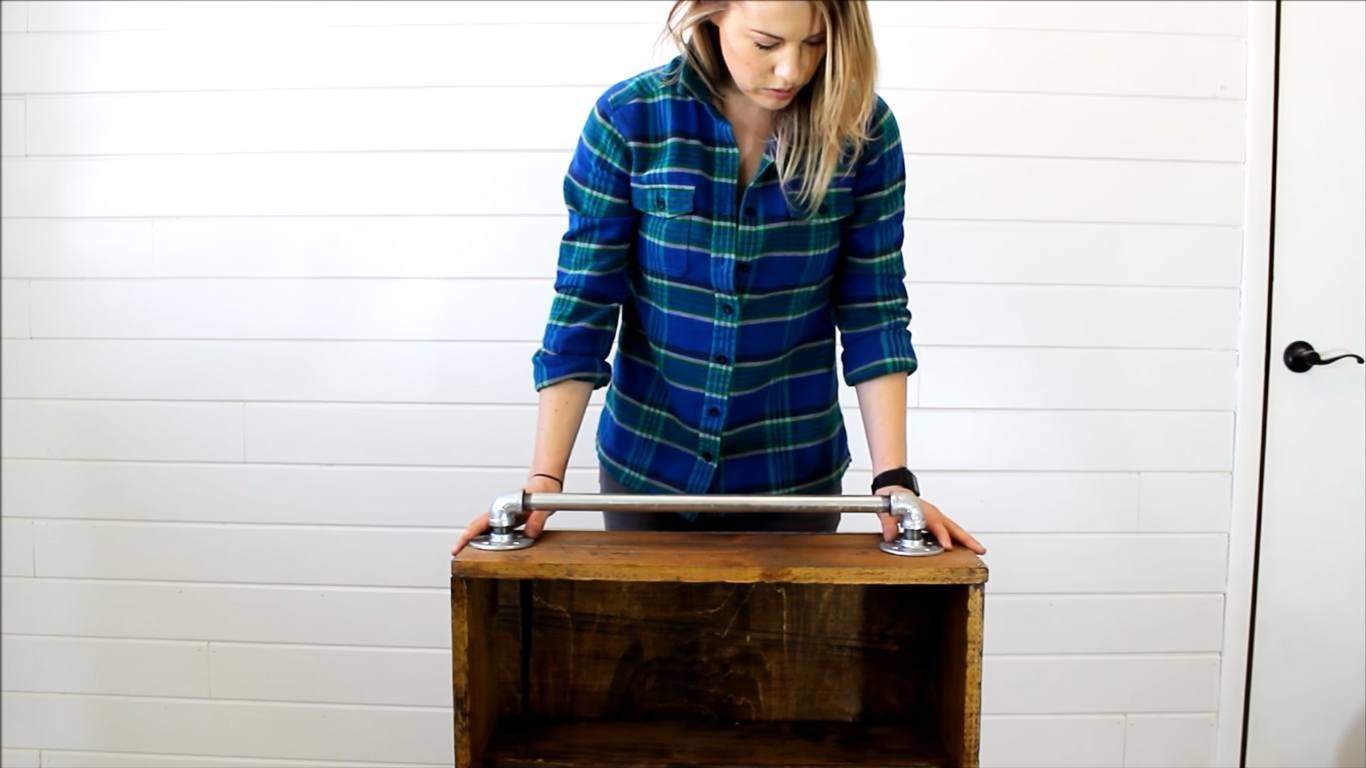
Put the towel bar at the bottom of the cabinet. Make sure to center it. Then screw it into place.
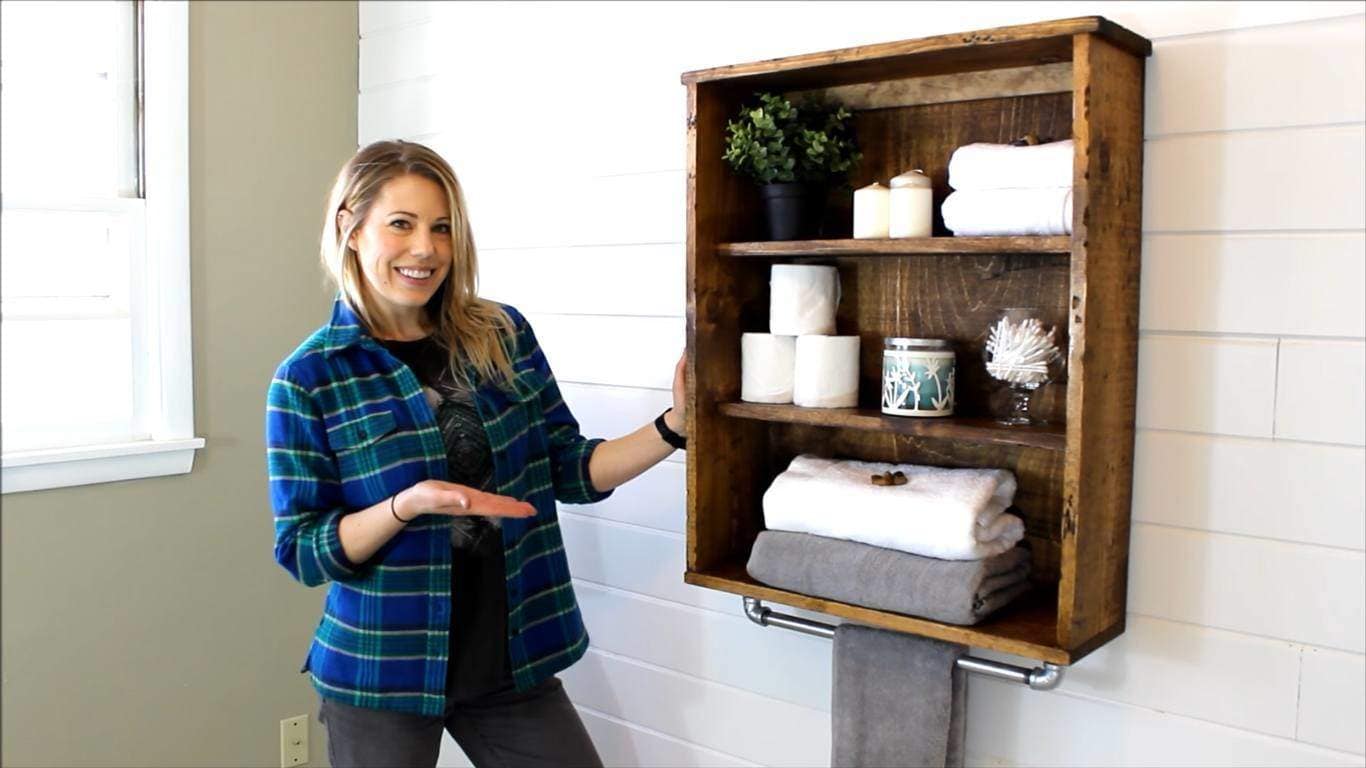
You can now hang the cabinet on your bathroom wall. Step back, and be amazed at how great your hard work is. Congratulations!
This project came to us from The Rehab Life. If you want more details on this, watch their video here.