If you need to use a nailer, you’ll find that there are typically two types available: siding nailers and framing nailers. Many people believe the two are synonymous, but this is not the case.
Although the two guns can shoot the same nails, the outcomes are not the same. Manufacturers design framing nailers so that they can fit in hard-to-reach spaces. The result is not the most desirable, as the final product can be a bit rough.
Siding nailers, on the other hand, are much more lightweight and maneuverable. You can use them in an upright position. You can also adjust the depth of the nail that you insert in the siding. Lastly, there is a protective piece on the best siding nailers that prevents you from indenting or damaging soft wood like cedar.
If you have experience using a framing nailer, you should know that using a siding nailer is a bit different. Fortunately, we’re here to help.
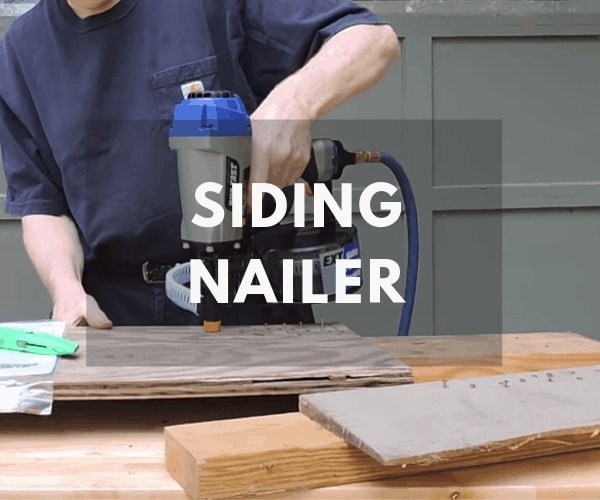
First, check out the YouTube video below from the eHow Home Channel to learn more about what makes a siding nailer unique. Then, continue reading for our comprehensive guide on how to use a siding nailer.
What You’ll Need
Using this nailer is rather straightforward. You won’t need much more than the gun, nails, and power source. Some of these nailers rely on compressed air, while others rely on electricity. Below, we’ve provided you with three options that could be worthwhile:
- BOSTITCH N66C-1 Siding Nailer with Aluminum Housing
- Hitachi Coil Siding Nailer
- Freeman PCN65 Coil Siding Fencing Nailer
Step-by-Step Guide
If you’re looking to use a siding nailer, you’ll want to make sure that you use the tool properly.
Purchase Your Nails
The first thing that you must do when using this nailer is to purchase your nails for the project. It is adjustable, which means you can use an array of nail lengths in the gun. Determine which nail length is best for your project, and purchase the appropriate nails.
Once you’ve received your nails, load them into your gun. A standard siding nailer holds about 300 nails in a single magazine.
Use Safety Equipment
As is the case when using power tools, you’ll want to make sure that you use the proper safety equipment. First and foremost, you’ll want eye and ear protection, which is standard for use with all power tools.
Because of the high rate of speed at which these nailers shoot nails, we also recommend wearing hard hat and glove protection as well. When installing siding, you will likely be working on a ladder. Hard hat and glove protection could potentially protect you were there to be an accident.
Set Your Depth
Once you’ve loaded your nails and have the proper safety equipment, you’ll want to set the depth on your gun. Siding nailers allow you to change the depth of the nail. Be sure to match the depth with the nail length that you’ve purchased for your project. Failure to do so could ruin your nail gun or your siding.
Connect to a Power Source
After you’ve set your nail depth, you can connect your gun to its power source. If you need to connect to electricity, you may need to run an extension cord to power your device. You may also need to connect to an air compressor.
Shoot Your Nails
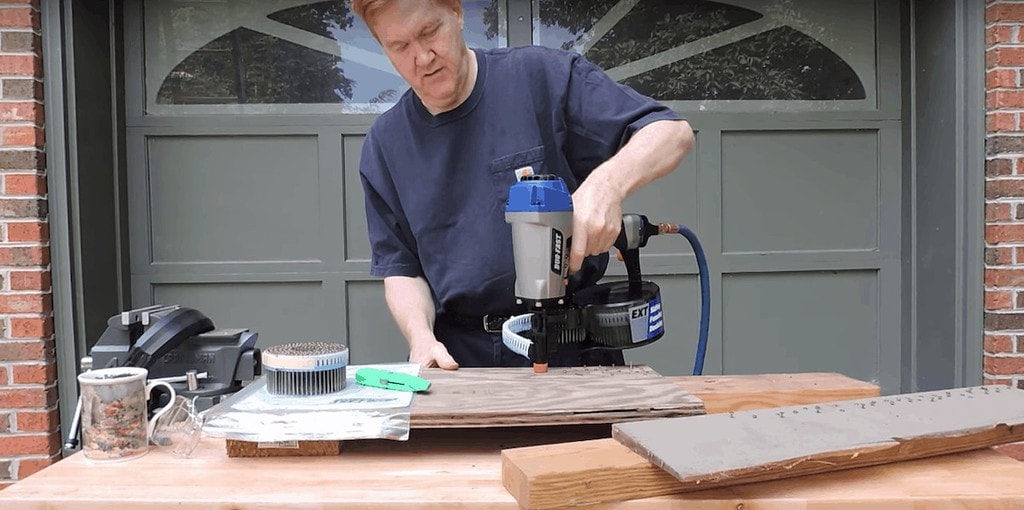
Once you’ve connected your siding nailer to its power source, you can begin shooting nails. To do so, you’ll want to hold the bottom of the nailer steady with one hand while holding the handle with the other.
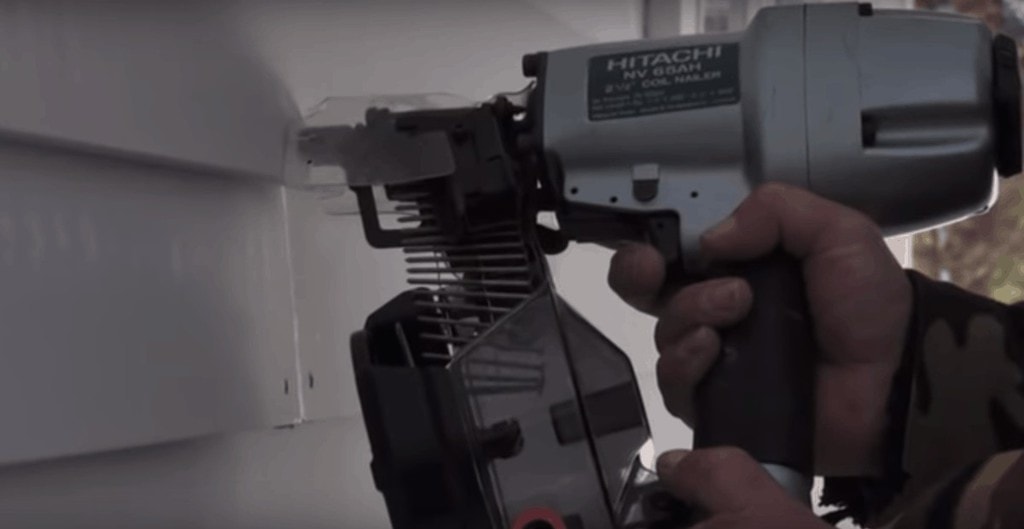
Siding nailers are known for their “no-mark” tips. These tips are useful because they won’t leave scratches or dents in the material into which you’re shooting. However, they take away from the gun’s stability a bit.
Siding nailers are useful because they provide 360-degrees of accessibility. Because the “no-mark” tip is the only thing that comes in contact with the surface, you have much more flexibility in the direction in which you can shoot the gun. However, when possible, you should elect to hold the gun stable to ensure a quality shot.
Clearing Jams
One of the problems that tends to arise when using nailers is a jam. If your siding nailer jams, don’t continue to fire rounds. Instead, disconnect the device from its power source. Then, identify the source of the jam. Once identifying the source of the jam, you can slowly remove the nail.
You may often find that the jam is the result of how you set the nailer. As you gain more experience using your siding nailer, you should become much better at determining in what position you must set the nails. Preventing jams is one of the primary reasons why you should want to practice with your nailer before using it on a project.
Clean Your Nailer
Once you’ve completed your project, you should take time to clean your nailer. Be sure to remove any excess plastic hanging off the end of your used coil. Secondly, be sure to inspect the siding nailer for any damage.
One of the areas most susceptible to damage is the no-mark tip. As you continually press this into vinyl siding or other materials, there’s a good chance that this piece wears down. Once it’s worn down, you risk scratching or damaging your project materials. Be sure to replace the no-mark tip when you notice it’s becoming worn.
Using a Side Nailer
If you need to mount thin materials, a siding nailer could be well worth your consideration. Although framing nailers can perform the same tasks, learning how to use a siding nailer could leave you with a product with a much better finish.
We hope that the step-by-step guide that we provided for how to use a siding nailer will be beneficial for your next project. As always, we recommend practicing how to use a siding nailer before you begin using the device for projects.
I do woodwork. Is finish nailer better for me?