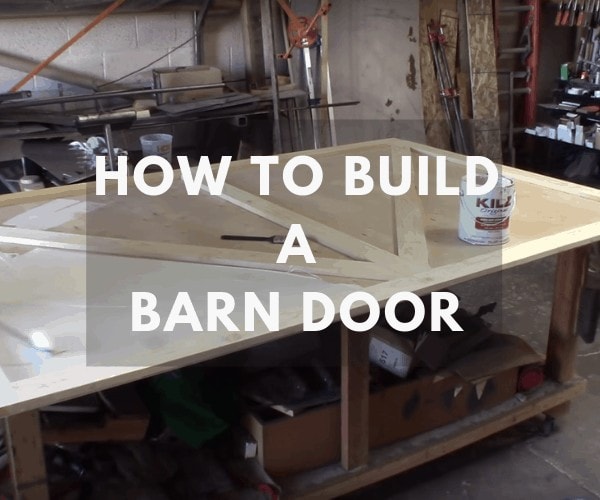
Adding a rustic barn door is a great addition to any home. These doors are a great conversation piece, and the touch of Americana they provide adds warmth to any room. Chances are, you took a look at barn door kits, or reclaimed barn doors and recoiled in horror at their huge price tags.
Thankfully, building a barn door yourself is much more cost effective, and it’s a project that anyone with basic carpentry skills can tackle. Today, we’re going to cover all you’ll need to know about how to build a barn door.
Supplies You’ll Need
- Angle grinder with brush knot cup
- Router with ⅜” rabbeting bit
- Hammer
- Tape measure
- Construction adhesive
- 1 ½” wrought-head nails
- 1x6x8’ no. 2 pine boards
- Quart light gold stain
- Quart grey stain
- Quart dark walnut stain
- Quart of clear poly (optional)
- Clean shop rags
- Paintbrush
- Barn door hardware kit
Step I: Evaluate Your Space
The first thing you’ll need to do is take inventory of the space you’ll be working in. Start by measuring the width of the barn door. Add two inches to this measurement, as you’ll want your door to extend beyond the actual opening for the door.
Next, determine how you’ll want your barn door to open. If you want the door to slide open to the right, you’ll need to make sure that there are no obstructions to the right of the door. Things like thermostats or light switches can put a serious damper on where you plan to put your barn door, so keep those in mind when evaluating how you want the door to open.
If you’re lucky, you won’t have any obstructions to worry about. But, if you find that it’s impossible to install the door as you initially planned, consider having the door open to the left instead of the right, or having a double door instead of a single door.
Step II: Purchase the Hardware Kit
Before you can get started on building the barn door, you need to secure the hardware you’ll be using, as that will determine the height you’ll need your door to be. The instructions in the hardware kit should shine a light on how tall you’ll need your door to be. If they don’t, contact the manufacturer for help.
Step III: Preparing the Boards for the Barn Door
Once you have your measurements for the width and height of the door, you can begin preparing your boards.
First, divide the width of the entire barn door by the width of each board you have to determine the size you’ll need for each board. If you don’t end up with a nice round number, adjust the width of the boards based on your measurements until they’re all a uniform width.
Next, use a table saw to rip the boards to the proper width. Once you have boards of uniform width, use your router with a ⅜” rabbeting bit, or a table saw outfitted with a dado blade to cut rabbets into each board.
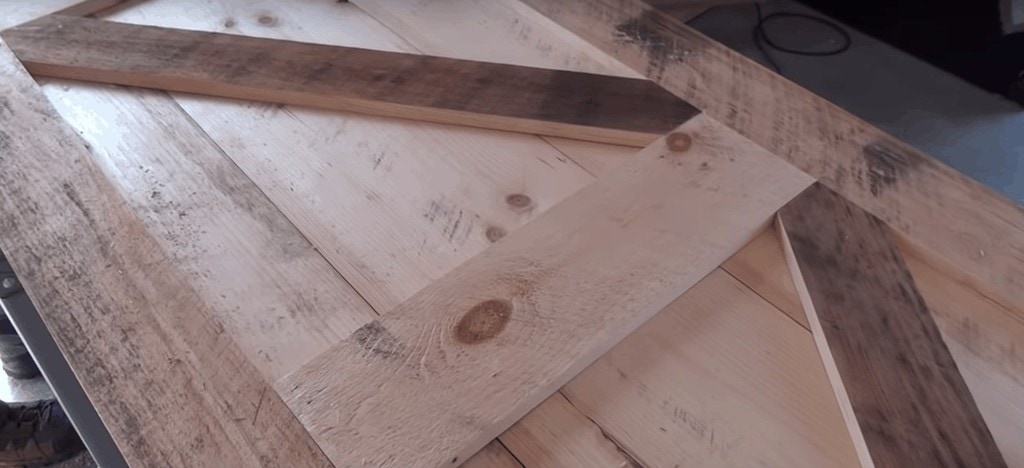
For all but two boards, cut rabbets on each opposite edge, so you’ll have two rabbets on each board. For the final two boards, cut one rabbet on each. These boards will be the outer edges of the barn door.
Finally, cut your two horizontal rails to the same width as the door.
Step IV: Putting the “Barn” in Your Barn Wood
Now, for the fun part. We’re going to transform these basic pine boards you picked up from the lumber yard into reclaimed barn wood that’s well over a hundred years old.
To accomplish this, we’ll start with an angle grinder outfitted with a brush knot cup. Start with a piece of scrap wood so you can see how the brush knot cup behaves as you lower it to the wood.
When you’re ready to begin, nail or clamp the first board to a sawhorse, and go to town. This attachment adds some serious distressing to the wood, so start with a light hand, you can always add more distressing as necessary.
The knot cup will also kick up quite a bit of sawdust, and pieces of the metal brush may fly off as you work, so it’s important you’re wearing proper safety gear.
Once you’re happy with the level of distressing on each board, use an awl to make some random wormholes in a couple of the boards to drive home the rustic look we’re going for.
Step V: Staining the Wood
With your wood properly abraded and distressed, it’s time to stain it to give it a proper weathered look.
We’re going to start by applying a light base coat of the light gold stain. You can use a paintbrush or rag for this, but you can also speed the process up by using a roller. Once you’ve applied the base coat to each board, allow them time to dry.
Next, we’re going to apply some dark stain. Using a rag, apply the dark stain in a completely haphazard fashion. Apply a hefty amount of stain in some spots, and hardly any in others. Take another rag and randomly wipe the dark stain to create streaks and areas where the color is especially concentrated. The more random you are, the more authentic it will look.
Once the dark stain has dried, we’re going to apply a thin and uneven layer of the grey stain in a similar way to how you used the dark stain. Be random, in some areas, add a little elbow grease as you wipe the stain off, in others, leave the stain be. The more random you are, the better.
At this point, you could add a thin coat of clear poly to preserve the look of the finish you’ve created. But, skipping this step will provide you with the most authentic look.
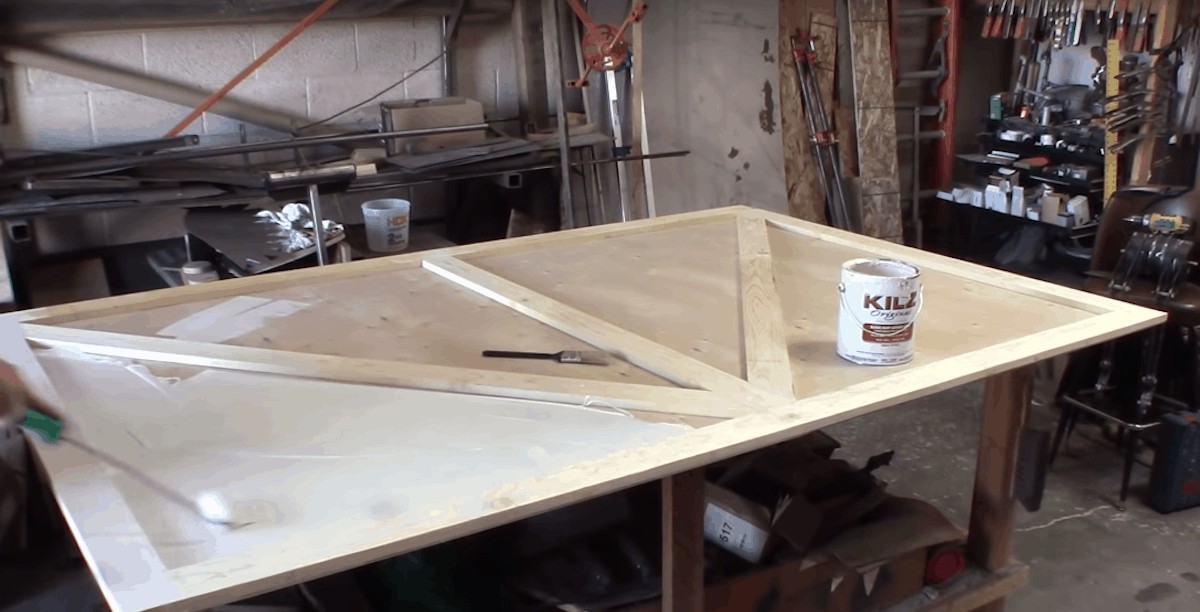
Step VI: Assembling the Barn Door
Place two 2x4s on a pair of sawhorses and arrange your boards across the sawhorses. Place pennies in between each board to act as spacers. Next, screw two pieces of scrap wood into each 2×4 against your vertical boards to keep them in place.
Take each diagonal measurement and ensure that they match and that the boards are square. If not, adjust them until the measurements match. Now, you can install your horizontal rails using the wrought-head nails and some construction adhesive. Once the adhesive is dry, hammer the nails in place for the upper and lower horizontal rails.
Step VII: Attach the Hardware
Follow the instructions provided with your hardware kit to install the hardware to the door. Then, do the same with the hardware that attaches to the wall.
Step VIII: Hang the Barn Door
With all your hardware now installed, you’re ready to finish up the job and admire your work. Have a partner help you raise and hang the door, and test it. If the door feels a little tight, add some WD40 to the wheels of the hardware so that it operates more smoothly.
Final Word
Learning how to build a barn door is a fairly simple and very cost-effective way to get the beautiful look of a barn door inside your home. Once you’ve wrapped up this project, check out some of our other great projects, like this rustic barn-style mirror.