
Being able to repair drywall in the home is one of the most useful skills you can have as a homeowner. Dings, scuffs, and scratches can happen on a whim, and almost any little accident can cause them. Left unrepaired, they slowly accumulate and detract from the interior decor in any part of the house. Instead of trying to find a contractor for the project, why not learn how to patch up that damaged drywall yourself?
What is Drywall?
Drywall is a prolific construction material used all over the world as the modern-day alternative to traditional plaster. The common material between plaster and drywall is gypsum, a mineral mined in many countries all over the world for its durability and workability in construction. However, drywall can be made from synthetic gypsum that comes from recycled coal power waste. This means synthetic drywall is an environmentally conscientious choice that’s not only great for your project but great for your community, too.
Drywall panels are made from a gypsum core that’s covered in several layers of recycled paper. That wrap is coated in liquid gypsum and then covered in more solid gypsum before finally being wrapped up again. This creates a solid and powerful panel that’s still easy to cut and shape for its desired use.
Where is Drywall Used?
Drywall is used in all manners of home construction applications. It’s the ubiquitous choice for residential homes because it’s inexpensive and easy to re-work and redecorate. It has similar applications in commercial environments, as well.
You’ll find drywall panels being used to build offices, shops, restaurants, and any other structure where people spend a lot of time. One exception is in heavy industrial settings where workshops and factories are often unsuitable environments for drywall and call for even stronger indoor structures.
How Does Drywall Become Damaged?
While drywall is prized for being easy to cut, trim, and shape, that flexibility comes with a price. It’s easy for anyone, even children, to cause significant damage to drywall. Roughhousing indoors is a common cause of scuffs and scrapes on the drywall. Moving furniture around the house is an even more common cause that can even result in dents or gouges.
Bigger indoor disasters might cause even larger holes in your drywall. A heavy person falling hard into the drywall or an appliance being knocked over against the wall can bust up an entire panel, essentially destroying the wall until it’s repaired. Water damage can even be a particularly nasty source of drywall damage.
DIY Drywall Repair vs. Professional Drywall Repair
Drywall repair seems like a big job. After all, you’re not just gluing something back together. You’re fixing the house itself, right?
While professional drywall contractors might be necessary for catastrophic damage, most drywall repairs are within the grasp of even inexperienced DIYers as long as they’re willing to get their hands a little dirty. Even larger drywall repair jobs are easy to tackle with a little advanced preparation and know-how.
How to Patch Drywall Yourself
Tools and Materials You’ll Need
If you do much work around the house, or even if you just have a good toolbox in the garage, you’ll have most of what you need to perform basic drywall repairs. Anything else you need can be found at your local hardware store.
Depending on the size of your repair job, you may need different tools. In general, you’re going to want to have some drywall joint compound, joint tape, sandpaper, a utility knife, and a taping knife. For medium to large-sized jobs, you’ll need actual drywall paneling which can be cut down to size. You’ll need drywall screws, a saw, a tape measure, and a stud finder for these jobs, too.
Planning for Your Repair Job
Take a look at your job and consider the extent of the damage. If the damage doesn’t go all the way through the drywall, you’ll typically be able to repair it with nothing more than some joint compound. Even gouges can be repaired this way if they’re the size of, say, a half-dollar piece or smaller.
For gouges just a bit larger, you can buy mesh patches that cover over the hole which you simply affix into place with joint compound and drywall tape. But for damage that meshes can’t cover up, you’re going to be cutting out some of the wall and replacing it with brand new drywall.
A Note About Safety
Like any big job, drywall work carries safety hazards that can cause injury if you’re not prepared. Be sure to wear a dust mask and protective eyewear, especially when cutting or sanding, in order to prevent fine dust particulate from getting in your eyes, nose, or mouth. And, of course, always be sure to read the safety information on materials like joint compound and paints before working with them.
Repairing Small Damage
Dings, Cracks, and Popped Nails
For small chips, popped nails, and little cracks in the wall, you don’t need most of the tools listed above to repair drywall like a pro. It only takes a couple of steps, although you’ll need to set aside several hours for the drywall to set before you come back and finish it up.
Drive in Nail or Cut Around Crack
If you have a popped nail, you’re actually going to pound it further into the wall. Using a nail set, drive the nail in just a few millimeters. Then cut out any debris and loose drywall material around the nail. The same goes for a simple crack– just cut out the loose material around it until everything left is either intact drywall or surface that needs filling.
Apply Joint Compound
Next, use your utility knife or drywall knife to fill over the damage with a small amount of joint compound. For jobs of this size, it’s easy to overdo it, so don’t use too much. Let this coat dry, and then apply a second coat. Allow that to dry and then inspect your work to make sure it’s even with the undamaged wall and there aren’t bumps or dents.
Sand and Paint
From here, the next step is to sand down the repaired surface with medium-grit sandpaper until it’s smooth and even with the original drywall. For best results, test your paint on a piece of drywall separately before applying it to the actual wall. Even if you get the exact same shade of paint that you originally put on the wall, a new batch of it might be slightly off-color from the last one.
Smaller Holes
If the hole on the wall is relatively small in size but too big to just cover over as described above, check out your local hardware store for a drywall mesh patch kit. These are perfect for small holes from things like doorknobs gone astray.
Cover with Mesh Patch
This is the easy part. The mesh patch will have a self-adhesive surface to cling tightly to the wall around the hole. Make sure that it’s smooth and flush with the existing drywall before pressing it down firmly and evenly. Ensure that there are no loose spots before proceeding.
Spackle
Using your joint compound or some spackle, cover over the patch making feathered edges to ensure it blends into the wall. This way, when you sand it down, you’ll have some room to work with. Make your finished spackle as smooth as possible, and try not to apply too much compound. If you overdo it, the compound may dry unevenly or have weak points. You may want to apply two coats before moving on.
Sand and Paint
After allowing several hours to dry (consult your joint compound’s instructions for drying times) you’re ready to sand the patch down. Using medium grit sandpaper, smooth out the patch until it’s flush with the surrounding drywall. Dust will fall to the floor, so you’ll want to protect any carpeting in advance.
Once you’re satisfied that the surface is smooth and even, you’re ready to paint. Check your new paint on a piece of test drywall or in a discrete location to make sure it dries in the proper color before applying to your repair job.
Repairing Larger Holes
Outline the Hole
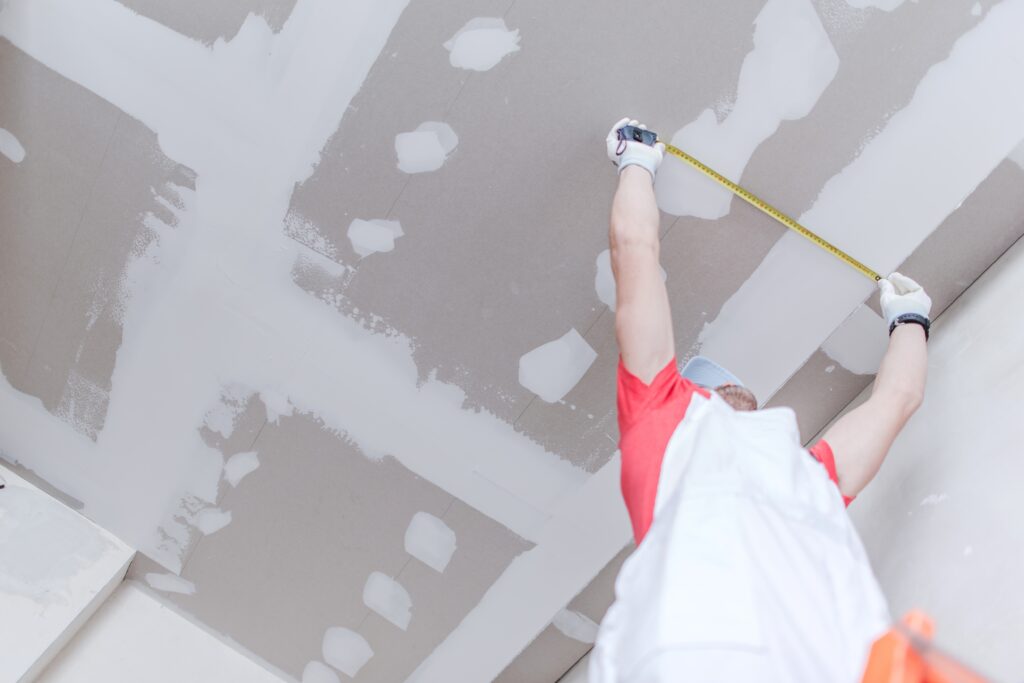
When repairing a larger hole, the first step is to outline the entire damaged area. You need to know how much new drywall to purchase and what size you’ll have to cut it down to. Use a tape measure or carpenter’s square to outline at least one inch outside the damaged area on all sides. Then, use your stud finder to locate the nearest stud on each side of the hole.
Cut Out the Area Surrounding the Hole
Now you’re going to use a knife or saw to cut out the frame you just drew around the hole. If you cut over a stud, mark the spot and go in 3/4in more to find the center. You’ll want to note these spots because the edges of your replacement patch should attach to these studs for extra support.
As you cut out the frame, work slowly, cutting away from your body, making multiple passes to ensure you cut evenly and don’t damage any studs behind the wall. Once the entire frame has been separated from the rest of the wall, pull it out carefully. If you force it out of place, you might cause more damage to the surrounding drywall.
Create a Support and Install
This step is optional but recommended. Cut a piece of plywood that runs the verticle length of the gap and use drywall screws to hold it in place. This will create extra support in gaps where the new drywall would be exposed to further damage.
Cut the Drywall to the Appropriate Size
Take your replacement drywall and hold it over the damaged area. Measure the edges over the hole, and then use a drywall knife to cut it down to the correct size for installation.
Affix the Drywall Repair Patch to the Site
Place the newly cut repair patch into the wall. Set your drywall screws an inch or more from the edges so that you don’t crack or split the patch, and then drill them into place. You don’t need many drywall screws, as you’ll be taping and spackling over the repair area for more durability before you’re done.
Finish the Drywall Repair Patch
With the hole filled in, you’re ready to secure the patch. Tape over the edges with adhesive fiberglass drywall tape. Center the tape over the edges of the hole for the strongest hold. It’s a good idea to run the tape an inch further than the edges on each end to ensure it clings firmly to the wall. This will also help you cover the patch more smoothly.
Cover the Repair Patch
Using your drywall taping or utility knife, spread joint compound all over the repair area. Make it smooth and even, avoiding any bubbles, pockets, or holes. Allow this to dry overnight, and apply a second coat over the hole. For large jobs or for fine textures, a third coat may be appropriate, as well.
Sand, Paint, and Smooth
When dry, sand down with medium sandpaper, wipe with a damp cloth and dry immediately to avoid water damage. Now you’re ready to paint, being sure to test your paints to ensure your new color matches the existing color in your home.