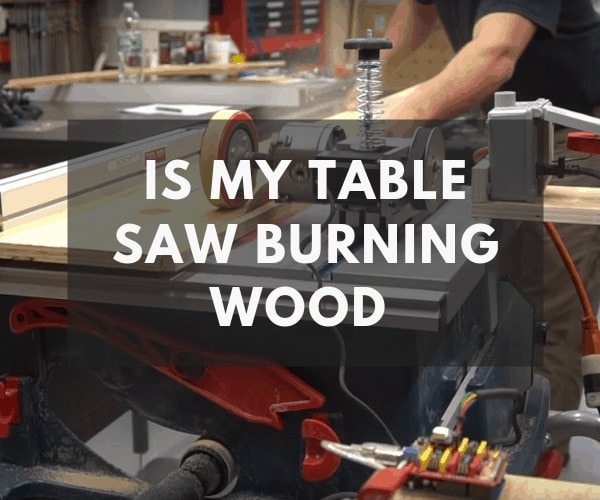

Table saws are fantastic tools that make the work of cutting lumber down to size simple and efficient, but they aren’t without their problems. A common problem people run into while using a table saw is sudden mysterious burn marks appearing on the wood.
Why is My Table Saw Burning Wood? A table saw will cause wood to burn under several circumstances including a dull or dirty blade, misaligned parts, using an incorrect blade, or pushing the stock through too slowly.
There are a number of things you can do to prevent burn marks from appearing on your wood, and keep your table saw in good shape. Continue reading to learn how to troubleshoot to discover what is causing burn marks on your wood.
Ask The Saw Guy
Talk with Tool Experts & Woodworkers in minutes 24/7
Need Help?
Talk with a tool expert in minutes

Brian, Woodworker
2,153 satisfied customers
Licensed Contractor - 17 years
Brian, Woodworker
2,153 satisfied customers
Cause of the Burn Marks
If you see burn marks on your wood after you’ve used your table saw to cut it, it is because there is too much heat between the blade and the wood. This heat is generated from the friction created when the blade slices through the wood.
Burn marks are not something to take lightly. They often indicate a problem with the table saw that need remedying for it to continue cutting wood accurately and safely.
Dirty Blade
Start with the easiest solution. Inspect the blade to see if it is dirty. Over time saw blades often become coated in pitch and resin as it cuts through lumber. This build up is often the cause of burn marks appearing on your wood.
If the blade is dirty you can clean it with special blade cleaning solutions but be careful when handling the blade. If the table saw still burns wood after you clean the blade, it could be that the blade is too dull.
Dull Blade
A dull blade will cause excess heat to build up between the saw blade and the wood. To check the blade, inspect it carefully for chipped, missing, or rounded teeth.
The solution to this is of course to swap the blade out with one that is sharp. If your blade is high quality, the manufacturer may offer a blade sharpening service. If you still experience burn marks after swapping out the blade, then the cause lies elsewhere.
Incorrect Blade for the Task
While an all-purpose blade can tackle many common jobs, there are certain jobs that require a specialized blade. The spacing of the teeth on the blade as well as the shape the individual teeth can make a difference to how well the saw performs and how much heat is generated.
The number of teeth is one of the most important factors when selecting the right blade for a job, though it is certainly not the only characteristic to consider. Generally, a saw with more teeth will create a smoother finish than one with fewer teeth, but if used for the wrong task, it will cause burn marks.
These burn marks appear because the metal of the blade, which is hot, stays in contact with the wood for longer without a break or ventilation.
Here is a handy chart of common blade types, how many teeth they have, and what they are good for.
Type of Blade | Number of Teeth on a 10” Blade | Good for... |
|---|---|---|
Ripping Blade | 24 | Ripping wood quickly and efficiently, does not create a smooth edge |
All Purpose Blade | 40 | Good all-around blade, will not create a smooth edge |
Finishing Blade | 60 | Good for creating a smooth edge, not good for ripping |
Vineer, Plywood, OSB Blade | 200 | Great for creating a smooth edge on plywood and other thin woods prone to splintering |
Out of Alignment
If any part of the table saw is out of alignment even just a little bit, it will cause burn marks on your wood.
Issues of alignment can happen with the fence, the splitter, the miter slot, or the blade itself can become warped. Many of these issues can lead to serious safety hazards and increase the likelihood of kickback.
Alignment issues often cause burn marks on one side of the cut wood. If you suspect an alignment issue with your table saw, you will need to check the alignment of all the pertinent parts of the table saw.
Here is how to check if your table saw has alignment issues:
- Start by unplugging the saw and removing the guard.
- Check that the table and the extension are level with each other using a large square. It should sit flush across the table with no gaps
- Check the level of the throat plate also using the square. You adjust the throat plate by adjusting the screws.
- Check that the saw blade is parallel with the miter slot. Use a marker to mark one tooth on the saw blade. Use a combination square in the miter slot until it just touches the marked tooth. Move it up and be sure that it touches the tooth in the same way at the other end of the throat plate.
- If the combination square touches the blade the same way, it means it is parallel to the miter slot. If it does not you will need to make adjustments to the blade alignment. Check your manual for instructions on how to do this.
- Check that the saw blade is sitting at 90 degrees and 45 degrees when in position for a miter cut. Use a plastic square to check both positions.
- Check that the fence is parallel to the miter slot. If it is parallel to the miter slot, it will also be parallel to the blade. Place the combination square in the miter slot and adjust the fence so that it touches the end of the square.
- The distance between the miter slot and the fence should be the same at the front and the back of the table saw.
- Check that the miter gauge is at a 90 angle to the blade and a 45-degree angle to the blade depending on how it is set. Do this using a plastic square.
- Check that the splitter is sitting directly behind the wood. You can do this using any straight board.
Feed Rate
The slower you feed the wood to the table saw, the more time it has to heat up and burn.
If you aren’t feeding the wood to the table saw fast enough or if you have to pause to reposition your hand as you are working, it can cause the wood to burn.
There is no special rate at which wood must be fed to a table saw. It depends on the type of wood you are cutting, the blade you are using, and the design of the saw. Some wood, like cherry, are more prone to burning and need a faster feed rate.
Like many things with woodwork, you’ll get a feel for how fast to feed the wood with practice.
How to Fix the Burn Marks

While you shouldn’t be getting burn marks in your wood in the first place, it could happen from time to time. Luckily, if you have burn marks on your wood, it doesn’t mean you need to scrap the wood.
You will have to put in some extra work to save the wood but removing the burn marks are easy. You can remove the burn marks by sanding them out, using a wood plan, or using a flat scraper.
Even through fixing the burn marks is simple, fixing your table saw should be the utmost priority. Many of the causes of burn marks also make a table saw less safe and less efficient.