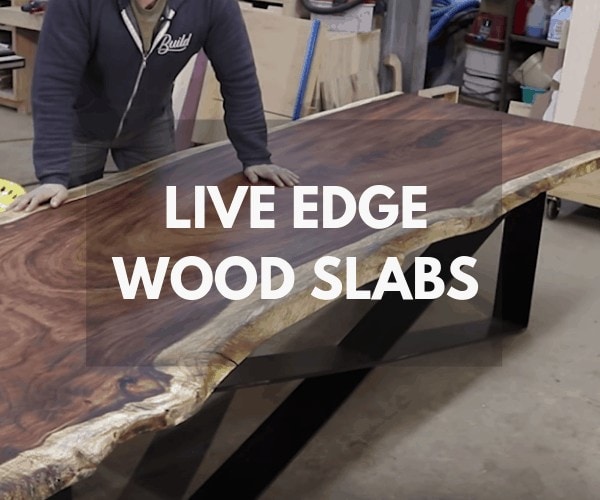
If you’re looking to create a rustic appearance when crafting your next project, one of the things you should consider using is live edge wood. Live edge wood has grown significantly in popularity over the past couple of years, as many people find themselves impressed with its natural appearance.
If you’re curious about what live edge wood is and what it can offer to a rustic or antique design, you’re in luck. Today, we’re here to provide you with everything you need to know about live edge wood slabs. We hope that after reading this guide, you’ll feel more comfortable opting to use them during your next project.
What Are Live Edge Wood Slabs?
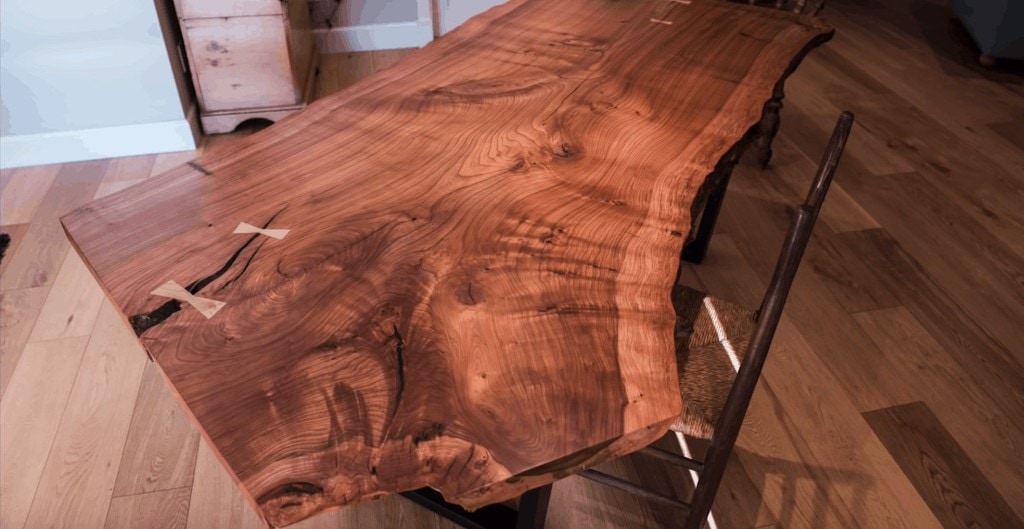
Live edge wood slabs are cuts of wood that do not have finished edges. Traditional lumber comes with straight sides. For instance, a “two by four” is 2″ high and 4″ wide. You can then cut the wood so that it meets the appropriate length.
Live edge wood does not have finished edges. Instead, the edge of the wood is practically the same as when someone cut it from the tree.
Typically, craftsman do not use traditional types of lumber when creating live edge wood slabs. Instead, they’ll use lumber that would otherwise be considered useless during conventional woodworking. When creating live edge wood slabs, manufacturers typically use:
- Alligator Juniper
- Mesquite
- Gnarly wood
- Salvaged wood
When Did Live Edge Wood Become Popular?
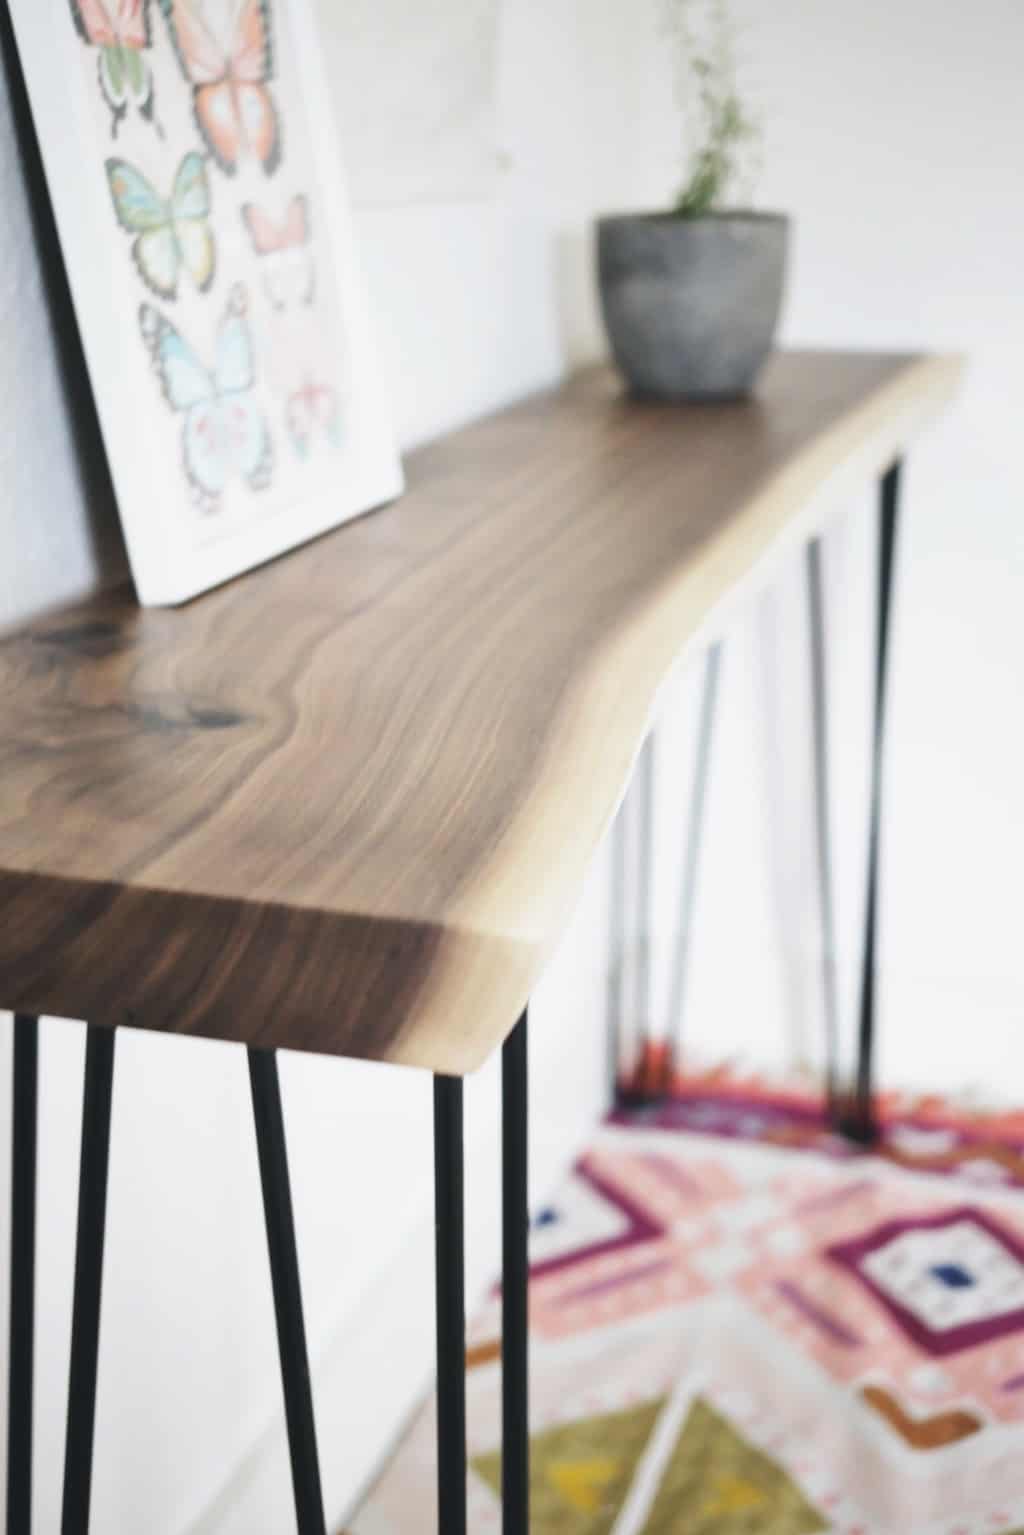
A beautiful Live Edge Walnut Console Table by Artisan Born, available for purchase.
Live edge wood has been around for decades. It made its first appearance when George Nakashima left it on a series of pieces in the mid-1940s. When creating his pieces, Nakashima said that he chose organic timber and that he specifically looked for pieces with figured grain, burrs, and knots.
Live edge wood did not catch on immediately. However, around the turn of the 21st century, the popularity of the slabs skyrocketed. Now, many manufacturers use them in homes of both Western and rustic styles. Not only can you use the wood slabs as furniture, but you could also incorporate into various designs as well, such as for countertops.
Are Live Edge Wood Slabs Expensive?
The cost of a live edge wood slab varies considerably on things such as the type of wood used and the size of the piece. However, as a rule of thumb, you should know that live edge wood tends to be more expensive than traditional lumber.
The reason that live edge wood is so expensive is a few reasons. One, the pieces are incredibly unique. While it’s easy for manufacturers to create traditional lumber in bulk, it’s more challenging to create live edge pieces.
Second, the demand for live edge pieces is quite high. Manufacturers use rare wood when creating these pieces, and this wood may not be as readily available as other types. When there are a high supply and low demand, prices of a piece skyrocket. We’ve seen some live edge slabs go for as much as $10,000 on sites such as Etsy.
Lastly, there are a few challenges that go into creating live edge wood, as we’ll detail below. Because of these challenges, it’s not as easy to create the pieces as it is traditional lumber. You’re not only paying a premium for the beauty of the piece but for the craftsman’s time as well.
Challenges of Working with Live Edge Wood Slabs
When working with live edge wood slabs, you’ll find that numerous problems could make things more difficult.
One of the first challenges off the bat is the fact that these pieces often come with holes in them. Some manufacturers choose to leave the holes empty, as they feel as though it adheres to the natural look of the piece. Others decide to fill the gaps with resin. Doing so could be a painstaking process.
If you purchase a live wood slab that has holes, you may need to take the time to fill them in, depending on your project. For instance, if you plan to use a live edge piece on a natural wood countertop, you will need to have one solid piece. Although it’s not always possible, you can avoid this by purchasing live edge wood slabs that best suit your needs.
Furthermore, it’s not always holes that are a problem. Because live edges are 100 percent natural, you’ll also likely find that they have things such as:
- Checks or cracks
- Voids
- Bark inclusions
Another problem with live edge wood is that the end grain cuts can prove to be quite challenging to work with. These end grain cuts can be quite inconsistent, as the edge of the wooden slab is not straight. Unless you’re an experienced woodworker, you may find it challenging to work with the varying grains.
Furthermore, live edge wood is prone to curling and twisting. When manufacturers cut traditional lumber, they often pre-treat it so that it does not curl or twist. Also, the type of wood they use reduces the likelihood of curling, while the wood used for live edge wood is more prone to curling and twisting.
Lastly, many people find that the epoxy finish used on live edge wood does not always go well, resulting in a nasty chemical reaction. Unless you find a piece of wood that’s a perfect fit, you may have to do a bit of epoxy work yourself.
Make sure to practice on a small section of the live edge slab. Better yet, you could practice on a scrap piece of wood. This ensures that you won’t ruin your expensive wood slab piece.
How to Finish A Live Edge Slab
If you would like to use live edge wood for your next project, you’ll likely want to know how to finish it. Below, you’ll find a few of the most critical steps to help you complete your live edge wood slab.
Sand the Wood
Upon receiving your live edge wood slab, the first thing that you’re going to want to do is to sand it. Most people believe that they should first fill in the holes in the wood and then begin sanding, but this is not the case. Sanding is the first thing that you should do when working with live edge wood.
Because you’re going for a natural look, you may be tempted to leave the wood a bit rough. However, you’ll likely find that you can still maintain its natural appearance while still leaving the piece smooth. We recommend using 120-grit sandpaper.
Test the Finish
After you complete the sanding process, you’ll want to test your finish. Make sure you apply the finish to the side of the piece you don’t plan to display. Once the finish dries, you’ll have a sound understanding of the final color of your piece. Feel free to try various finishes until you find one with which you’re satisfied.
Fill in Holes and Voids
Once you’ve confirmed which type of finish you’re going to use, it’s time to begin filling in holes and voids on the slab. We recommend using a two-part epoxy system to do so. Be sure to test the epoxy on an inconspicuous site to see if there is any sort of chemical reaction that occurs.
When applying the epoxy, you’ll want to ensure that it matches the color of the stain that you could potentially use. You may need to add a color additive to the epoxy to ensure that it matches the rest of the wood.
Once you’ve selected a color, you can begin filling in knots, holes, and voids. If you are working with a sizeable knot that goes through the entire piece of the wood, make sure you apply some sort of “stopping agent” to the underside of the hole. Both putty and masking tape should work fine. Doing so prevents the epoxy from running through the piece.
You’re likely going to have to apply epoxy multiple times. However, you must wait for the first coat to dry entirely before you apply another coat. You’ll likely find that air bubbles and slow-flowing seeps emerge when using epoxy, which can slow the process.
If you accidentally spill a bit of epoxy on the piece, there’s no need to panic. You’re going to end up sanding the piece again before it’s complete. The final sanding stage should take any unwanted epoxy off the wood slab.
Finish the Piece
After applying the epoxy, you’re going to need to wait. The length of time that it takes for the epoxy to harden likely depends on the size of the hole. Once the epoxy has hardened entirely, you can sand the slab once more.
You could potentially use a sander for this step. However, if you choose to use a sander, you’ll want to make sure that you are in complete control since there tend to be odd crevices. If you don’t use a sander, you should use sandpaper that’s at least 400 grit. Doing so will make your surface quite smooth and remove any epoxy that you spilled on the slab.
After sanding for the last time, it’s time to apply the stain. Even if you don’t want to stain the piece, you should at least use a clear coat. Doing so will help protect your piece from spills and other types of moisture.
When working with live edge wood slabs, you should remember how delicate the pieces can be. It’s better to take your time with the project to ensure it’s completed accurately. Rushing the process could end up ruining the piece. As eager as you may be to complete the project, it’s better that you work diligently.
Where to Buy Live Edge Wood
If you would like to use live edge wood for your next project, one of the best things that you can do is buy the piece. You can likely either buy pieces as finished or unfinished.
Perhaps the best place to buy live edge wood is at your local lumberyard. If you can’t find a live edge wood slab at your local lumberyard, you’re going to have to find one online. However, you should exhibit extreme caution when doing so.
Buying live edge wood slabs online can be challenging because there’s no way to view the piece before purchasing. Sure, you can see pictures, but photos often do not do the piece justice. When buying live edge wood slabs, the best thing you can do is see the piece in person, run your hands over it, and look for troublesome spots.
If you much purchase the piece online, you may want to see if the seller will provide you with some sort of guarantee or return policy. We recommend only buying from reputable sellers if possible. Try to look for sellers who have independent sites and are not forced to sell on eBay or Craigslist.
Furthermore, you should remember that when buying these slabs online, you’re likely going to have to pay a premium for shipping. These pieces can be quite awkward, which could require you to have to rent a sizable truck or trailer. Additionally, the seller is going to have to be cautious when shipping, making sure that the piece is secure. All of these things could drive the shipping costs up.
Cutting Your Own Live Edge Wood Slab
If you don’t want to buy a live edge wood slab, you could potentially make one yourself. This could leave you with a piece of which you’re significantly prideful, knowing that you made it from scratch entirely. However, it could also take years to complete this piece. Buying a piece could be more convenient, especially if you are in a rush to complete your project.
To cut your own live edge wood slab, you’ll first want to look for logs that fell in the spring or summer. Logs that fall during this time tend to give up their bark easier than those that fall in the later months.
You’ll also want to keep an eye out for pieces with unusual coloring, as this indicates that the moisture content is higher. Similarly, you’ll want to look for pieces that have unique characteristics. Be sure to search for things such as burls, knots, and odd limbs.
If you’re in no rush to complete your piece, it could be in your best interest to allow the wood to sit for a year or two. When you expose wood to the elements, there’s an increase in the likelihood that color variations and streaks occur.
If you do choose to leave the wood exposed, make sure that you research the type of wood you’re using before doing so. Certain types of wood, such as cherry, birch, and soft maple, break down more quickly than others. You won’t want to leave these types of wood unexposed for more than a year.
Once you’re ready to start your project, it’s time to cut the wood. Cutting the bark of a log could dull the blade on your saw. So, you should try to remove as much bark as possible before cutting the wood.
Feel free to cut the wood to meet project specifications. If there are no restrictions, and you are merely looking to cut a few small slabs, you’ll likely find that slabs that are 2” thick are least likely to warp.
After you’ve cut the wood, you can allow it to dry. This too is a process that you won’t want to rush. Air-drying the slab of wood will enable it to maintain its color. Air-drying takes much longer than kiln-drying, but it could leave your piece looking much better.
When drying the wood, you should make sure that you don’t sticker them. Stickering means that you leave the wood pieces touching one another. Adding spacers between the wood pieces improves air circulation, making for faster dry times.
One last tip when it comes to drying wood slabs – be sure to put the thicker pieces at the bottom. This way, when the thinner wood dries, you can access it on top immediately. Once the wood has dried, you can repeat the steps listed above to finish your piece.
Working with Live Edge Wood
If you’re going for a rustic or Western appearance during your next project, you’ll want to consider using live edge wood slabs. Doing so can provide natural character to any project. However, working with live edge wood can be challenging.
Because the pieces can be so expensive, we recommend that you only work on wood with which you feel comfortable. At the very least, you should be sure to practice on an old piece of wood before working on your actual live edge wood slab.
However, mastering how to handle a live edge wood slab is a characteristic with which you should be proud. Knowing how to work with live edge wood slabs could allow you to create beautiful projects for years to come. We hope that this guide provided you with everything you need to know about live edge wood slabs so that you can use them for your next project.