Table of contents
Most of us have needed to get something out of storage sheds and found that it was super challenging. It could be the riding lawn mower or the wheel barrow or a dolly.
Anyway, without shed ramps, this could pose to be annoying at minimum and could cause physical harm at maximum.
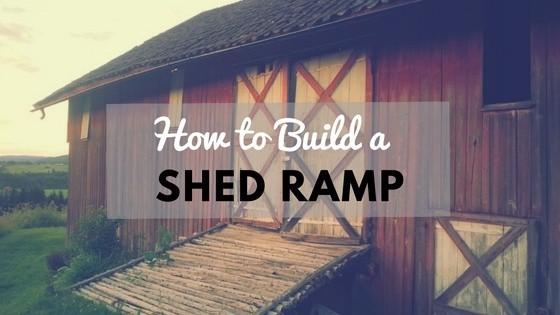
Why not take an hour or two and build your own shed ramp? It’s not difficult thanks to the shed ramp plans from Ted’s Dixie Sheds.
Let’s break down the steps:
Materials Needed
- Four 2 x 6 x 8 boards
- one 2×12 (used for stringers and cut diagonally)
- speed square
- hammer
- tape measure
- screws (3″ wood deck screws with a square head bit)
- T-square
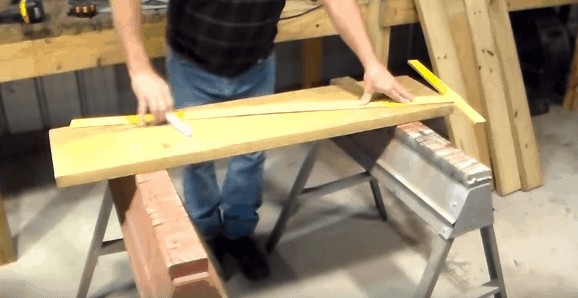
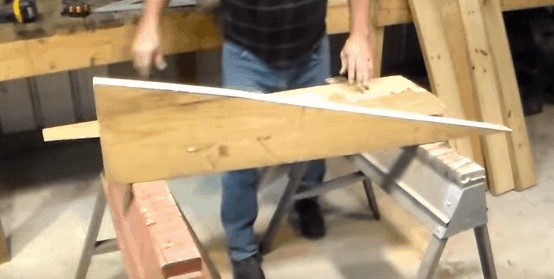
Step 1 -Cut the Stringers
Use the t-square to measure the 2×12 from corner to corner and mark it with a pencil. Use a saw to cut the line you marked.
Put the stringers side-by-side and be sure that they’re perfectly even before you move on in the shed ramp process.
Make sure that you secure the stringers to the work bench so that you don’t have movement with assembling the shed ramp.
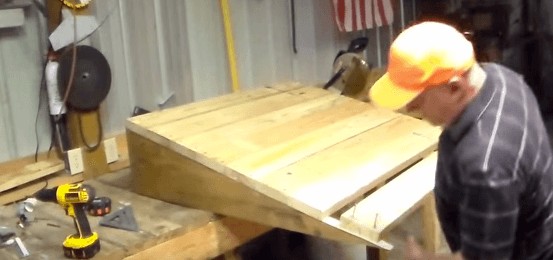
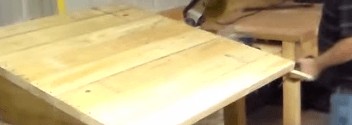
Step 2 – Screw Boards to Stringers
- It’s important that you use a saw to cut all of the 2×4 ramp boards in half. Once they are cut in half, you will need to pre-drill the threads for the galvanized screws.
- Put the screws in (2 on each end of the 2×4)
- Screw the 2×4 onto the stringer, right on the edge.
- Repeat the process until you get down to the end of the shed ramp.
Tip
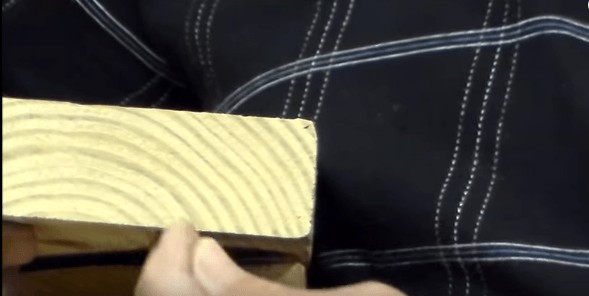
Be sure that you look at the edge of the 2×4 so that you know which side to put on the top. It’s tempting to put the best-looking or smoothest side up, but you want to put the “top of the rainbow” on the top. Why, you may ask. Over time, the wood will dry out and the board will begin to cave in the direction the board is placed. If the rainbow is upside down, your board will begin to cave and bow.
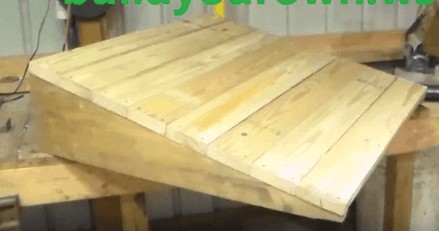
Step 3 – Trim off excess on stringers
Use a sawzall and cut off the leftover piece of stringer on each side.
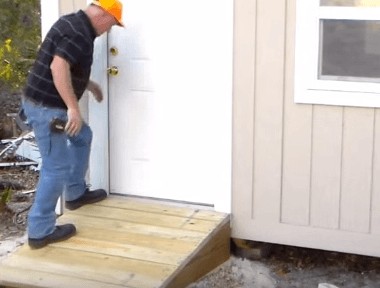
Step 4 – Place the ramp at the shed
Tips For Success:
- This particular shed ramp is 1ft. 1in. from top to bottom. If your shed is lower to the ground, you could use a 2×10 as a stringer rather than a 2×12. You want your shed ramp to be even with the shed floor.
- If you don’t want to use a smaller stringer, you will need to dig your shed ramp into the ground so that the ramp surface is flush with the shed entrance and that there’s enough room for the shed door to open.
- If you want to “beef up” your wooden ramp, you can ramp supports and add a third stringer in the center of your shed ramp.
Now you can wheel the mower outside without any hassle. You won’t regret making this DIY shed ramp. You’ll probably wonder what you ever did without one. Watch the full tutorial below:
I followed these instructions but downsized for a smaller ramp. My ramp was about 7 inches in height. It was helpful checking out this video before I started my job. Cutting the stringers was the biggest challenge, but after that turned out well, I finished the job pretty fast. Overall, the project was a success, I’m very happy I watched this video before I started. Thanks!
Thank you for such a simple example. I don’t have a heavy riding mower, just wanted to upgrade from 2 boards as the makeshift ramp. Inexpensive and able to complete quickly without any special tools. Thank you!!!!