Spring has sprung and you might be thinking about starting a garden this year. Or maybe you’ve had one in the past, but are looking to upgrade to a raised garden for better performance.
Certainly raised beds make it easier on your back since they are higher off the ground, along with better drainage and a longer growing season overall.
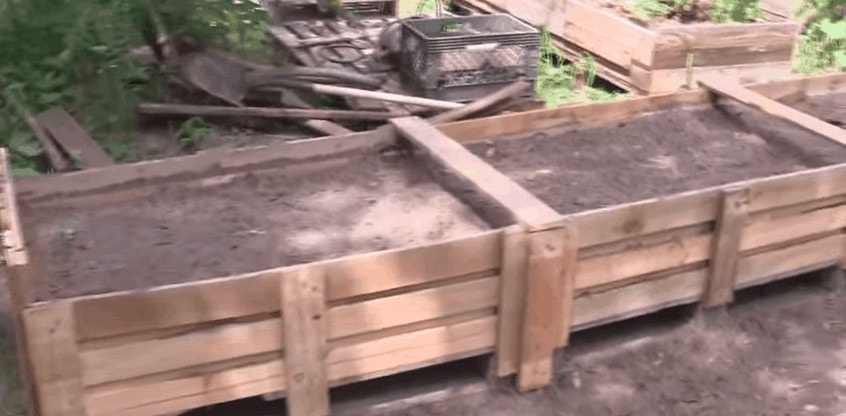
Today we’re going to show how to make a raised garden out of pallets that will look something like this:
Below is a step by step description, and to watch the full video by Jeff Yentzer click here.
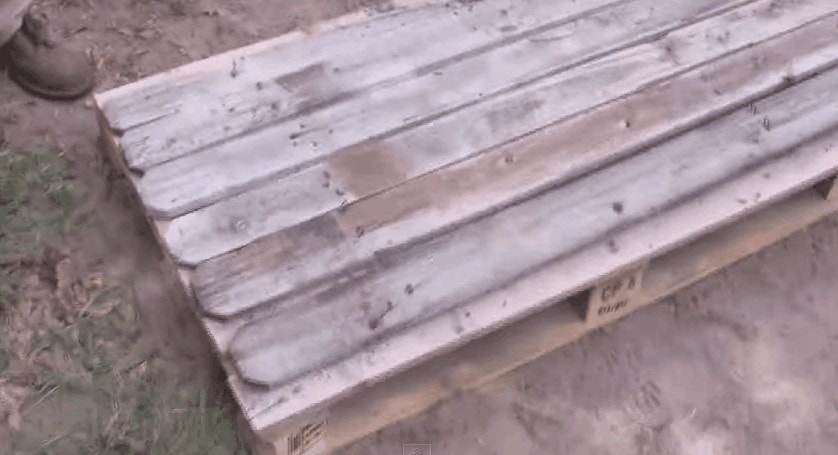
1. Lay 3 pallets down, side by side, on level ground
It’s important that you start with pallets that are the same size/width since they’ll all be combined into one raised garden.
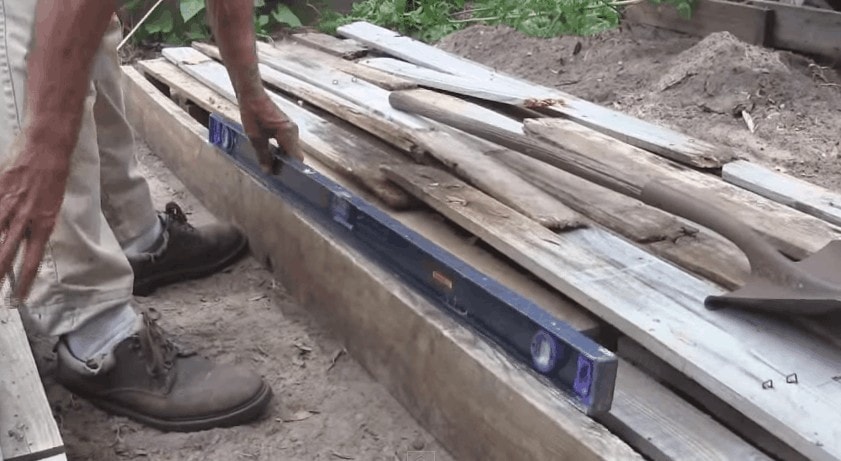
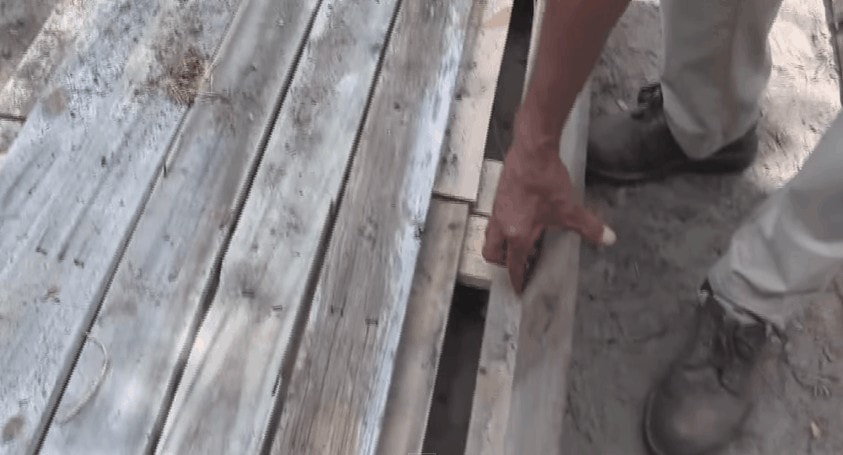
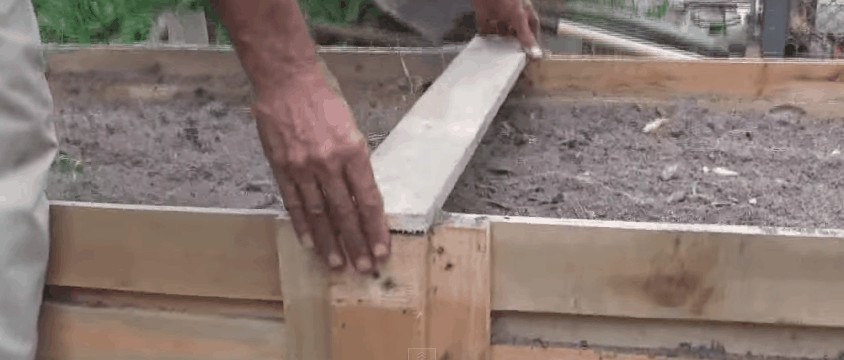
2. Verify that the ground is level
Having level ground is critical, so using a board that is as long as your garden will be, check to make sure it’s level all the way across before going any further. If not, use a rake, shovel, etc. to level out the dirt that your bed will sit on.
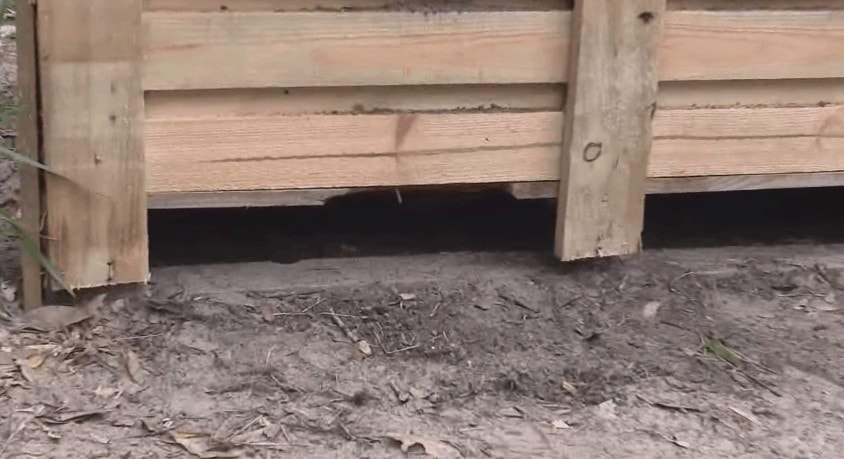
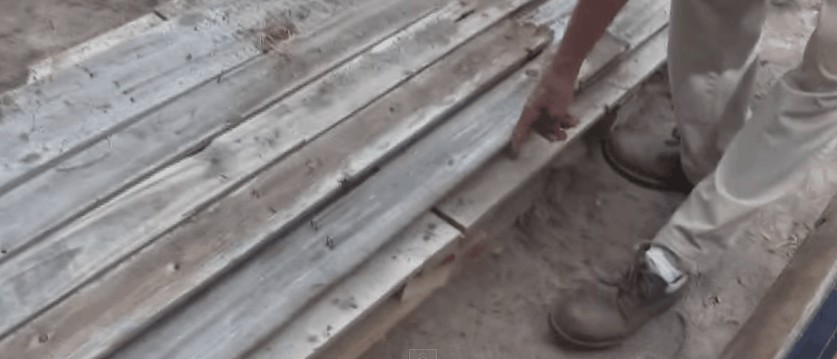
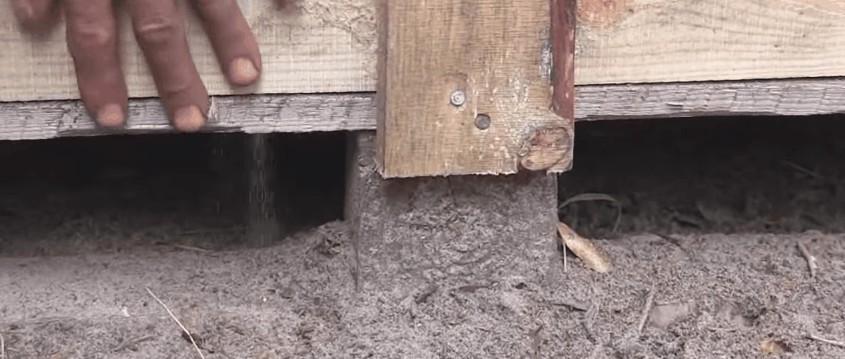
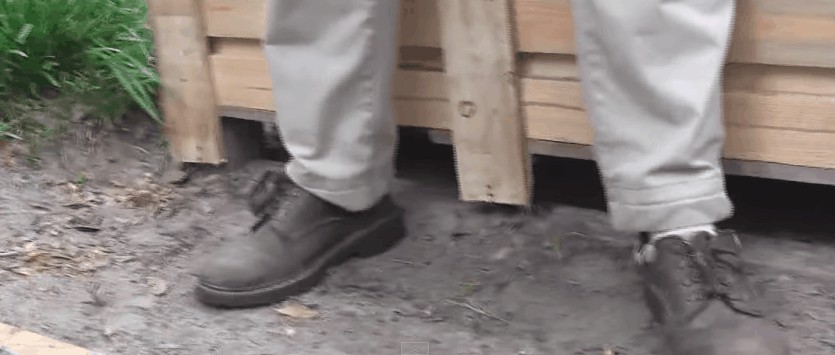
3. Make sure you can see air under your pallet
Part of the reason for having it on a pallet is so you aren’t connected to the ground and you have elevation so your nutrients all go to your garden – a level ground should leave air under your bed like this:
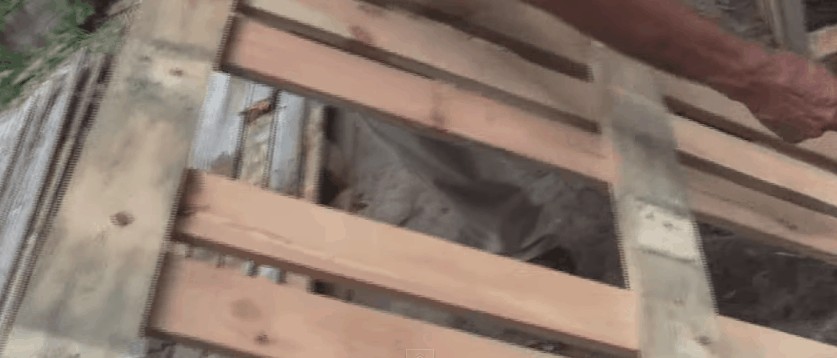
4. Cover up the holes/gaps in your pallet base
Using boards from other pallets, cover up the gaps in your base pallets. This will stop the dirt from falling through the cracks in your pallet base to the ground.
5. Lay cardboard on top of the pallets, leaving the edges uncovered.
The edges will be available for building up the walls in a moment…
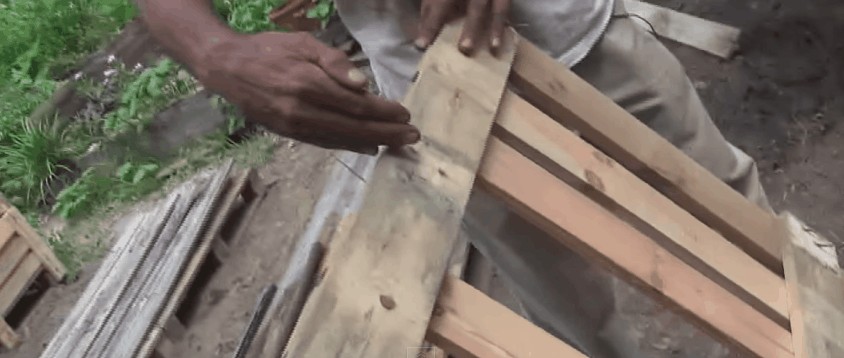
6. Remove the middle board of a new pallet
Ideally, this would be a pallet with 7 boards as shown. By removing the middle board, you can now cut it in half and have 2 equal sized pieces to be the walls of your bed.
7. Pop off all boards on the back of this pallet.
You should leave the 3 holding the slats together, but the rest can be removed.

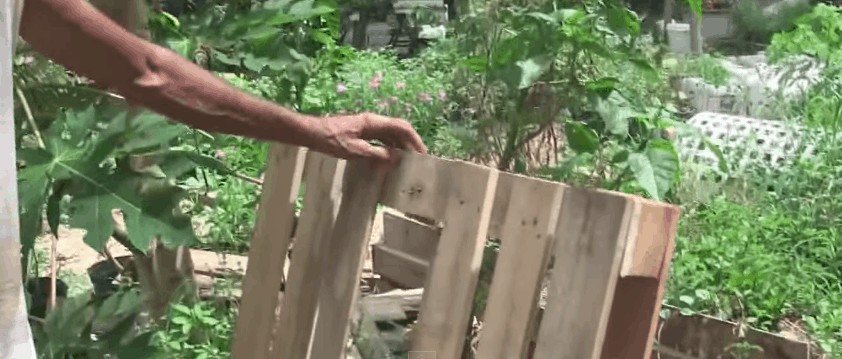
8. Cut off slats, leaving just 3 boards across the back
Removing the thick middle boards with a saw will leave you with a piece looking like this:
9. Cut in half, where you had removed the middle board in step 6
These are going to be the side walls of your beds.
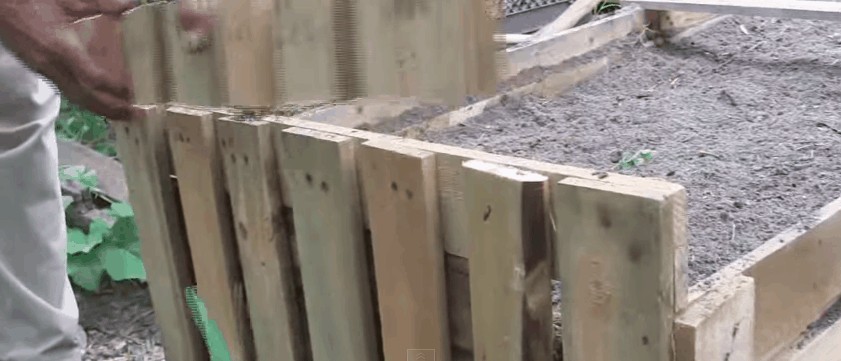
10. Fill in the gaps on your walls by nailing extra pallet boards to them.
This will keep dirt from falling out the sides of your raised bed.
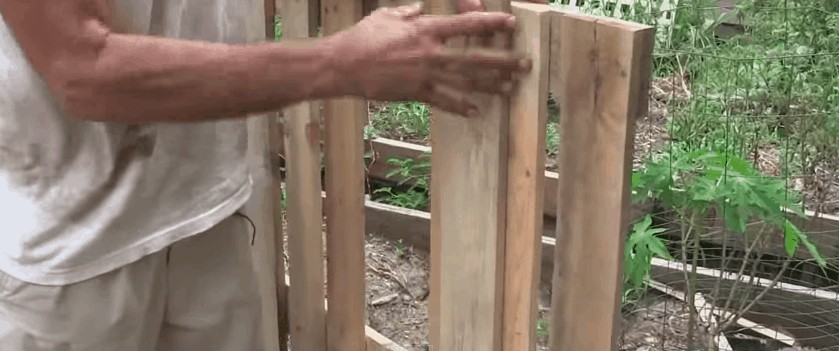
11. Nail walls in place on your pallet base
You’ll have some extra board on one side of your wall on the side where you cut it in half. That extra board becomes the “pad”, or the piece that you are going to nail into the base of pallets that you’ve already set up.
Notice that the horizontal boards on your wall should be on the inside of the bed – AKA facing inward. This is why we left a little gap on the ends in step 5, the horizontal boards on your walls should lay right on that edge you left and form a tight fit.
If all of your pallets were the same size at the start, you should be able to perfectly align 3 pads with 3 bases as shown above and nail them all in.
12. Nail a support board where each wall meets
Where one wall ends and another begins, use another loose pallet board to nail in the gap and help support the wall structure.
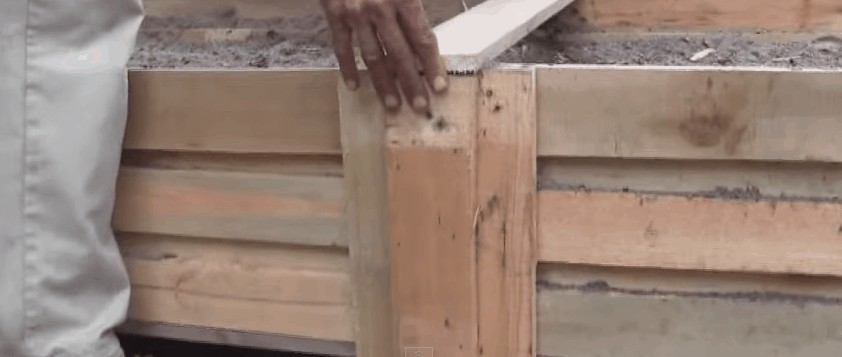
13. Tie both sides together by nailing a board across the top
This should also be done where you just added the support board. This will keep both sides strong and prevent them from expanding or weakening when you add in dirt.
14. Make ends by cutting one pallet one both sides of the middle board
You’ll cut this pallet in the opposite direction as you did the walls. There are 3 bigger support boards in the middle of pallets, you are basically going to cut through all the planks of your pallet on each side of that center support. By doing that, you can make ends for your beds:
Remember to fill in the gaps like we did on the walls by adding boards to the inside of your end wall. Once you’ve done that, simply nail it in place.
You’re done!
To put it all together, check out this video: