
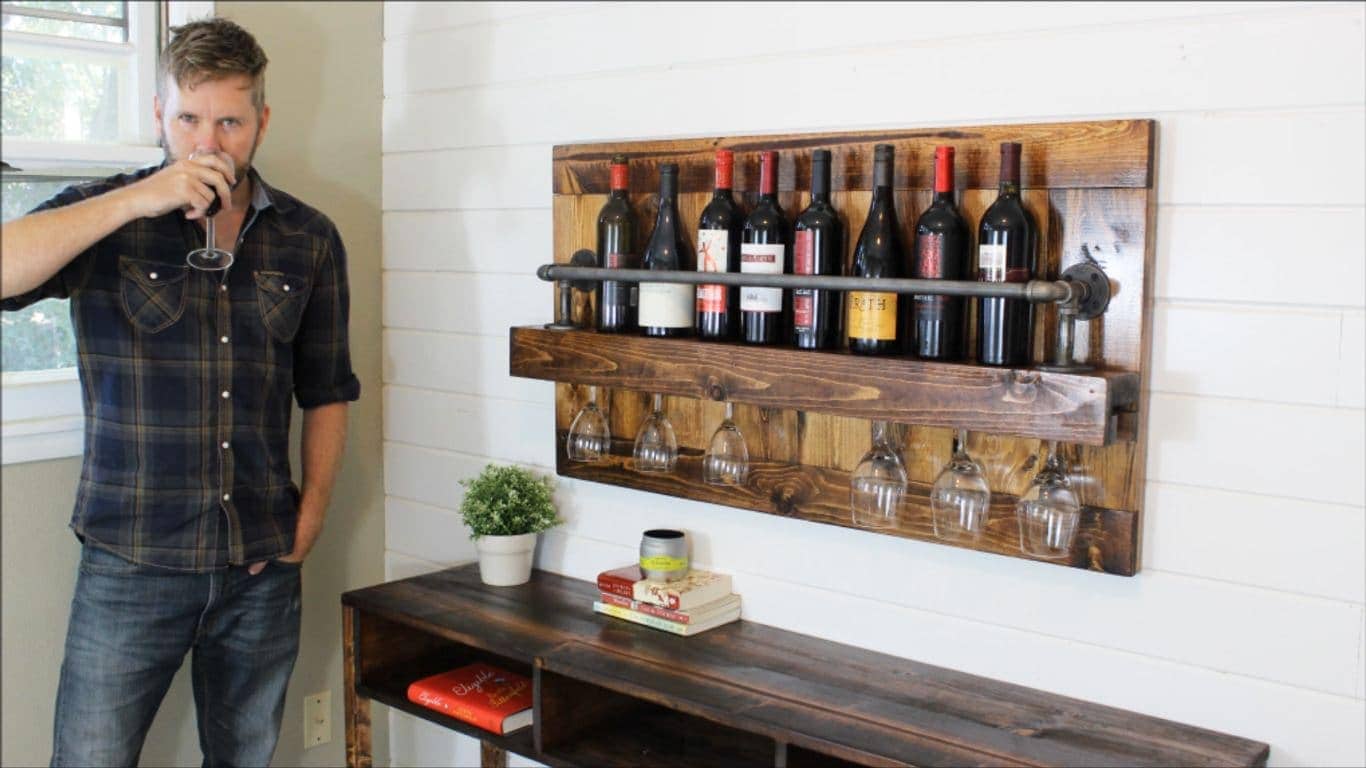
Your best companion for a quiet night after a long day at work needs a place of its own.
That’s right.
That bottle of red needs to be put somewhere more appropriate, and I’m not talking about the fridge. A wine rack not only holds your favorite bottles for you. It also adds a simple sophistication into kitchens and dining areas, especially when paired with a gorgeous console table.
So if you want that but don’t have the luxury of blowing your budget, today is your lucky day. You can build this budget-friendly rustic wine rack at home, as shown on YouTube by The Rehab Life.
What You'll Need:
- 3 pcs. 1”x4” x4ft
- 4 pcs. 1”x6” x6ft
- 1 pc. 2”x4” x4ft
- 1 pc. 1”x2” x8ft
- 2 pcs. 3” pipes
- 1 pc. 36” pipe
- 2 pcs. pipe tees
- 2 pcs. street elbows
- 4 pcs. floor flanges
- 2 pcs. close nipples
- miter saw
- trim head screws (1 1/4")
- wood filler
- sanding block
- construction screws (1 1/4")
- wood stain
- polyurethane
- 2 pcs. heavy duty picture hangers
- bottle of wine (optional)
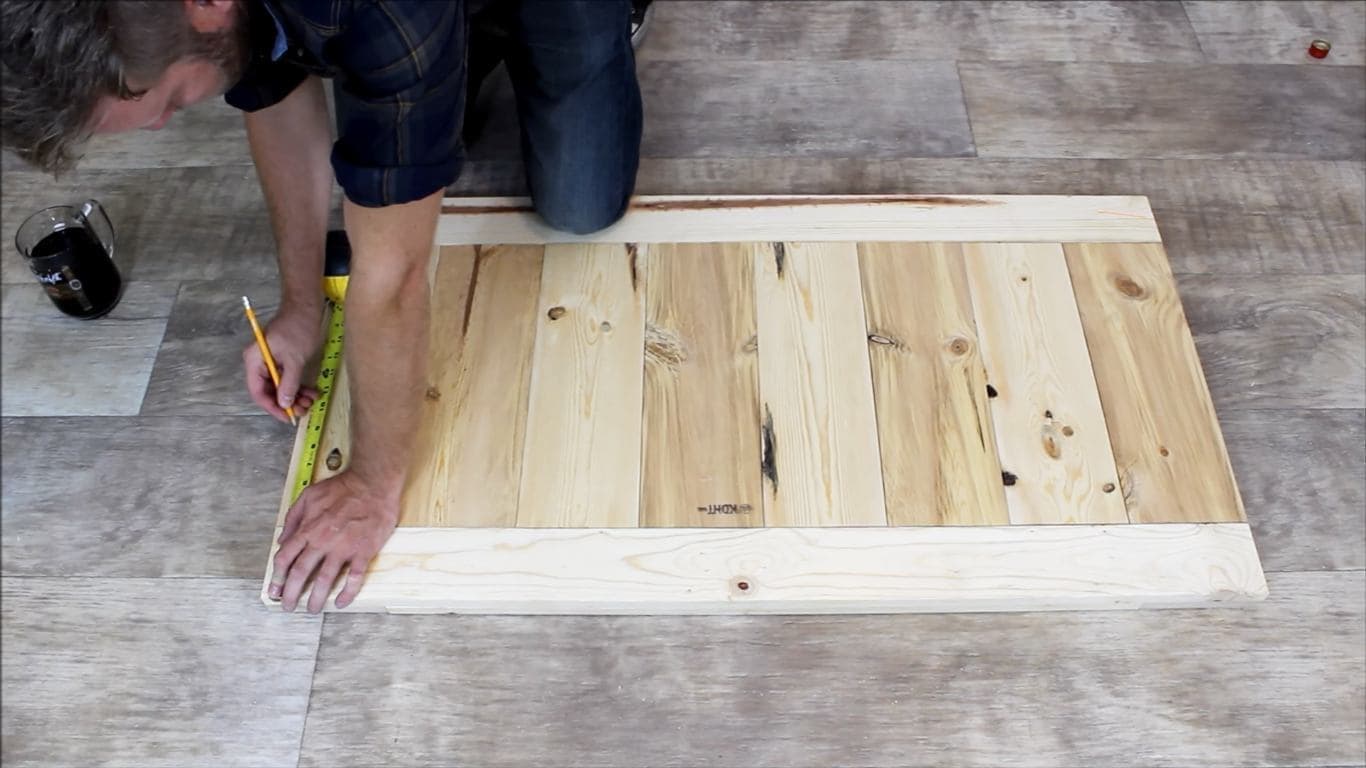
Step 1: Measure and cut the wood
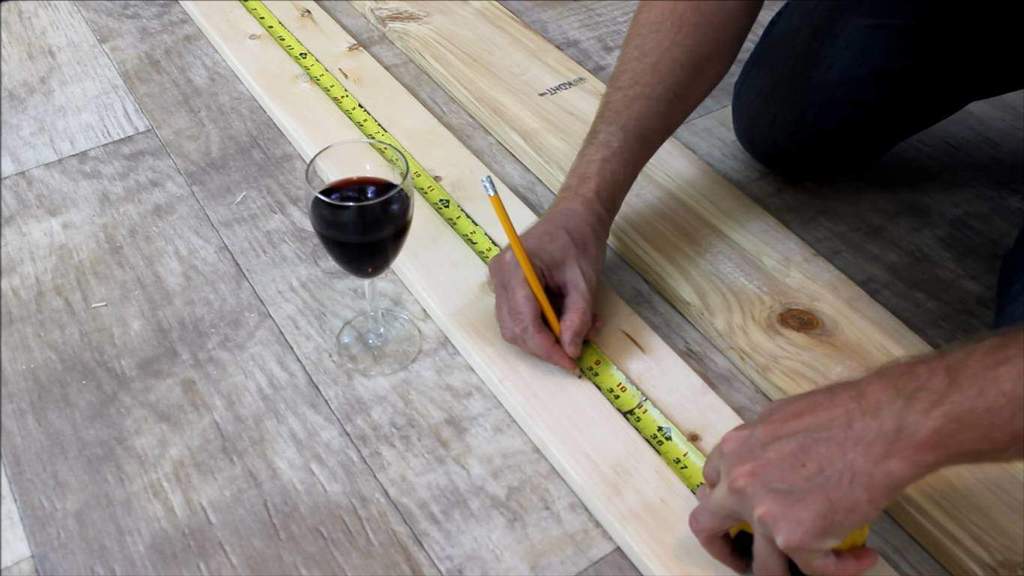
Here are the measurements for the boards:
- Eight 17” long pieces from the first 1”x6”
- Two 24” long pieces from the second 1”x6”
- Two 33” long pieces from the remaining 1”x6”
- Three 44” long pieces from the 1”x4”s
- One 44” long piece from the 2”x4”
- Two 44” long pieces from the 1”x2”
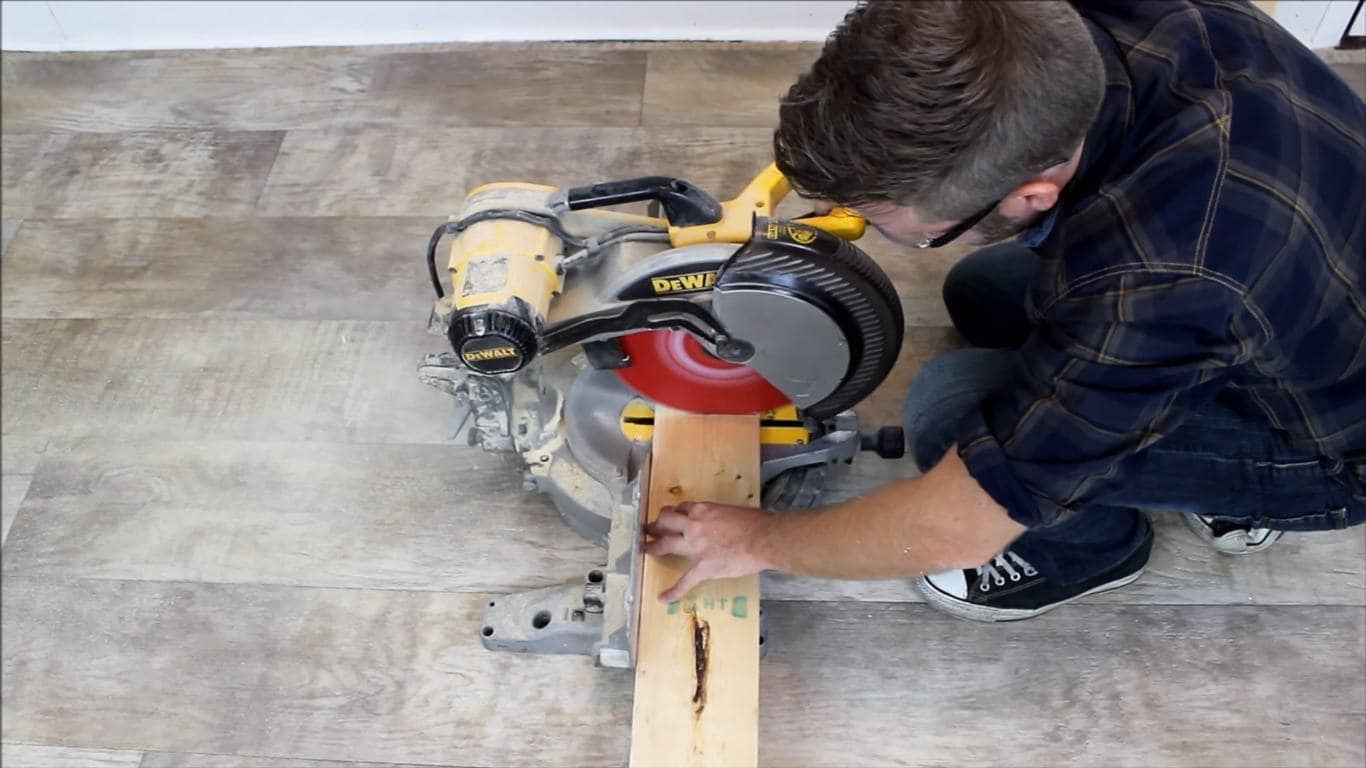
Cut the lumber using your trusty miter saw.
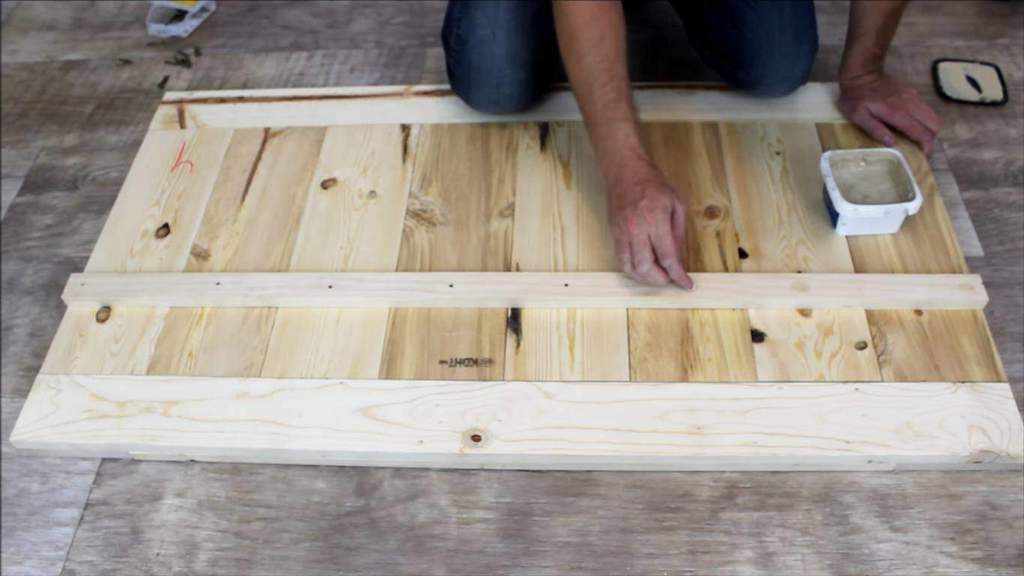
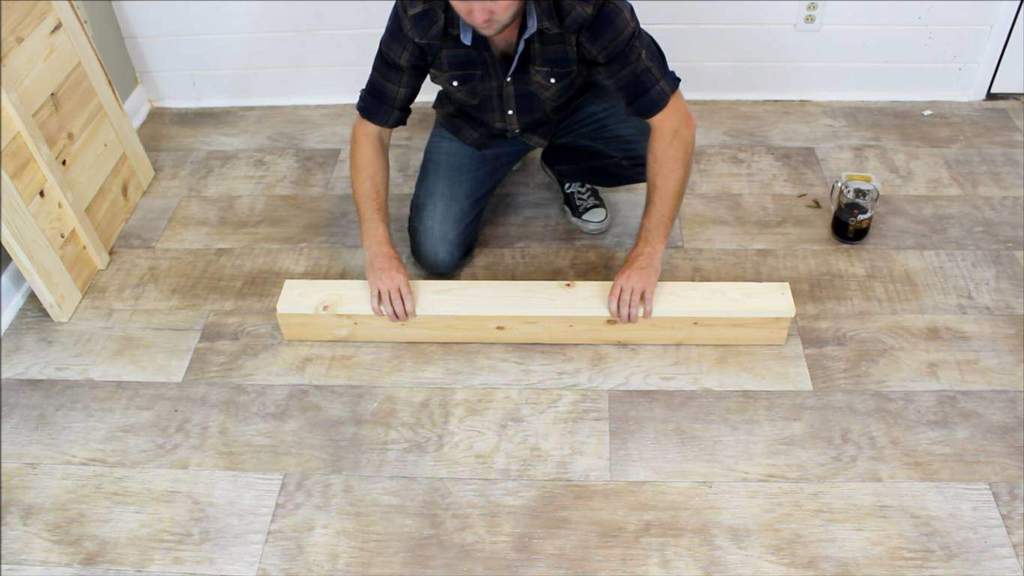
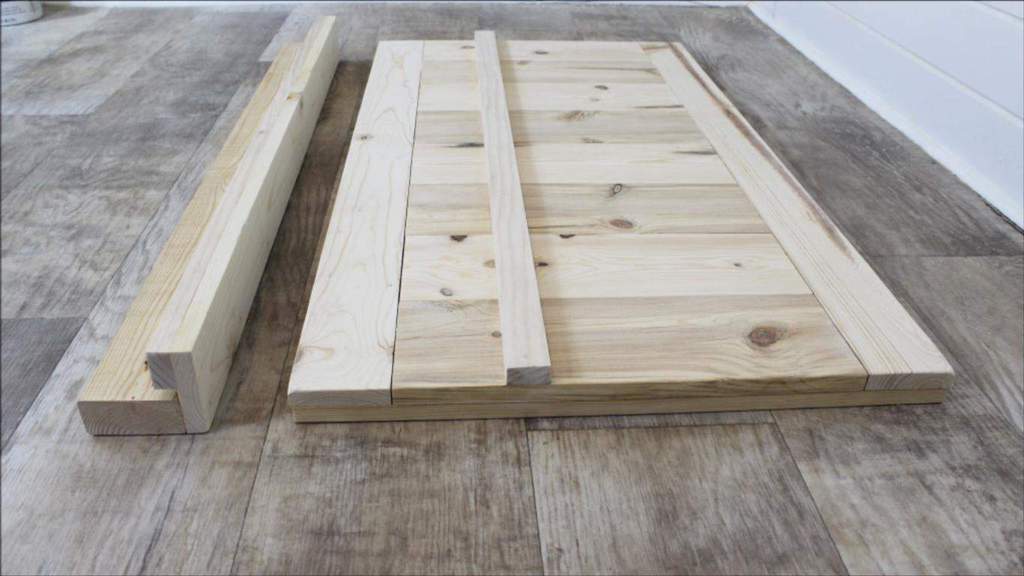
Step 2: Assemble the 17” and 44” boards
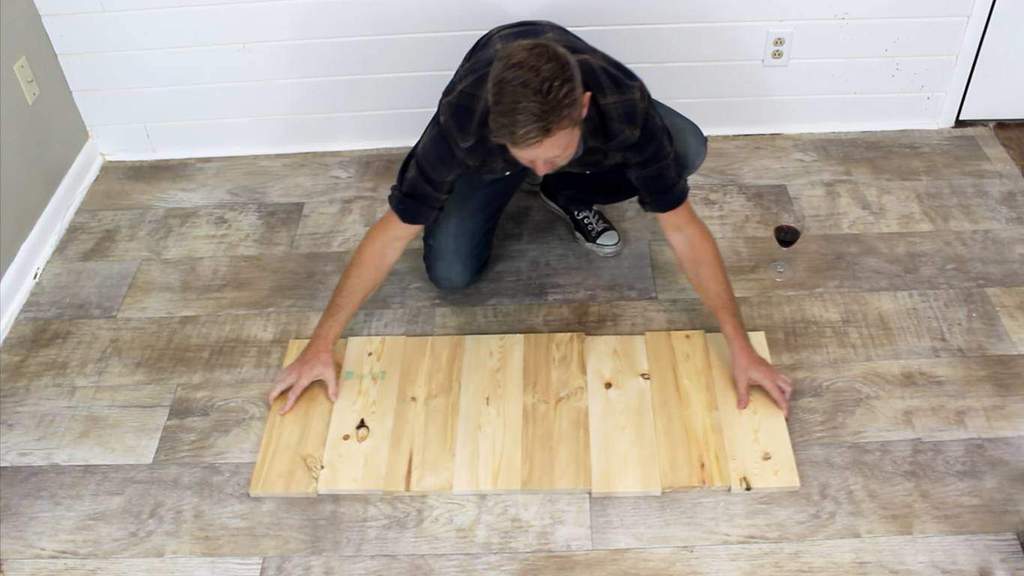
Take all the 1”x6” x17” boards, and arrange them like shown above.
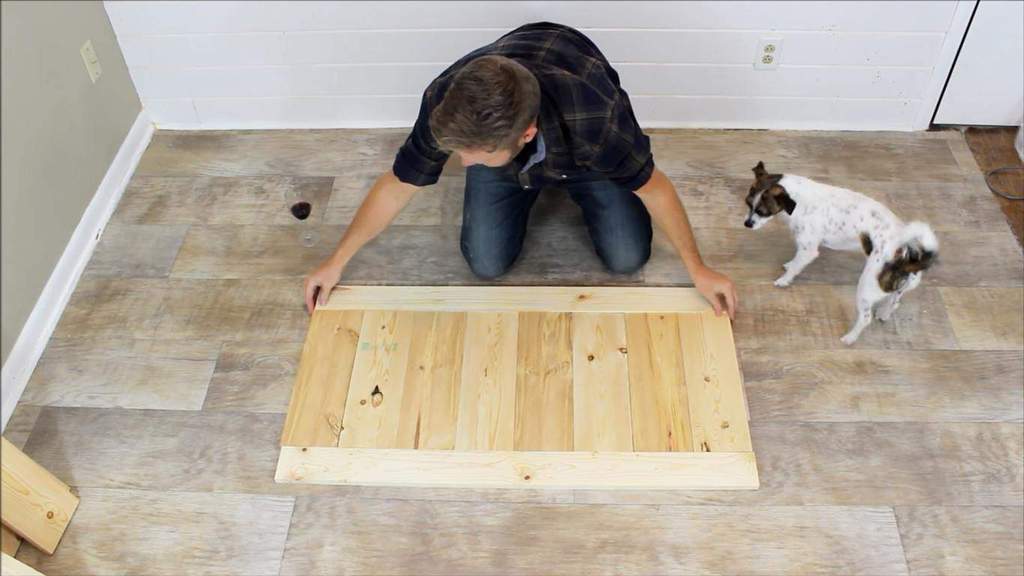
Then grab two 1”x4” x44” long pieces, and lay them across the two ends of the 17” boards. Just like the coffee shelf from my other How-To, make sure these boards are all nice and snug.
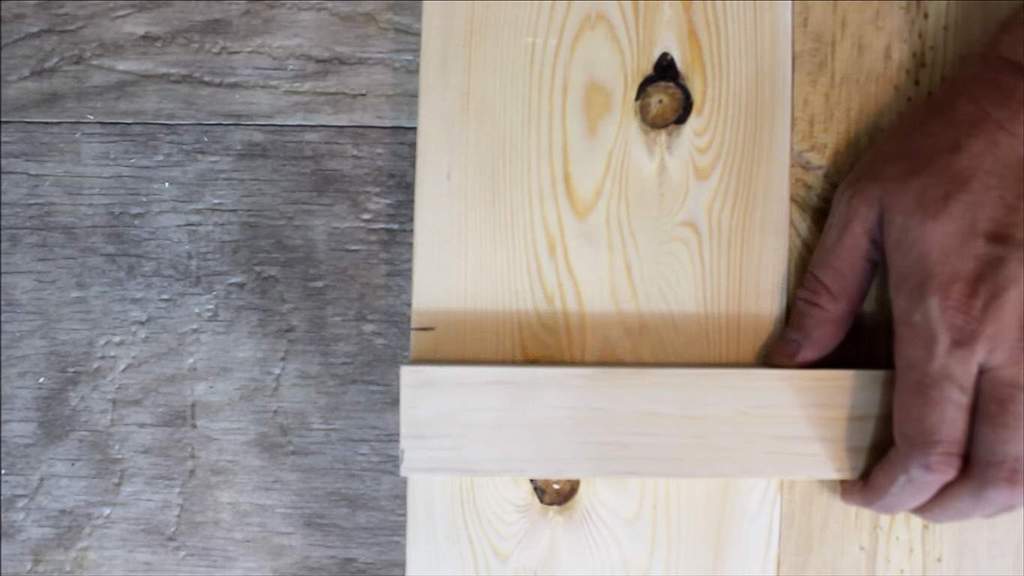
Step 3: Lay the 24” and 33” boards on top
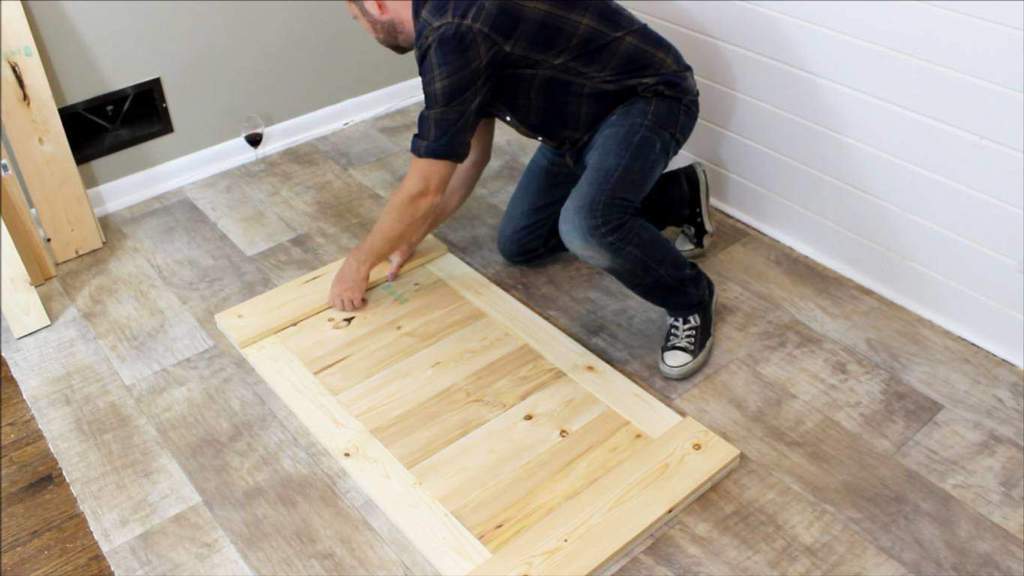
Now position the two 24” long pieces vertically on top of both ends of the arranged boards from step 2.
Take the 33” boards, and lay them across the top and bottom to complete what looks like a rectangular border. As always, don’t forget to keep everything snug.
Secure all the boards with the trim head screws. Move along the border to screw both layers tightly. Don’t leave out any board that’s not been screwed into position.
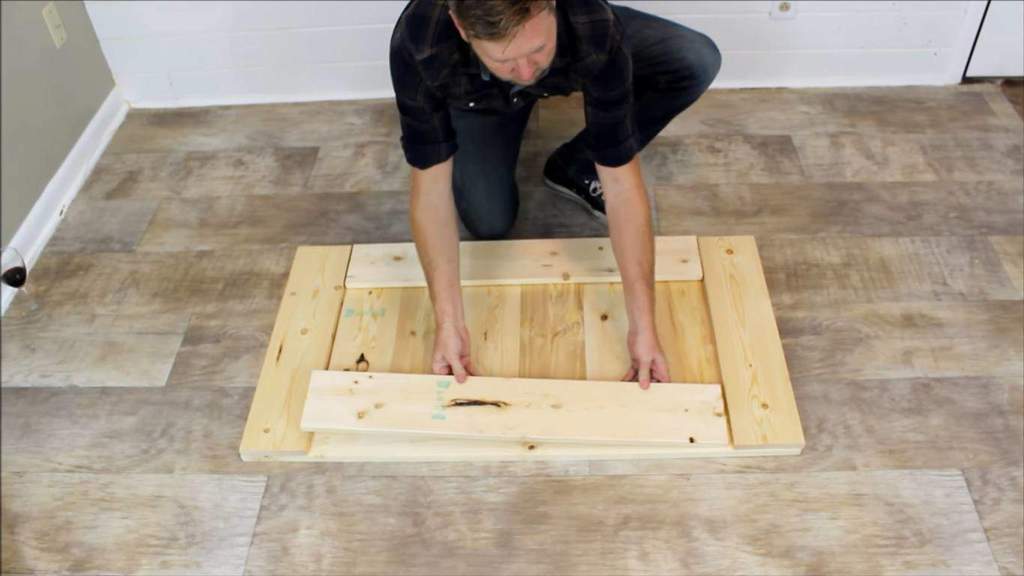
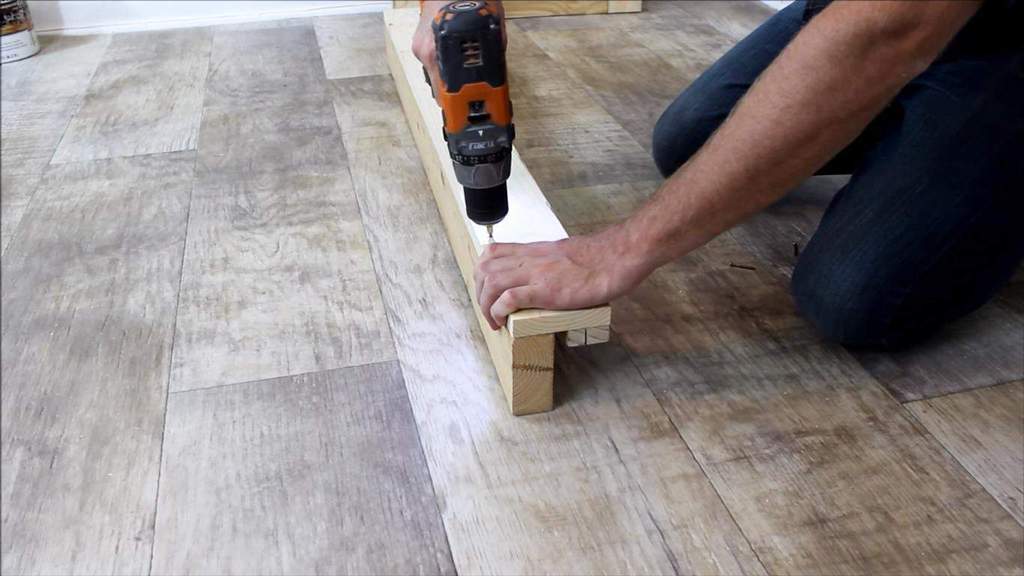
Step 4: Put one 1”x2” x44” across the back of the boards
Flip the boards over. Then measure and mark 9” from the top edge. Do this for both sides.
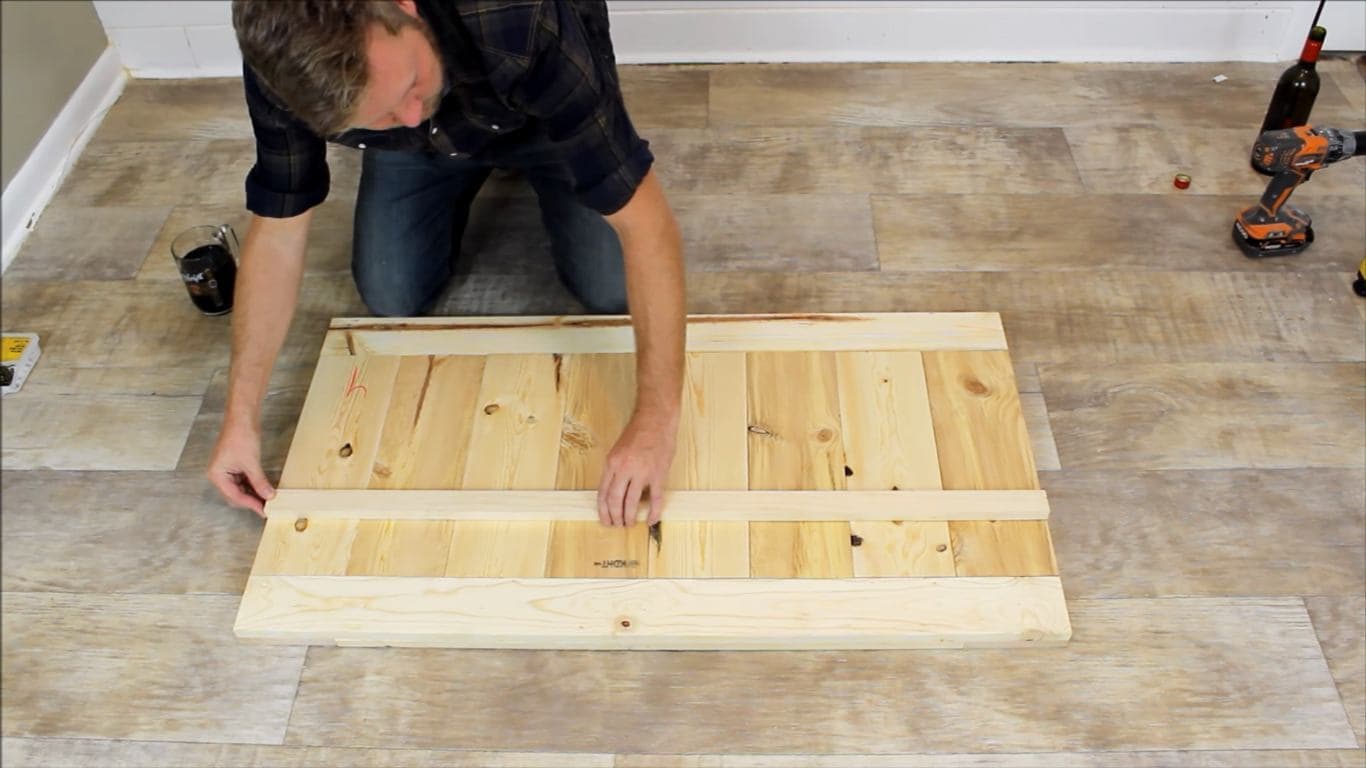
Grab one 1”x2” x44”, and lay it across the back of the boards following the 9” mark.
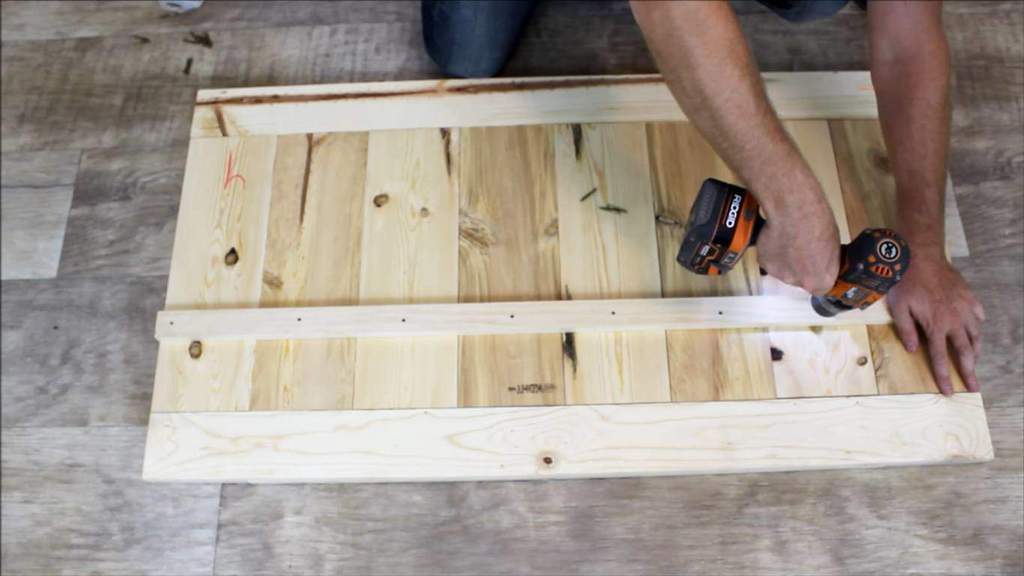
Screw it into place. You need 1 screw for every 17” board it crosses.
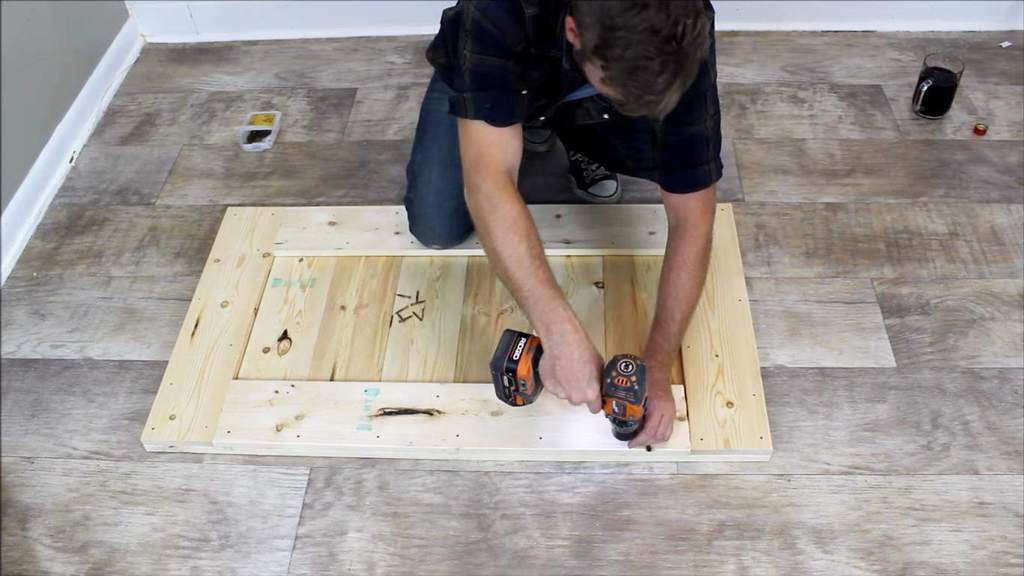
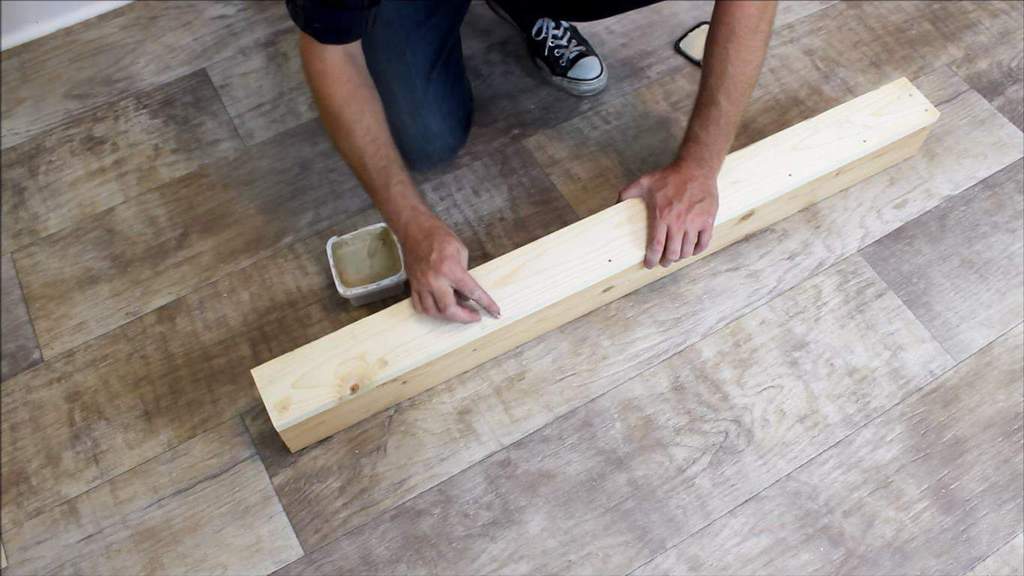
Step 5: Fill the screw holes with wood filler
Make the wood’s surface cleaner and more even with wood filler. Then set this piece aside to dry.
Step 6: Combine the remaining 1”x4” x44” and 1”x2” x44”
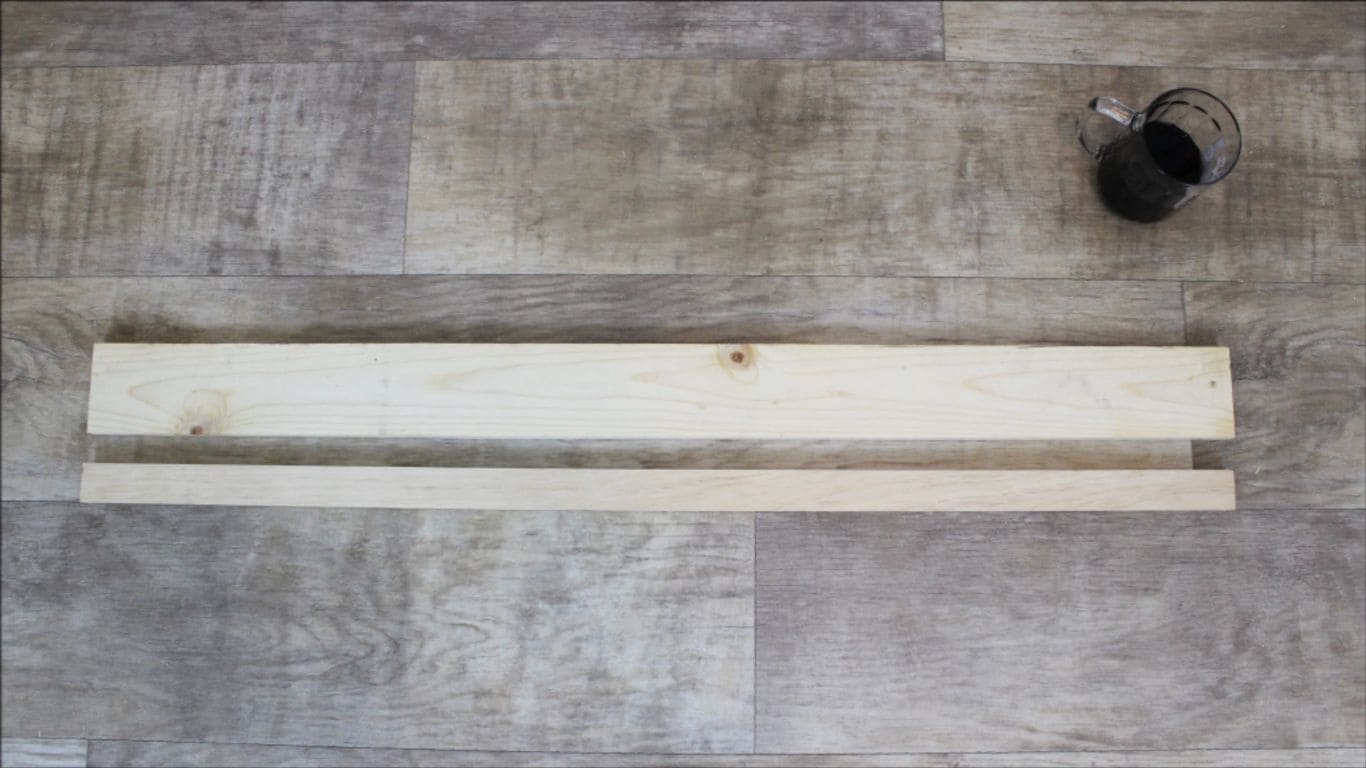
Take the last 44” long pieces of 1”x4” and 1”x2”, and arrange them like this.
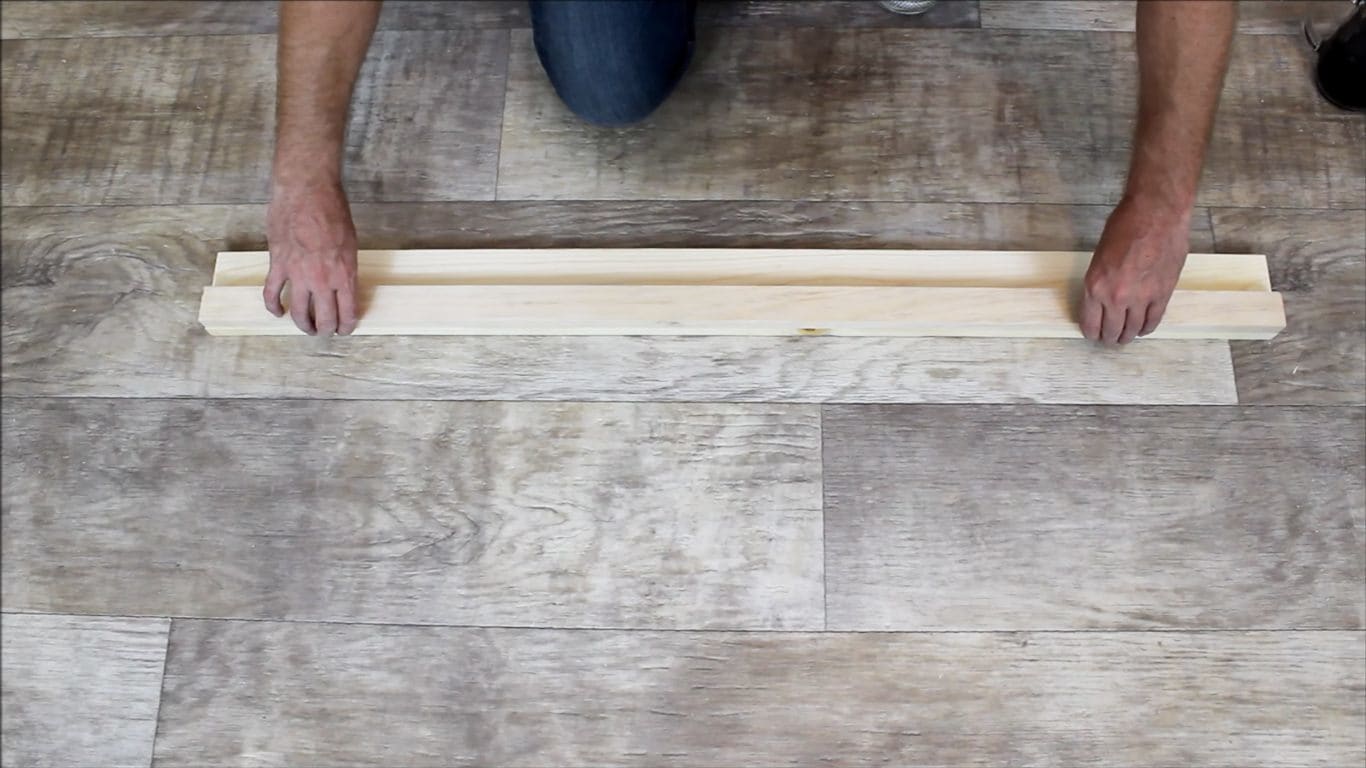
Place the 1”x2” flush across the top of the 1”x4”.
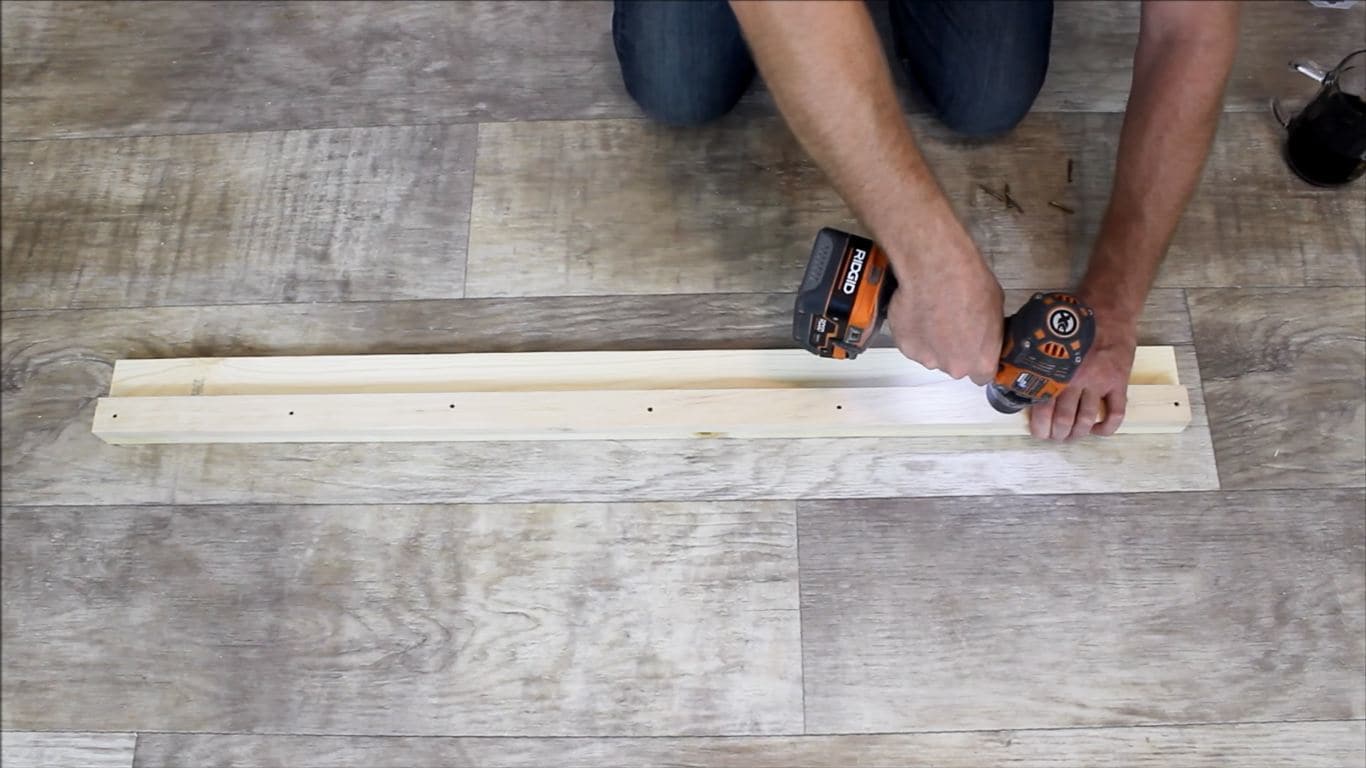
Use plenty of screws to hold the two boards together.
Step 7: Attach the 2”x4” x44” to the board from Step 6
Now grab the 2”x4” x44”, and place it on its edge. Attach the boards from Step 6 flush and perpendicular to the 2”x4”.
Use plenty of screws to secure the boards into place.
Step 8: Apply wood fillers again
Just like in the previous step, dab wood fillers to the screw holes to make them less visible.
Step 9: Sand everything down
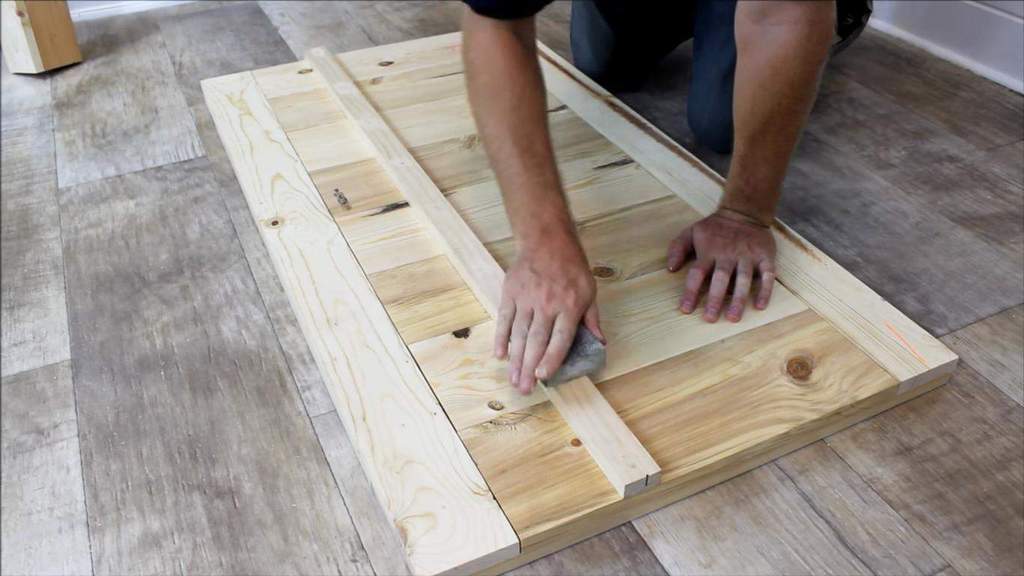
Once the fillers are dry, even everything out with your sanding block.
You now have the two awesome pieces you need for the rack!
Step 10: Cover the pieces with wood stain
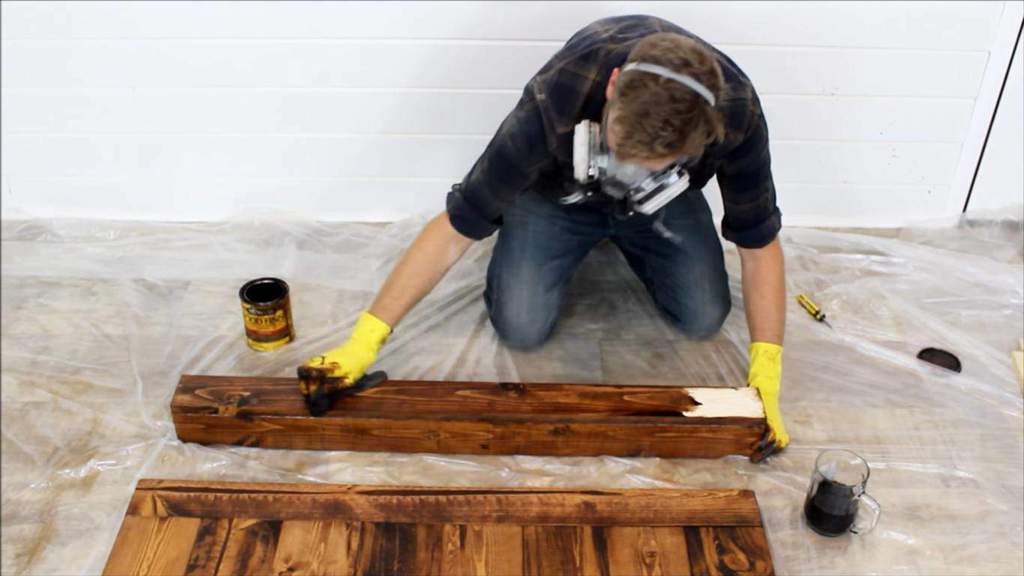
Apply your favorite wood stain to all the pieces. Then let them dry for a couple of hours.
Step 11: Coat the pieces with poly
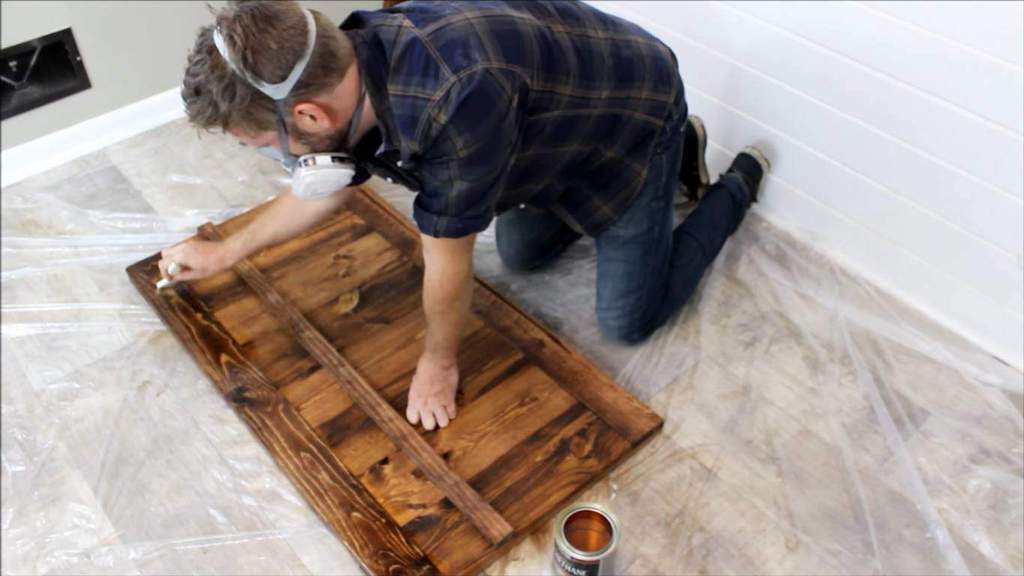
Once the stain dries, apply the polyurethane to protect the wood’s surface. Wait for this to dry too.
Step 12: Attach the two major pieces
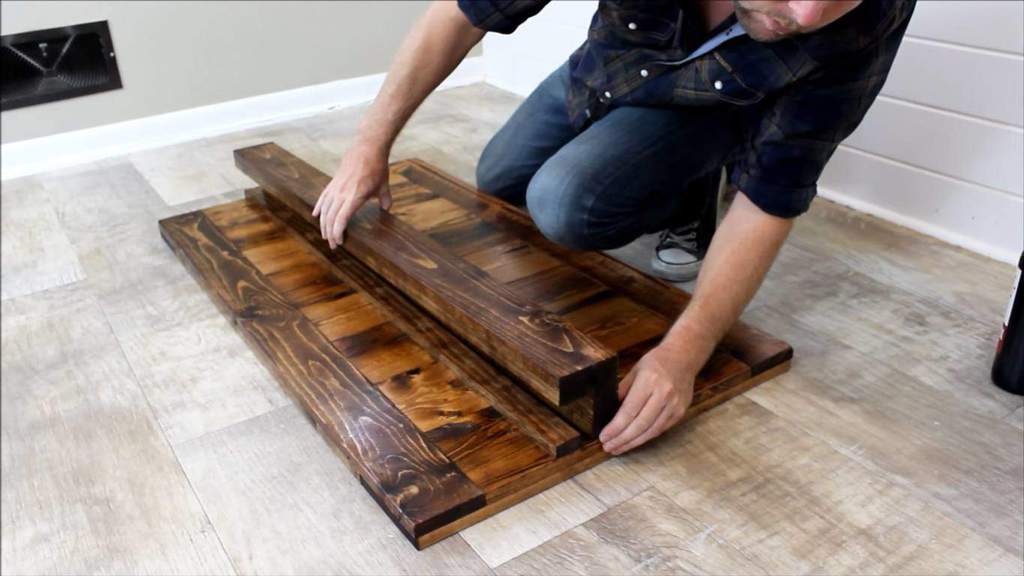
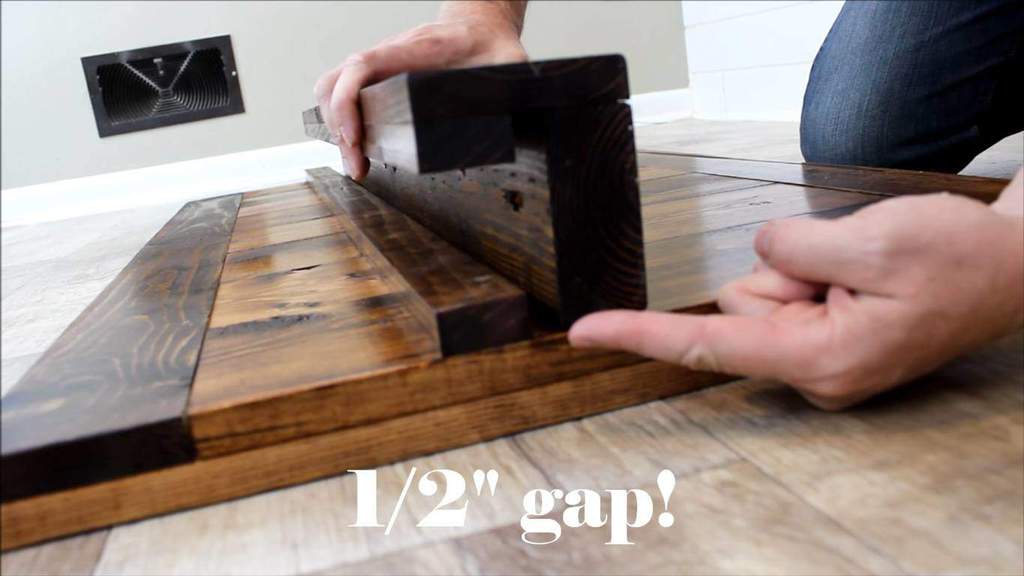
Place the smaller piece next to the 1”x2” x44” that’s been laid over the boards in Step 4. There should be a 1/2" gap above between the two. This is going to be where your wine glasses will go.

Secure the two major pieces using construction screws. While always keep the 1/2" gap in mind, screw through the back of the large piece to hide the holes.
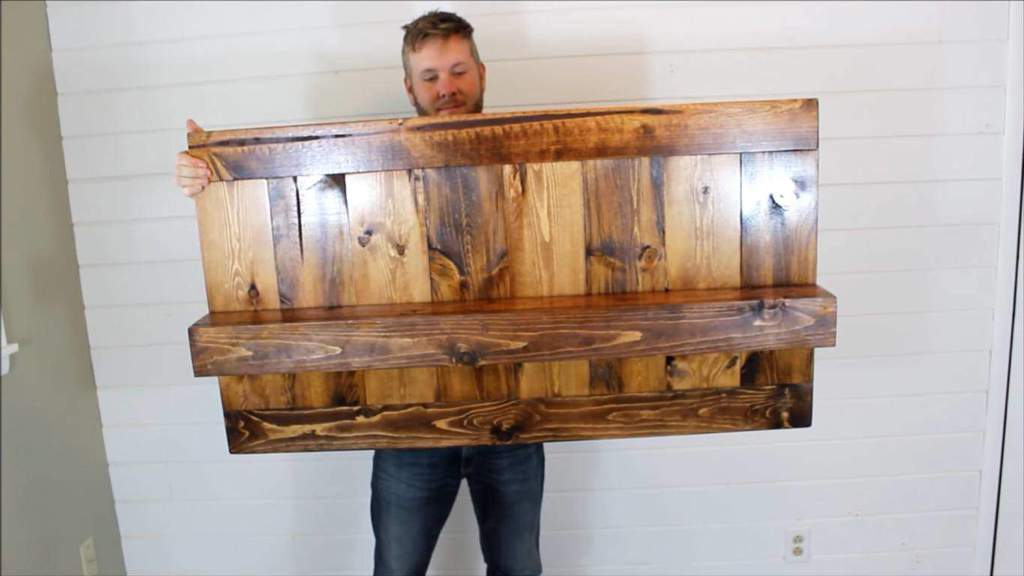
You should now have something that looks like this, a wine rack.
Step 13: Assemble the pipes
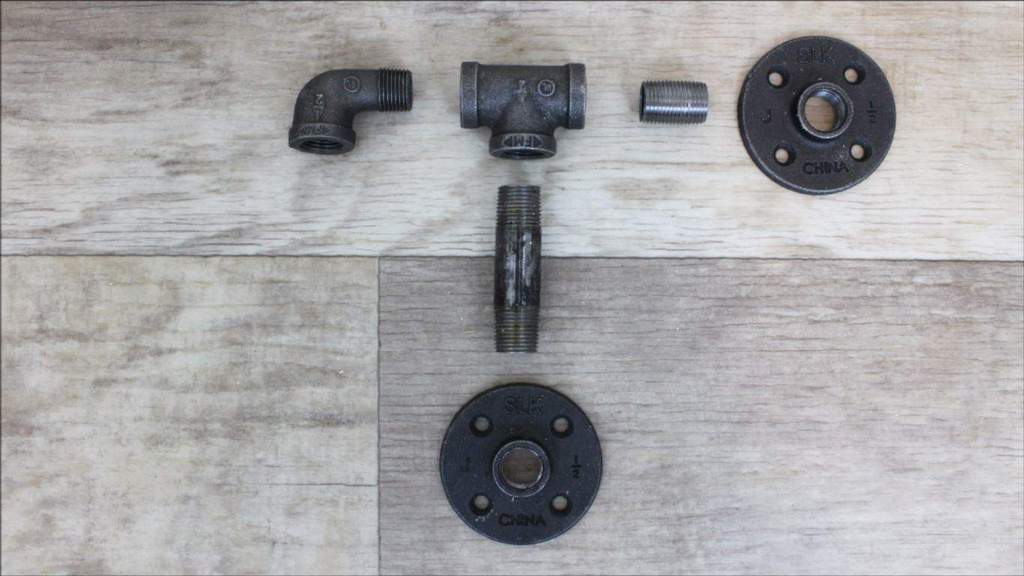
Take the pipes, and arrange them like so.
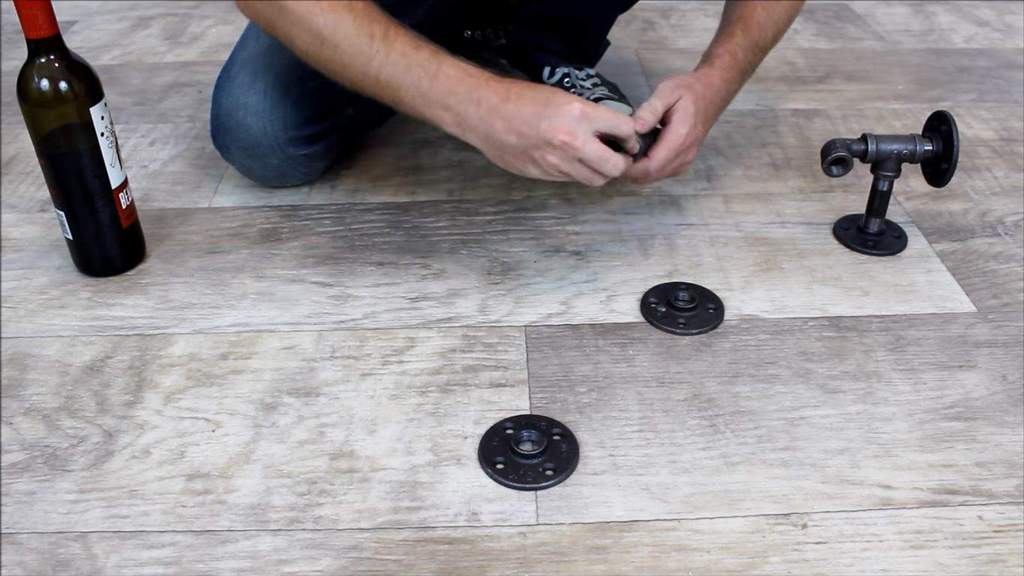
Screw them together.
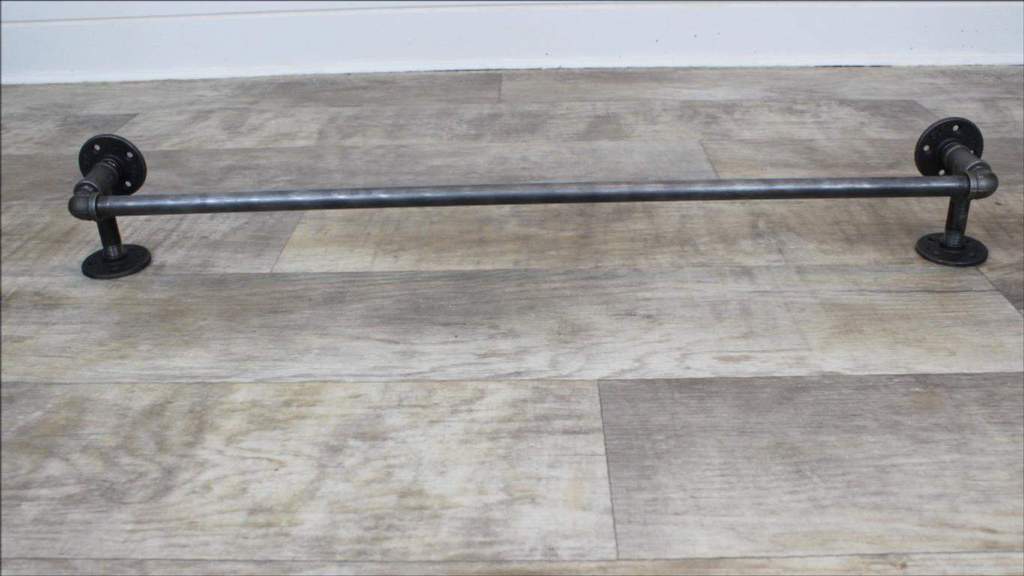
Grab the 36” pipe, and use it to connect the two other pipes together.
Step 14: Attach the pipes to the rack
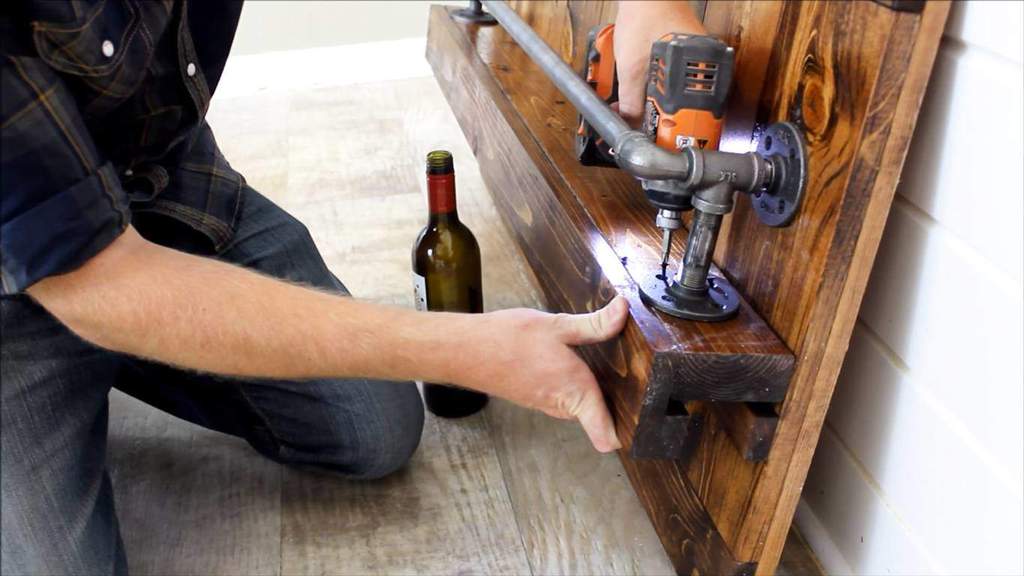
Center the pipes on the rack. And screw them in place with construction screws.
Step 15: Attach the picture hangers
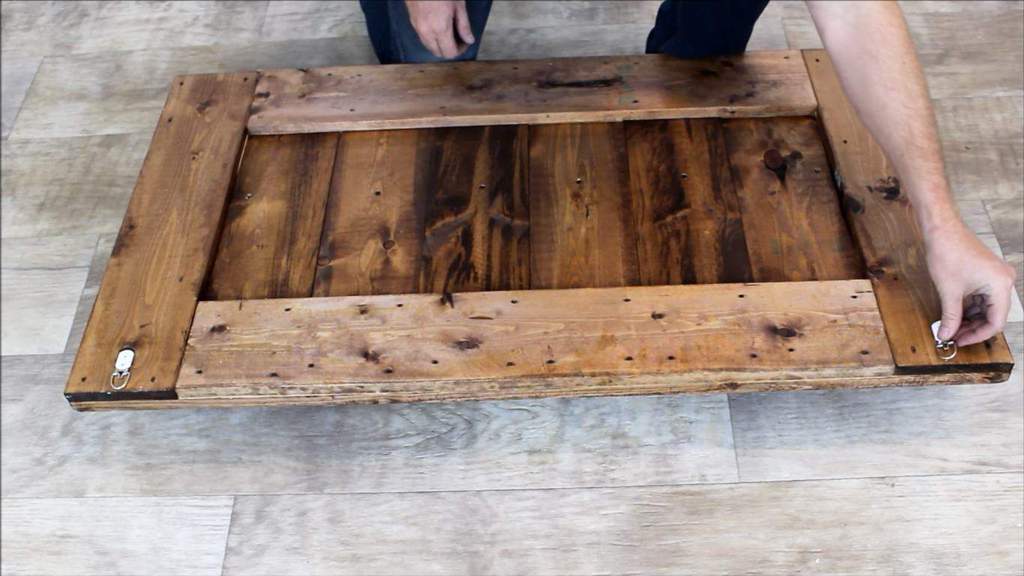
Flip the rack. And finally, screw the picture hangers on each top corner.
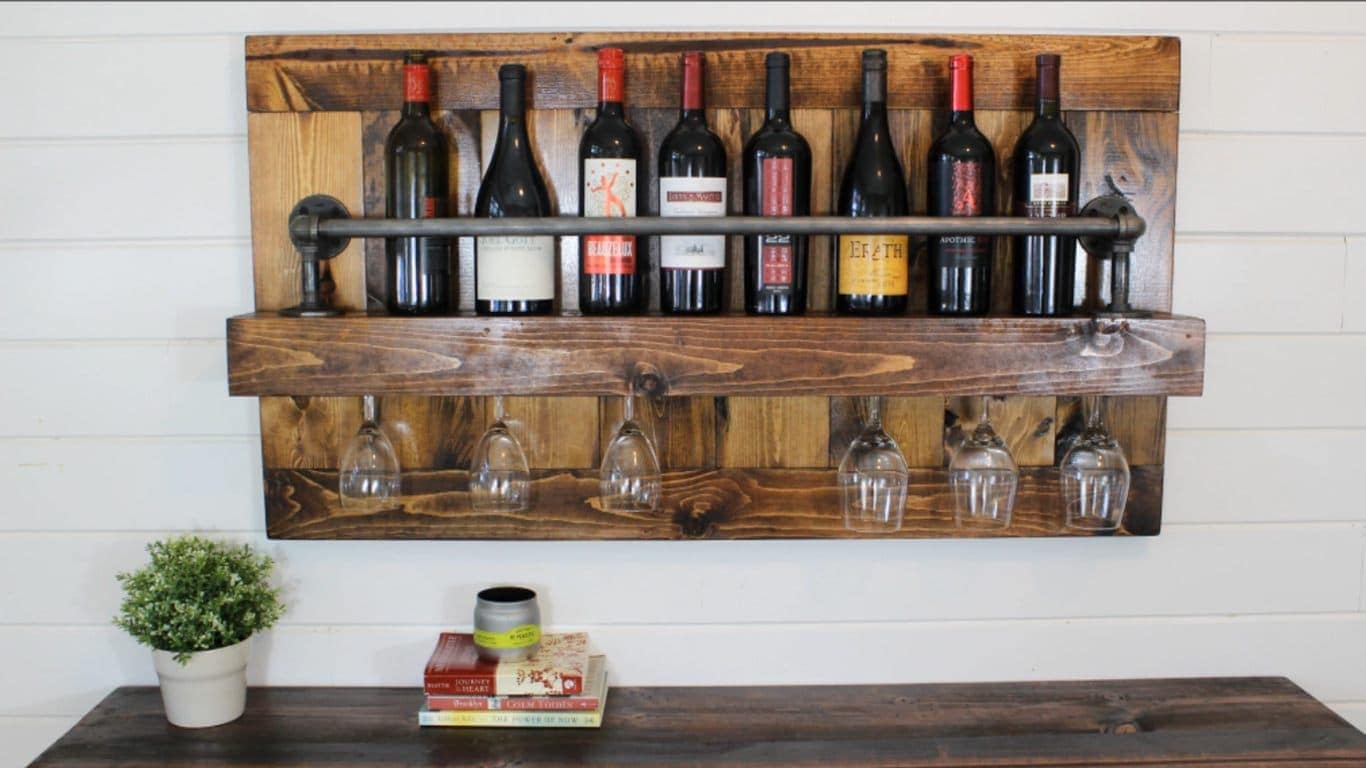
Well that didn’t take that long, did it? What better way is there to congratulate yourself than with your favorite bottle? You now have an awesome wine rack to display your preferred whites and reds.
This wine rack is a project from The Rehab Life. Get to know more about it here.