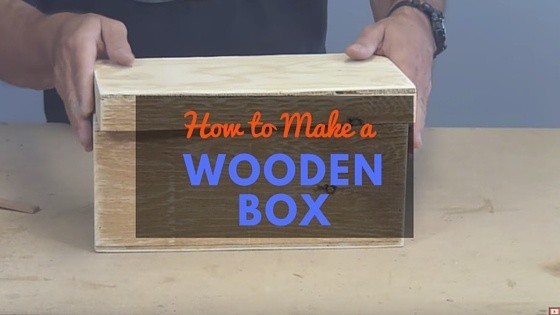
We're going to show you how to make a simply wooden box out of construction-grade plywood. This is really a fairly simple project and one you can do over and over again if you'd like to make these as gifts or even add some stylish touches like chalkboard paint and sell them.
Frankly, this box could be used for a variety of purposes and when you paint/stain it you could use it as a jewelry box, tool box, or small storage for just about anything.
This tutorial comes from the WoodWorkWeb Youtube Channel, if you'd like to start by viewing the video and then the written steps below:
Let's start with what materials you will need.
Materials:
- 1/2" plywood
- Table saw
- Combo blade
- Sharpie Marker
- Sandpaper
- Hinges
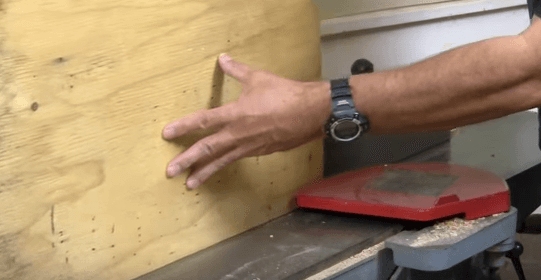
Step 1- Trim Plywood and Make Straight Edges
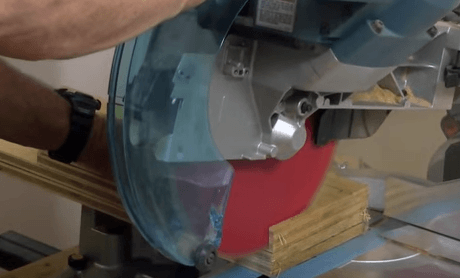
You're going to need to have straight edges and you will want to cut with the grain, not against it. Use a regular table saw to do this.
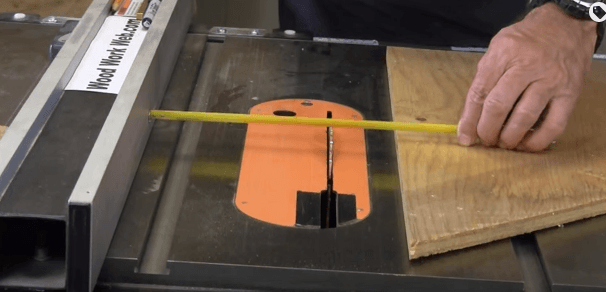
Step 2 -Figure out Measurements
This particular box will be 6" high, 12" long, and 6" wide.

TIP: Because you're going to be ripping and crosscutting, you will want to be sure you have a combination blade in your table saw.
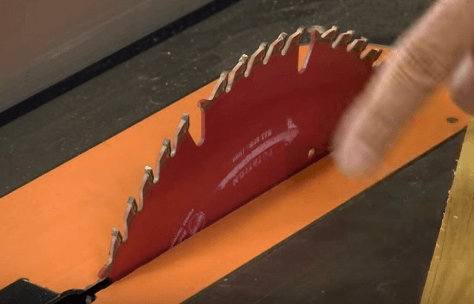
Step 3 - Prepare Table Saw & Start Cutting
Set the fence to 6", preparing for your cut. Make the necessary cuts for all of the pieces of your box.
Step 4 - Square Corners and Gang Cut
Be sure to square off all of the corners so that they are identical. Then, "gang cut" the pieces (cut them all together at the same time in one group) so that they are all identical in length: 12 inches.
At this time, you'll also need to cut the ends, which will be 6" in length. Because the ends are going to be inset- set inside the box, you'll need to cut off 1/4", which will make it just under the 6" measurement.
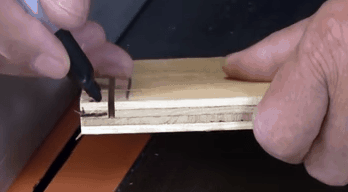
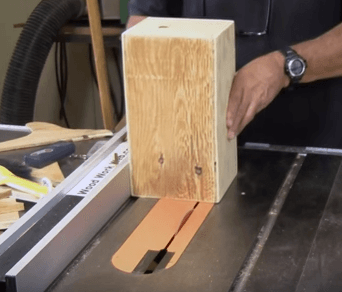
Step 5- Cut dados into the top, bottom, back & front
A dado is just another word for "groove" in woodworking. The top and bottom will have a dado all the way around. The front and back will only have dados on the ends. Mark off an estimate for where you will set the dado.

You can use a dado blade, or you can mark what material you need to cut off with a sharpie marker and then cut it off by resetting the fence and blade on your table saw to remove the perfect amount of wood from the main part. Put the board against the fence and set the blade to the top of your last cut. No big deal.
Step 6- Put the Box Together
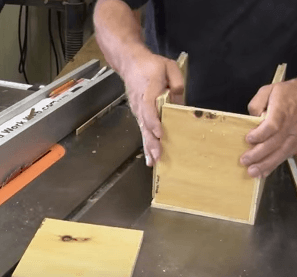
You want to be sure that all your dados were cut accurately before securing the box in place. Then, place glue inside the dado cuts and piece it back together.
Once you have the glue on, use a brush to spread the glue out so that it fills the dado cut completely, and so the glue is evenly distributed.
To make it even more secure, consider using a staple gun around the perimeter of the box. Then, sand it down- plywood can be rough to touch.
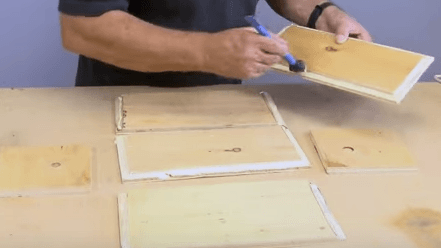
Step 7 - Make the Lid
Currently, you have a completely closed box. So, you will need to go back to the table saw and make a lid.
First, set the fence at 5 inches. Cut the ends first, then the two sides.
Step 8 -Secure the Lid
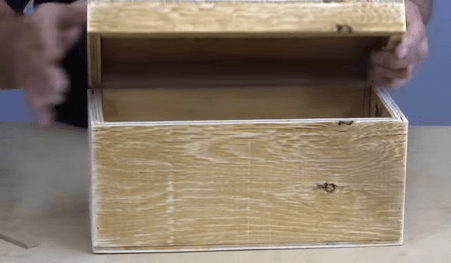
The easiest thing to do would be to either put some small hinges on the back or to glue some wood tabs inside the lid, which would simply hold it in place until you lift if off.
This makes a great first jewelry box for a youngster, but it's also a great utility box for small parts in the tool shed or garage.