Back with another super simple pallet project! This one is from our talented friend at “Homesteadonomics“.
How to build a pallet headboard. This one is very easy depending on your skill level and available tools. You should be able to do this in an hour or two.
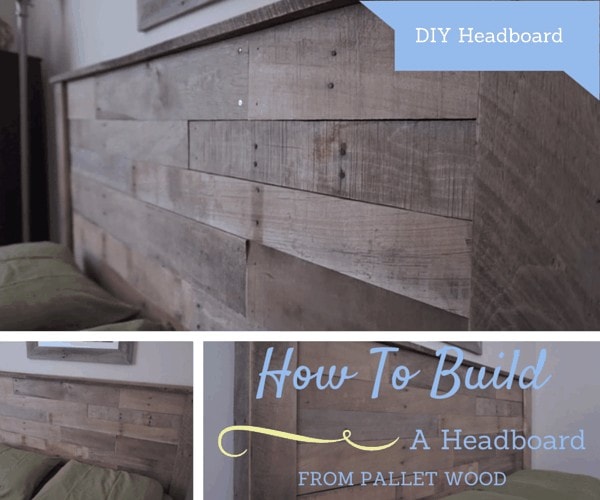
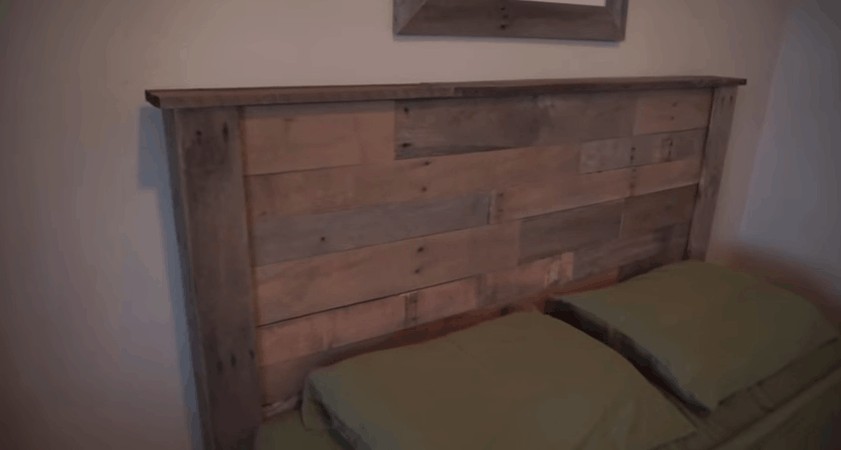
A wood pallet headboard adds a very warm and rustic touch to any bedroom. The cool thing is, you can add different type of stains and paints to give a more modern look. Or, if you like the rustic-country look, don’t add anything.
Click here for tips on how to find free pallets, this is a great option because you can use a recycled pallet!
On most pallet wood projects you shouldn’t have to buy supplementary wood. The whole point of a pallet project is that it’s free and easy.
However, because your wood headboard will need to span the width of your bed, you will most likely have to purchase two 8ft 2×3’s for your frame. It’s not very likely you’ll find a pallet that large.
Ok here we go!
How to Make a Pallet Headboard: Table of contents
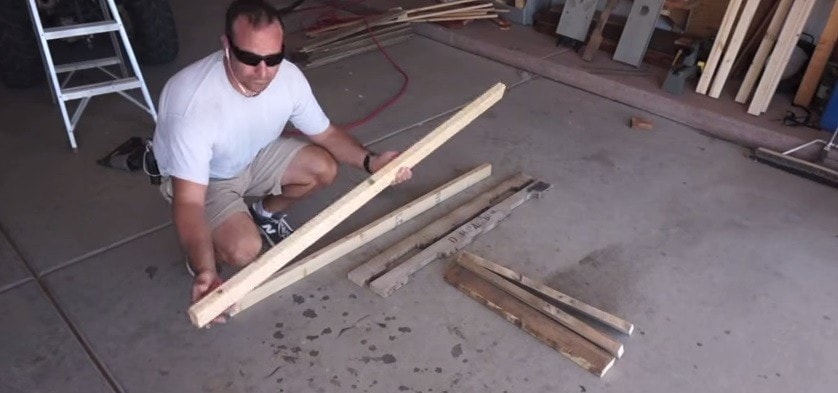
1. Disassemble Your Pallets, Wash, and Cut The Pieces For The Frame
For this pallet project you will probably need 2-4 pallets. Directly after dismantling, I recommend washing down the wood since the wood will be used as bedroom decor as a rustic headboard.
Watch this video for quick and easy dismantling tips.
Your DIY headboard frame will have to be attached to the bed frame, so ensure you get good measurements.
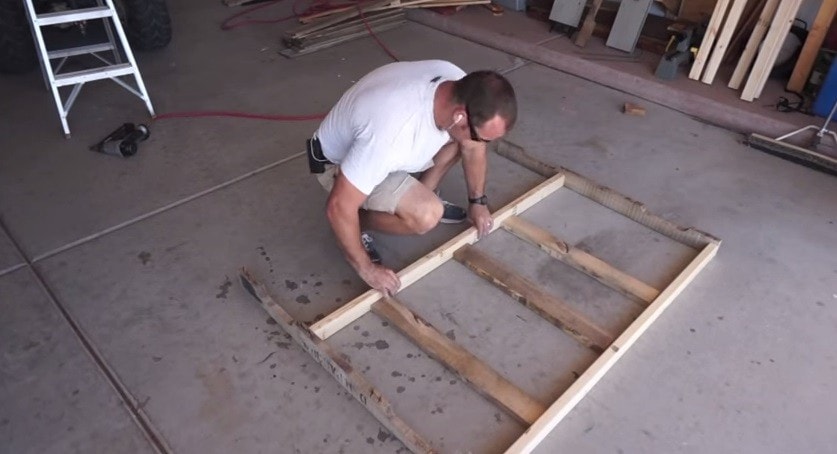
2. Assemble Frame
This part is pretty easy assuming you have accurate measurements. Use the side pieces of your pallet for the side of the pallet wood headboard.
The 2×3’s you purchased will span the width of your frame.
Next, use a few of the 2×4 pieces of your pallet between the 2×3’s as structural support.
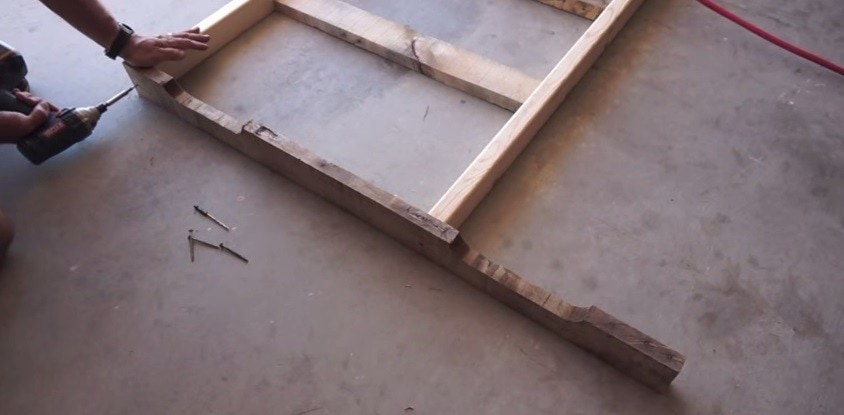
3. Secure The Frame
Use a nail gun (if you have one it makes it much easier) and hit every connection 2-3 times. Then, pre-drill holes and add screws to every frame connection.
Don’t have a nail gun? I recommend this one from Dewalt.
DEWALT DWFP12231 Pneumatic 18-Gauge 2-Inch Brad Nailer Kit
Do not skip this step.
The nail gun connections are only to hold it in place while you add screws, and do not provide very much support.
4. Attach Slats to Front of Frame
The hardest part of this is cutting your pieces in alternating patterns while maintaining accurate lengths to span the wooden headboard. Once that is finished, just attach the slats using your nail gun (or hammer and nails if you prefer the long route).
Alternating patterns of the slats is important for the rustic look. It should be easy to accomplish considering pallets are generally a “hodge podge” of types and quality.

5. Assemble and Attach Corner Pieces To Cover The Edges
This is a step you can skip if you prefer the edges exposed. If you like the corner pieces, just measure the height of your headboard, cut 4 pieces the same length, and screw together.
Now attach to the headboard.
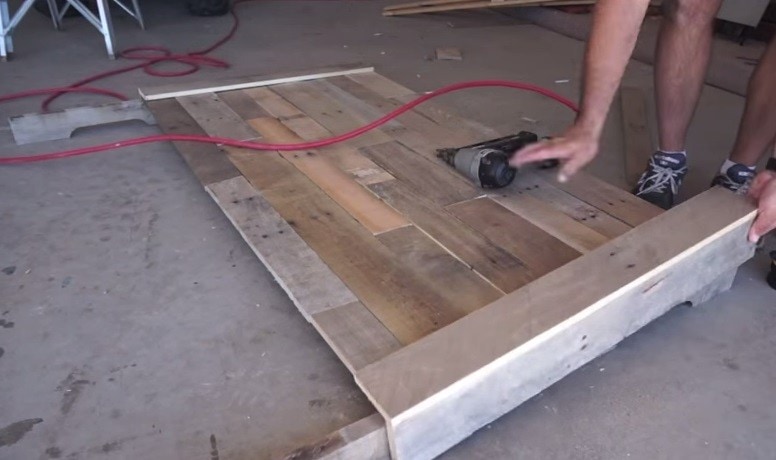
6. Top it Off
Cut a piece or two that is wide enough to cover the top of the headboard and attach. You can make the top piece the same width or a few inches longer on each side…whatever you like.

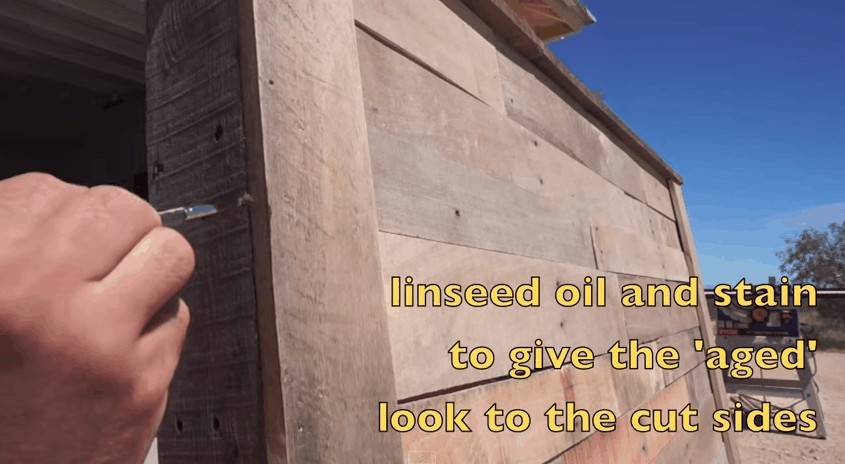
7. Add Linseed Oil or Stain On Cut Edges
Basically, your cut edges will look like fresh wood, while the rest of the wood will look aged (because it probably is). Adding linseed oil or stain to your edges will give them a consistent look with the rest of your piece.
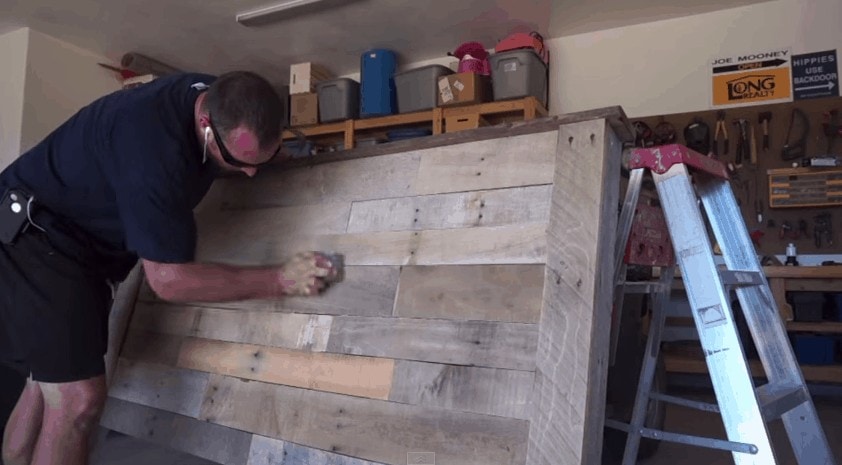
8. Sand and Sand Some More
You’re basically done at this point. Sanding down the wood pallet headboard with either a piece of sandpaper or powered sander will remove the burs and hard edges.
Now, you can attach the headboard to your bed frame and you’re done!
This process is going to depend on your bed frame, but essentially, you’ll probably need to drill holes that line up with the holes on your bed frame and attach with appropriately sized nuts and bolts.
Now you’ve got a unique DIY pallet wood headboard that you’ve made with your own two hands, hopefully, in under a few hours.
[su_note]Need Woodworking Plans? Click here to get over 16,000 woodworking plans.[/su_note]
Remember, as I stated previously, you can always add stains and paint to give it a different look than you see here. Also, you can get creative with your slat layout on the face for more design options. Watch the full tutorial here.
Click here to check out another cool DIY pallet project.