This project is something you can tackle in a very short amount of time with no money at all (assuming you have an extra piece of wood trim).
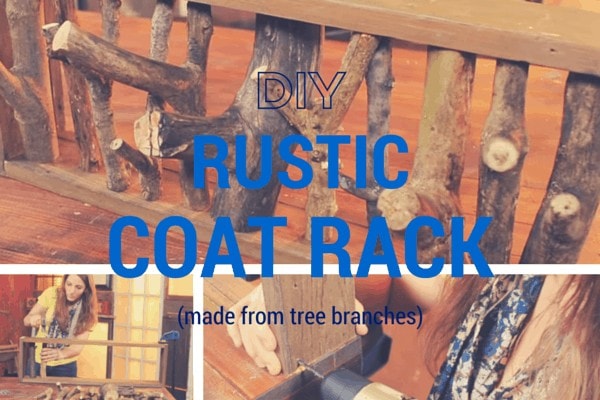
Who wouldn’t want an amazing tree branch coat rack in their man cave or some other outdoorsy area/decor theme?
What You’ll Need
- Approximately 12 branches, at least 10 inches long
- 7 ft. piece of wood trim, 1 x 4 is shown below (this will be the frame)
- Wood glue (here’s the best)
- Hand saw or circular saw (to cut branches)
- 8, 2 inch screws
- Cordless Drill (can be corded too, this is just preference)
- About 30 trim nails
- Sanding sponge
Without further ado, let’s jump into the tutorial which comes from Buildipedia via Youtube.
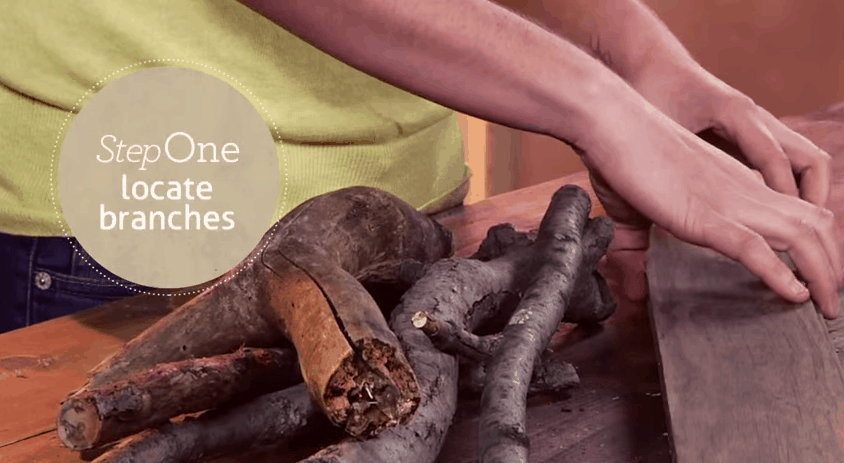
1. Locate Branches
The branches you choose will ultimately become the things that you hang your coats on, so be sure to get some that have smaller limbs hanging off to the side, as shown above.
It’s important to work with branches that are sturdy and dry – not something brittle that will break when a heavy coat is hung on it.
For the rack frame, find a piece of wood trim like an old baseboard made out of real wood – 1 x 4 could work.
2. Measure Your Space

The cool thing about this coat rack is that you can really control how big or small you want it. However, you need to go ahead and measure the space where you plan to put it, since the next step will be cutting out the frame.
3. Measure and Cut The Frame
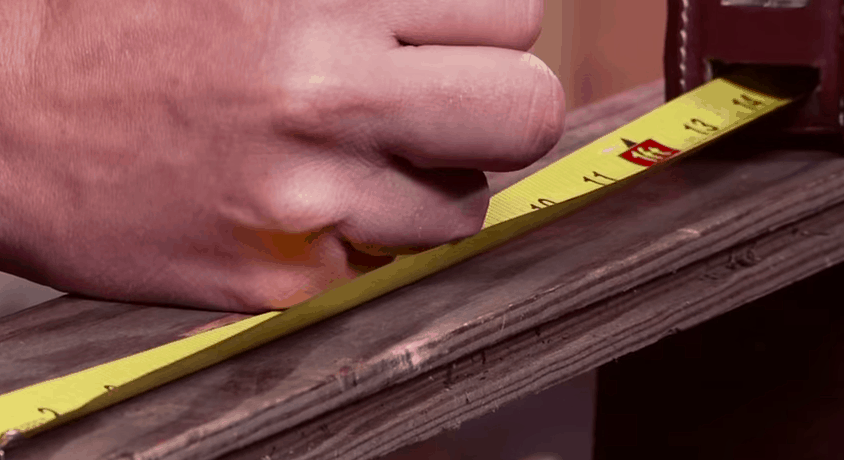
In this example, the cuts are 2 at 30 inches and 2 at 9.5 inches.
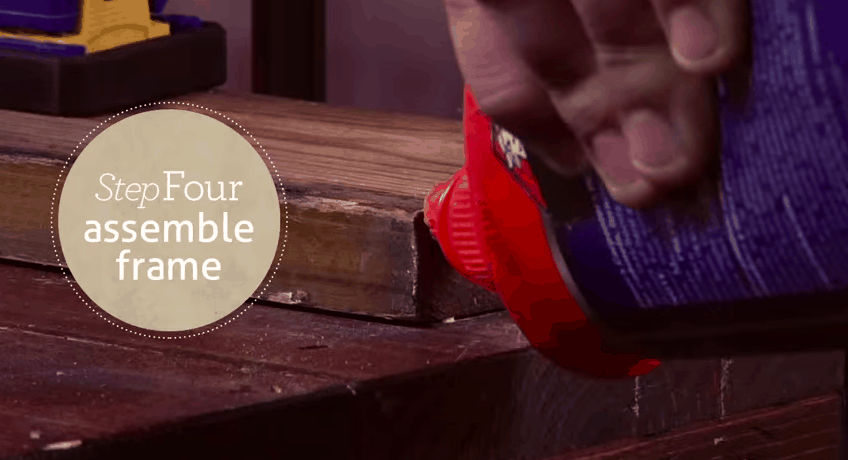
4. Assemble the Frame
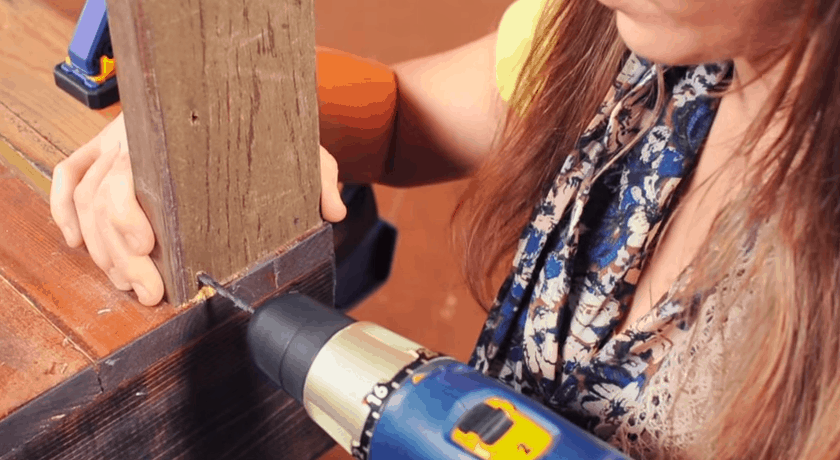
First, put a bead of wood glue on each end that you are attaching and then use 2 inch screws to hold the frame firmly in place. I’d recommend putting 2 screws in each connection point, so a total of 8 will be used.
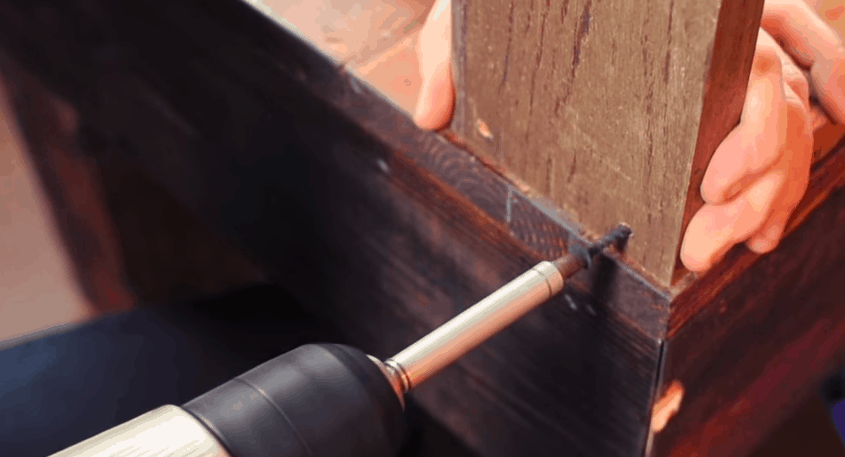
If it makes life easier, pre-drill your holes before using screws as shown below.
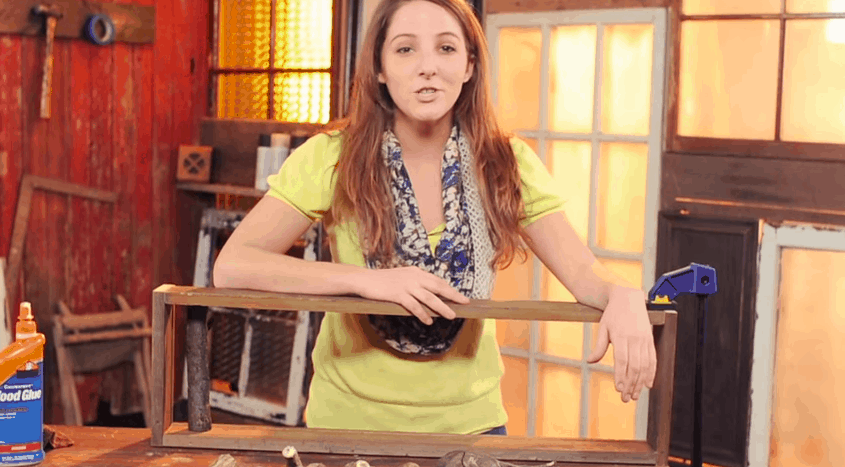
The end result of your frame should look something like this:
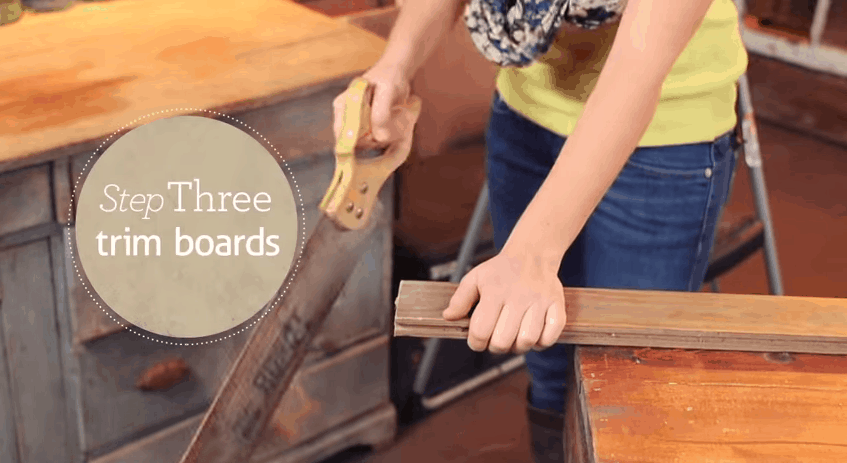
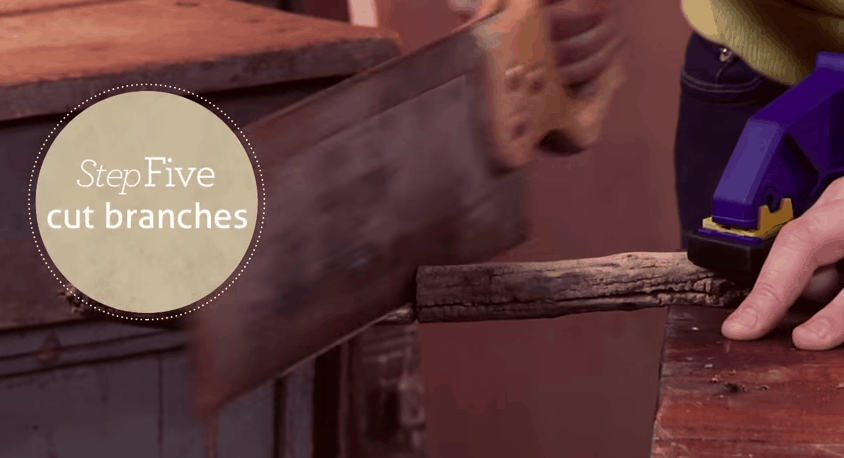
5. Cut Your Branches
While your wood glue is drying from step 4, take the opportunity to saw off your branches at the right length (8 inches in this case). Once you’ve cut the branches, use a sanding sponge to sand the ends and make them as smooth and flat as possible.
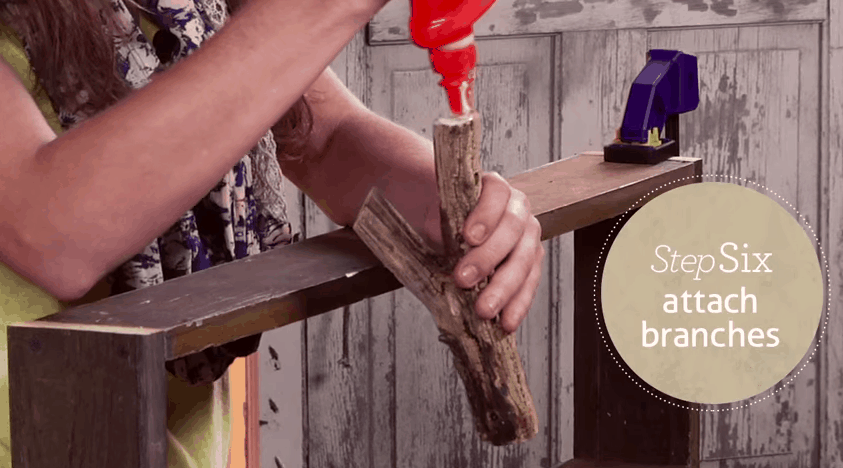
6. Attach Branches
Choose the layout and direction of your branches, ideally with all or most of the “hooks” facing in the same direction!
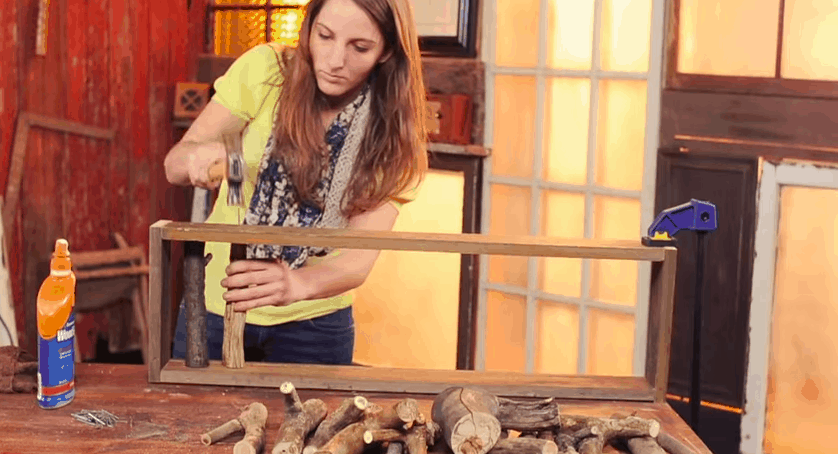
Spread wood glue on the top and bottom of each branch and then drive a small nail into each end, so the branch is firmly attached to the frame.
Repeat that until you’ve completely filled the coat rack with branches (as many as you’d like)
In the end, it should wind up looking something like this:
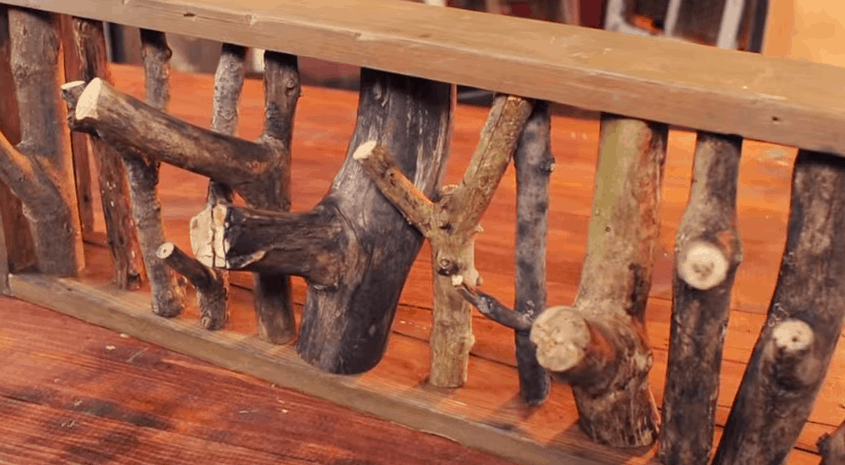
Let it fully dry before hanging or putting into place. For the full video from Buildipedia, click here.