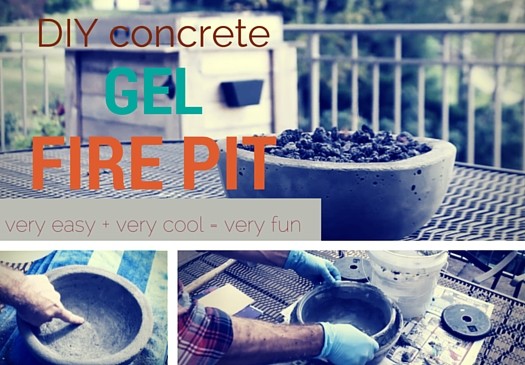
Fire pits are all the rage these days. But, I bet you don't know how easy it is to make one all by yourself do you?
In just 8 simple steps, this tutorial from Home Repair Tutor will be keeping you warm in no time. No kidding, anyone can do this project, and it looks so cool!
What You'll Need
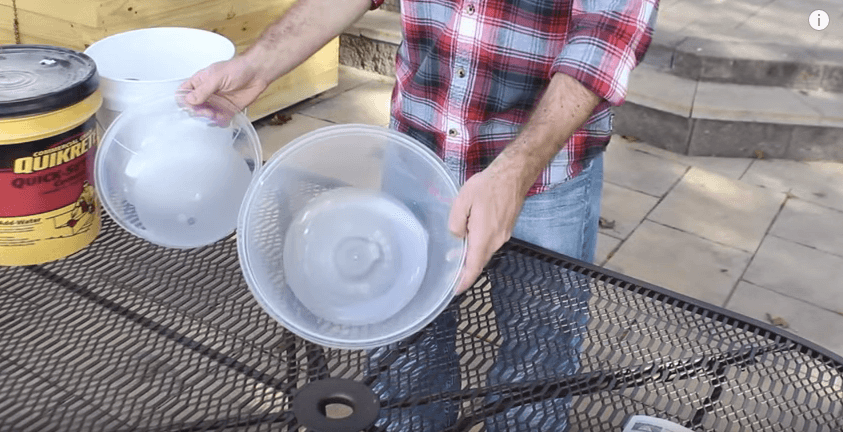
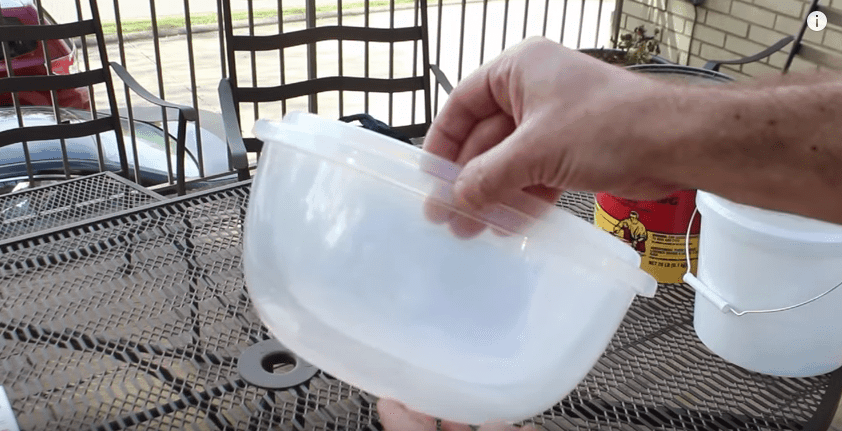
2 Plastic Bowls
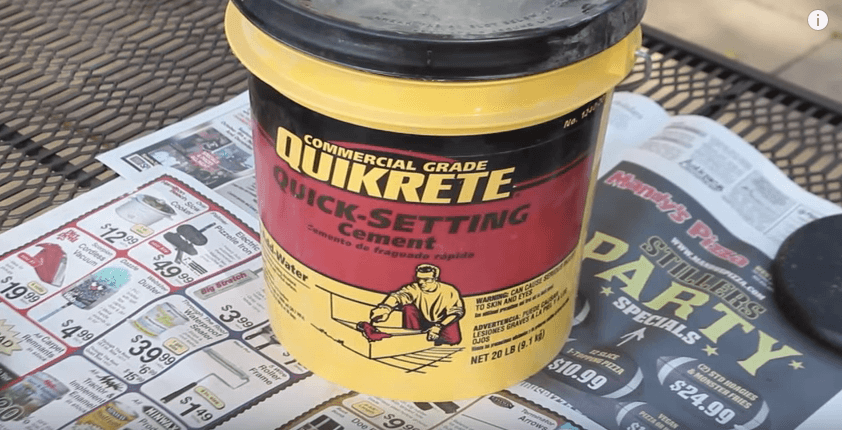
Quikrete
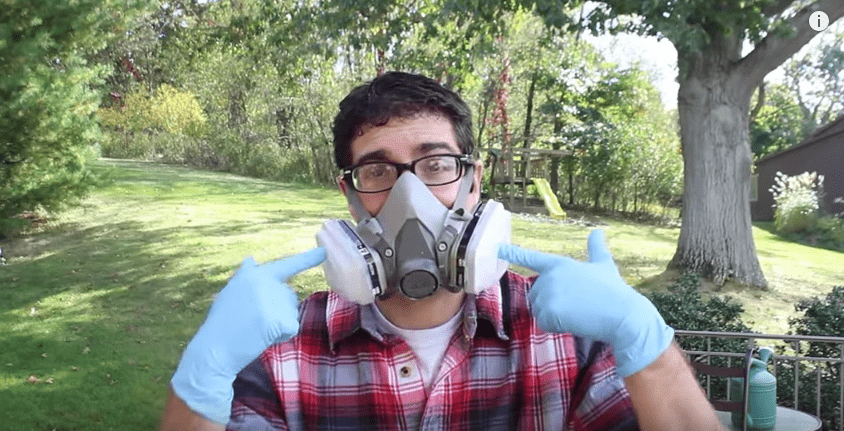
Safety Gear
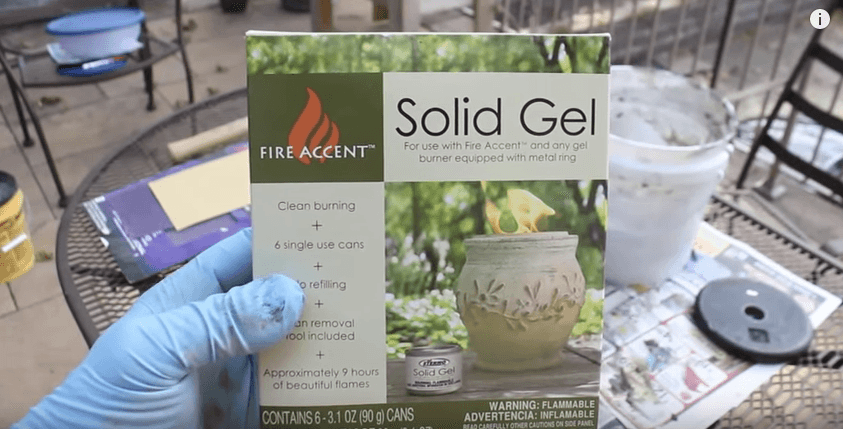
Fire Gel Canister
Margin Trowel
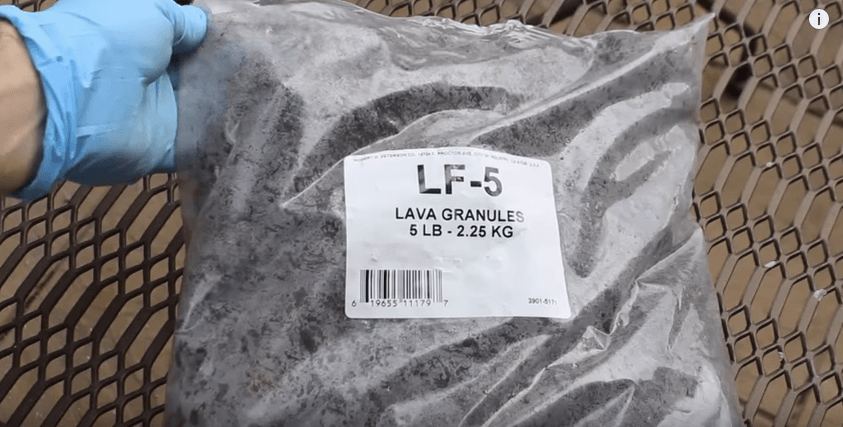
Lava Granules
Orbital Sander

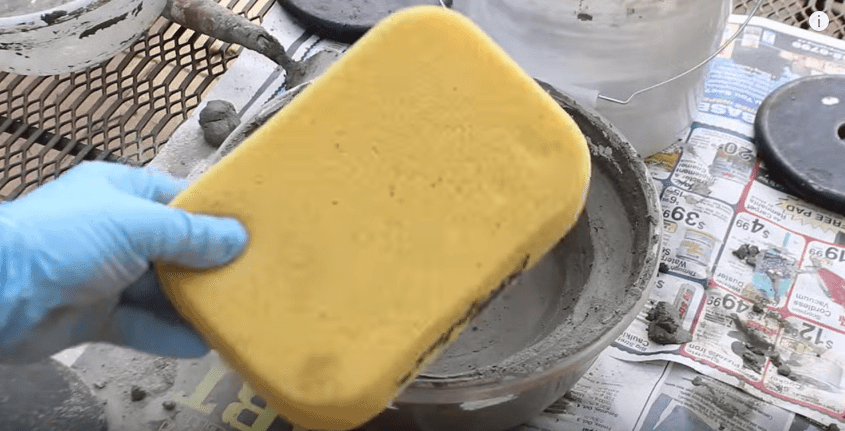
Grout Sponge
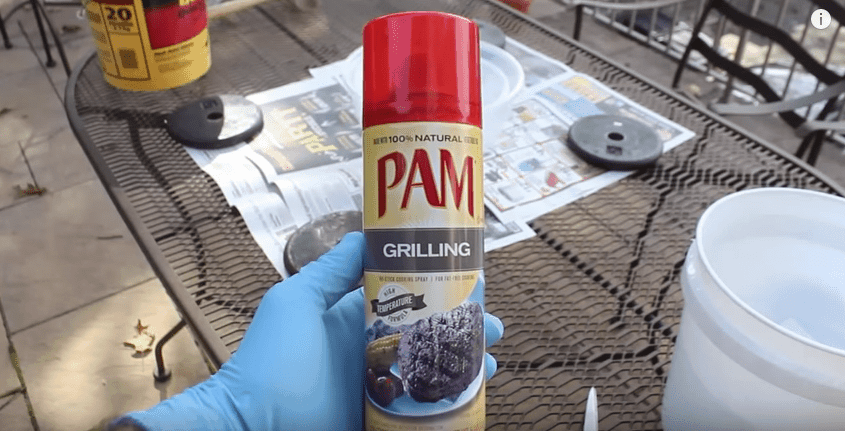
Cooking Spray
Water
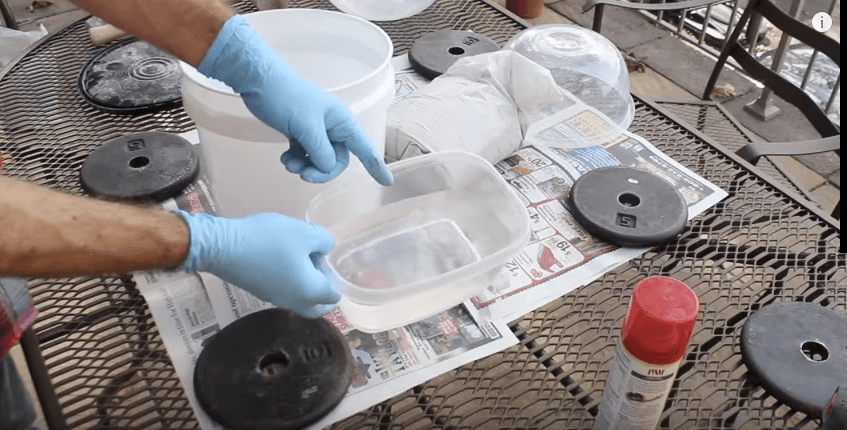
1. Ensure You Have 2 Bowls Sized Approximately 1" Apart
2. Generously Coat With Cooking Spray
Coat the inside of the large bowl and the outside of the smaller bowl. Spread the oil around with a paper towel, and spray again.
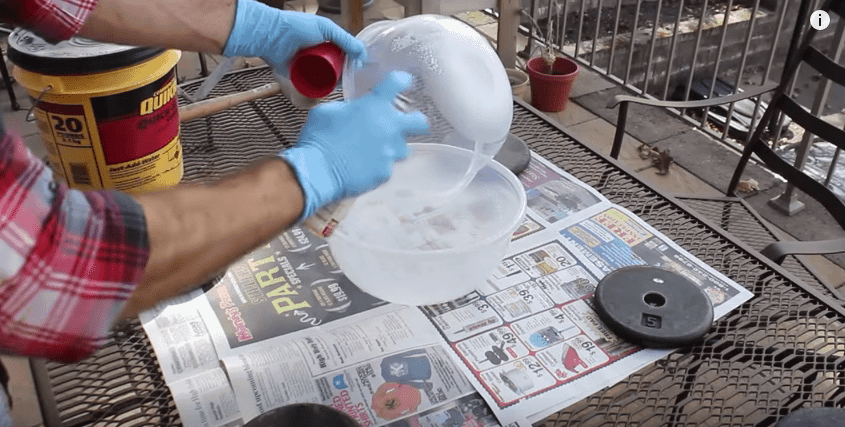
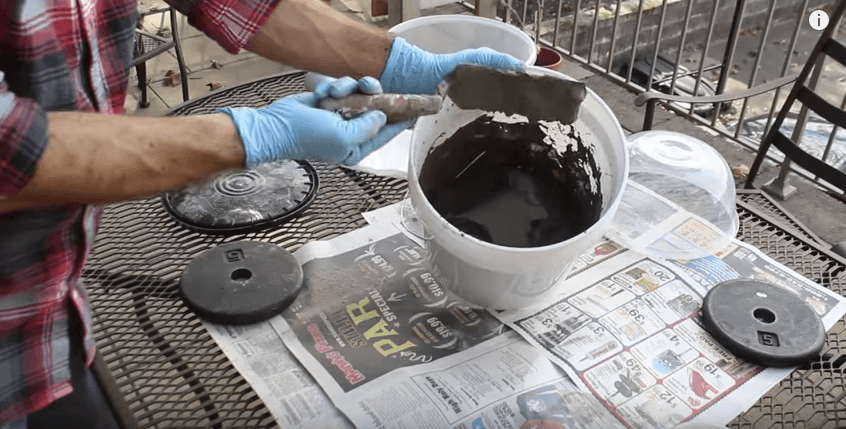
3. Mix Concrete
Be sure to use a fast setting concrete like Quikrete so you're not waiting around for days for it to cure.
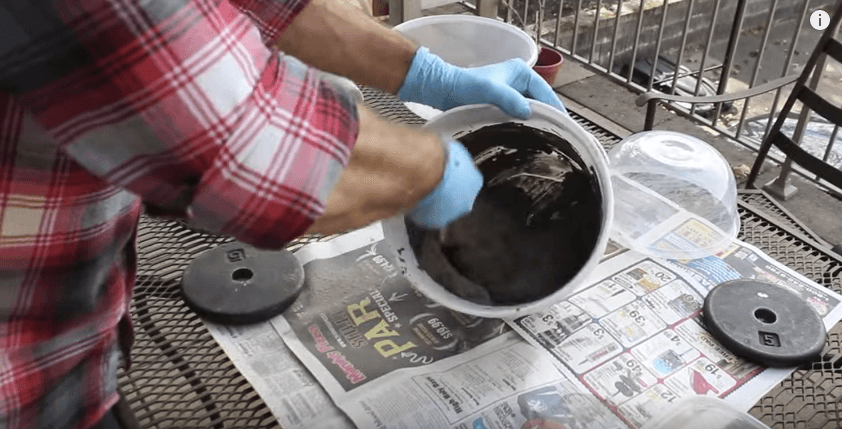
Mix more than you think you will need. Also, ensure the mixture is thick enough to not be watery, but thin enough to pour into your big bowl.
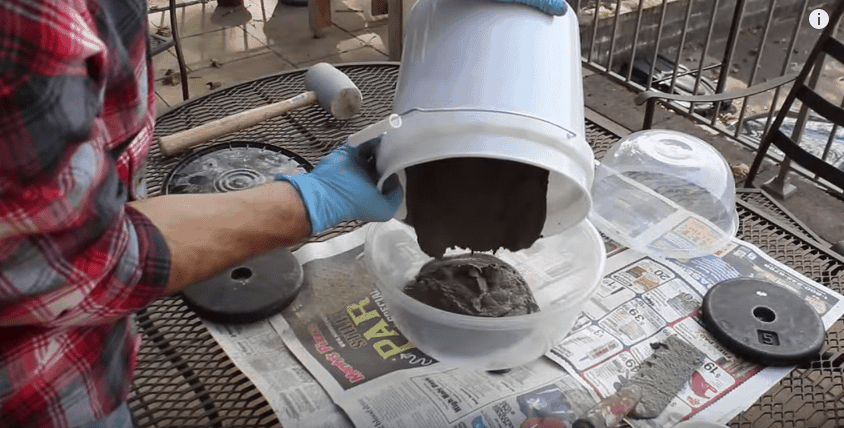
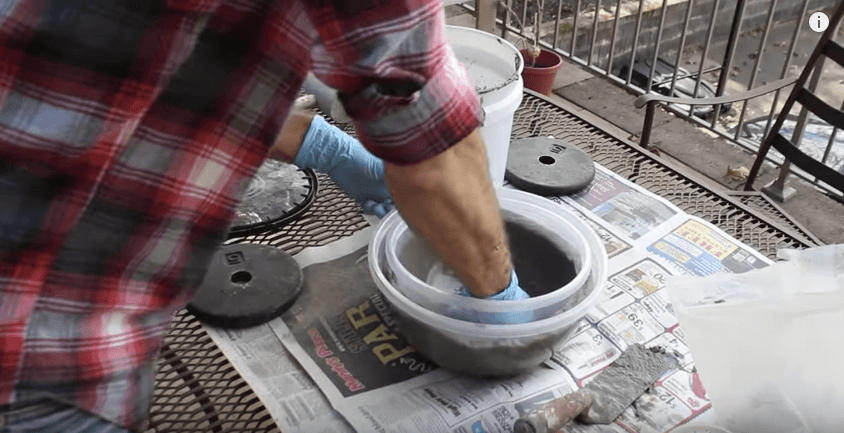
4. Place Small Bowl Into Concrete
Firmly press down until the small bowl is still about 1" higher than the big bowl. This is where you'll find out if you have enough concrete. Ensure the concrete mixture is flush with the top of the big bowl. If you come up short, no big deal, just add some more.
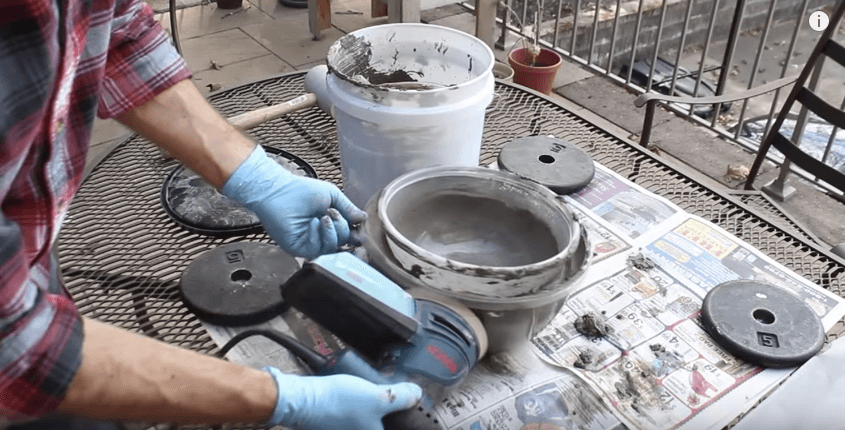
5. Run Orbital Sander Around Big Bowl
This is a seemingly weird step, but still important. The purpose is to vibrate the bowl so the concrete settles and removes air bubbles. Oh...and make sure you don't actually have sandpaper on the sander. If you don't have a sander you can use anything that vibrates, or worse case, just tap on the outside of the bowl for a while.
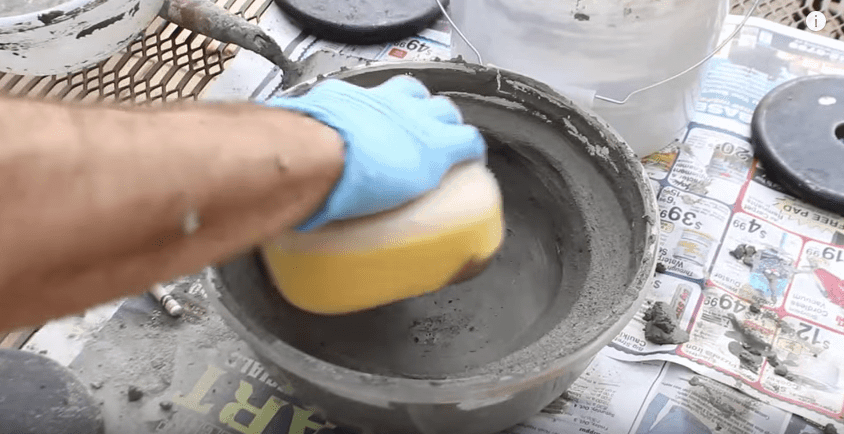
6. Be Patient & Remove The Small Bowl
You have to wait a little before performing this step. But, it's hard to determine because you don't want the concrete completely dry, nor do you want it wet. I suggest using a small pile of concrete (use the same batch as your mixture) as a test pile. Once your test pile is relatively firm, you can remove the small bowl.

The bowl should come right out because of the generous amount of cooking oil you used.

Use your grout sponge to smooth the inside and edges. Please don't try to make it perfect. You will be covering the interior with lava rocks anyway.
7. Wait Approximately 5 Hours And Remove The Big Bowl
The concrete should be completely hardened by now. However, check the instructions on the type of concrete you use. Depending on the type, you may have to wait longer.
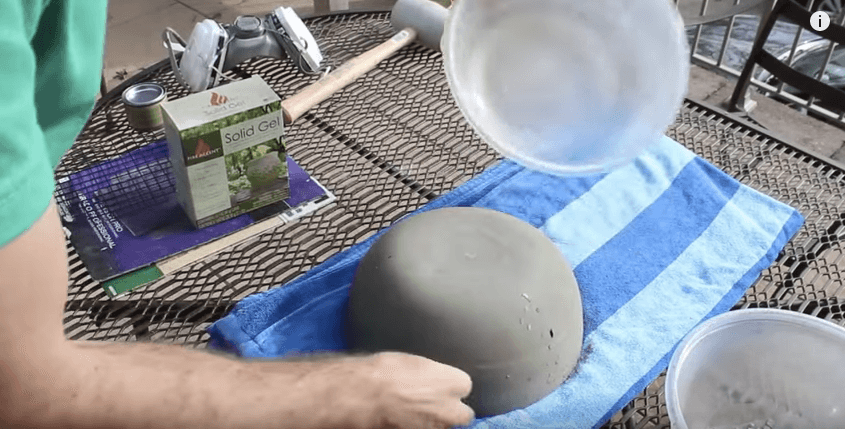
The bowl will not be perfect, but that's okay. The good thing about the industrial "look" is that imperfections add character. To clean it up a little, use a few different grits of sandpaper and sand it down a little by hand (do not use the powered sander).

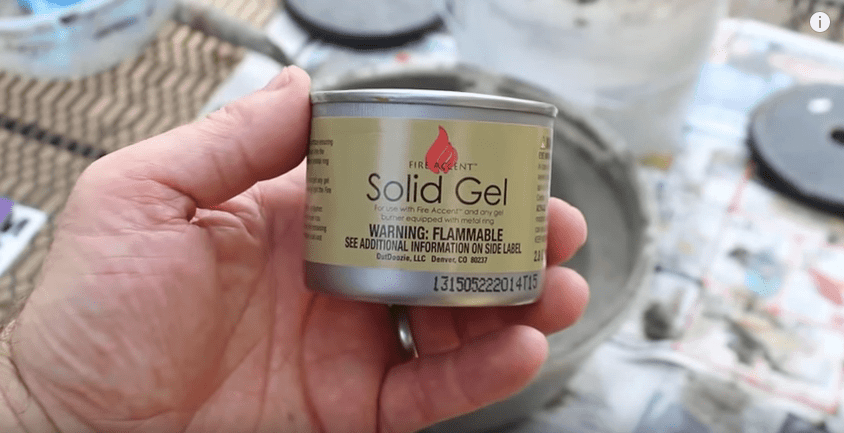
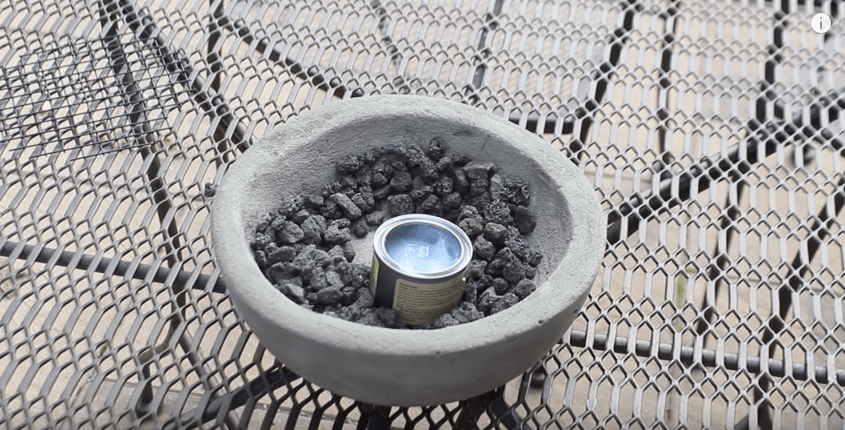
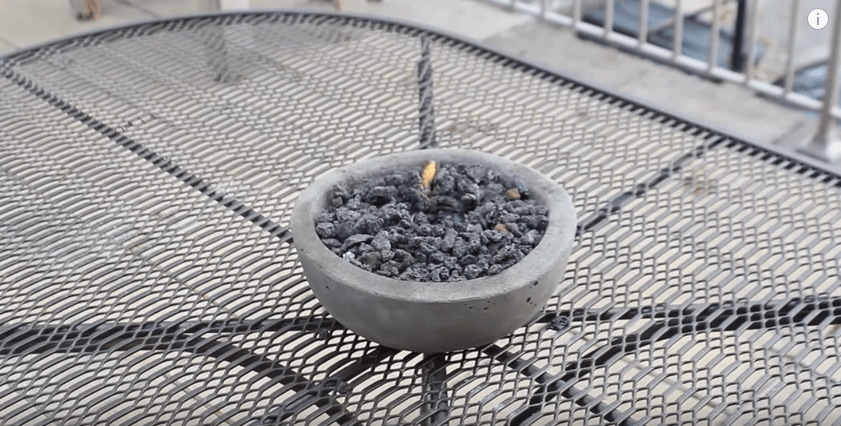
8. Place Your Gel Fuel And Lava Rocks Into Bowl
Solid Gel from Fire Accent is a good gel fuel, but you can use whatever type you want. However, the same does not apply to the rocks you use. They really need to be lava rocks because they can withstand the heat.
Don't stress too much about gel and rock placement. Just make sure your gel fuel is just below flush from the top of the bowl. Also, you might want to leave the lid on the fuel until the last layer of rocks.
Easy as pie. Or, as I like to say, "very easy + very cool = very fun"!
Check out the full video from Jeff Patterson at Home Repair Tutor below.